Creating a Cloud Service for your project
What you will learn in this guide
This guide will take you through the process of creating a Cloud Service for your Noodl project. A Cloud Service is needed if you want to fetch and store data for you application in a cloud Database and if you want to run and deploy Cloud Functions.
Overview
We will go through the following steps in this guide:
- Creating a Cloud Services
- Selecting a Cloud Services for you project
- Inspect the Cloud Services Database using the Dashboard
- Create and switch to a new Cloud Service
What is a Cloud Service and when do you need it?
A Cloud Service is a piece of software running in the cloud that helps serving your Noodl app with data and cloud functionality. The main reason for using a Cloud Service in your project is to use its Database. For example the nodes Record and Query Records can only be used if you have a Cloud Service active for you project. Also you need them for running Cloud Functions.
Each Cloud Service has a dedicated database which means you might want to have multiple Cloud Services available for your project, for example one for your test data and one for your production data. Only one Cloud Service can be active for your project at one time, but when you Deploy you can choose which service to use for the deploy.
Also note that Cloud Services are shared within a workspace, i.e. all projects in a workspace have access to the all Cloud Services.
Noold hosted vs Self Hosted Cloud Services
In Noodl there are two types of Cloud Services, Noodl Hosted (default) and Self Hosted. The Noodl Hosted are easiest to use, since Noodl can create those for you in a few clicks. Self Hosted Cloud Services are services that you set up and host yourself, check out this guide, In this guide we will focus on Noodl Hosted Cloud Services.
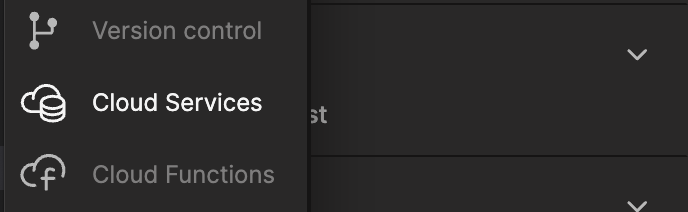
To add a new Cloud Service click the Cloud Services tab icon in the side bar.
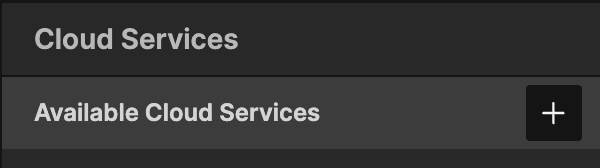
Then click the Plus icon at the top of the sidebar.
Go to the Add Cloud Service tab.
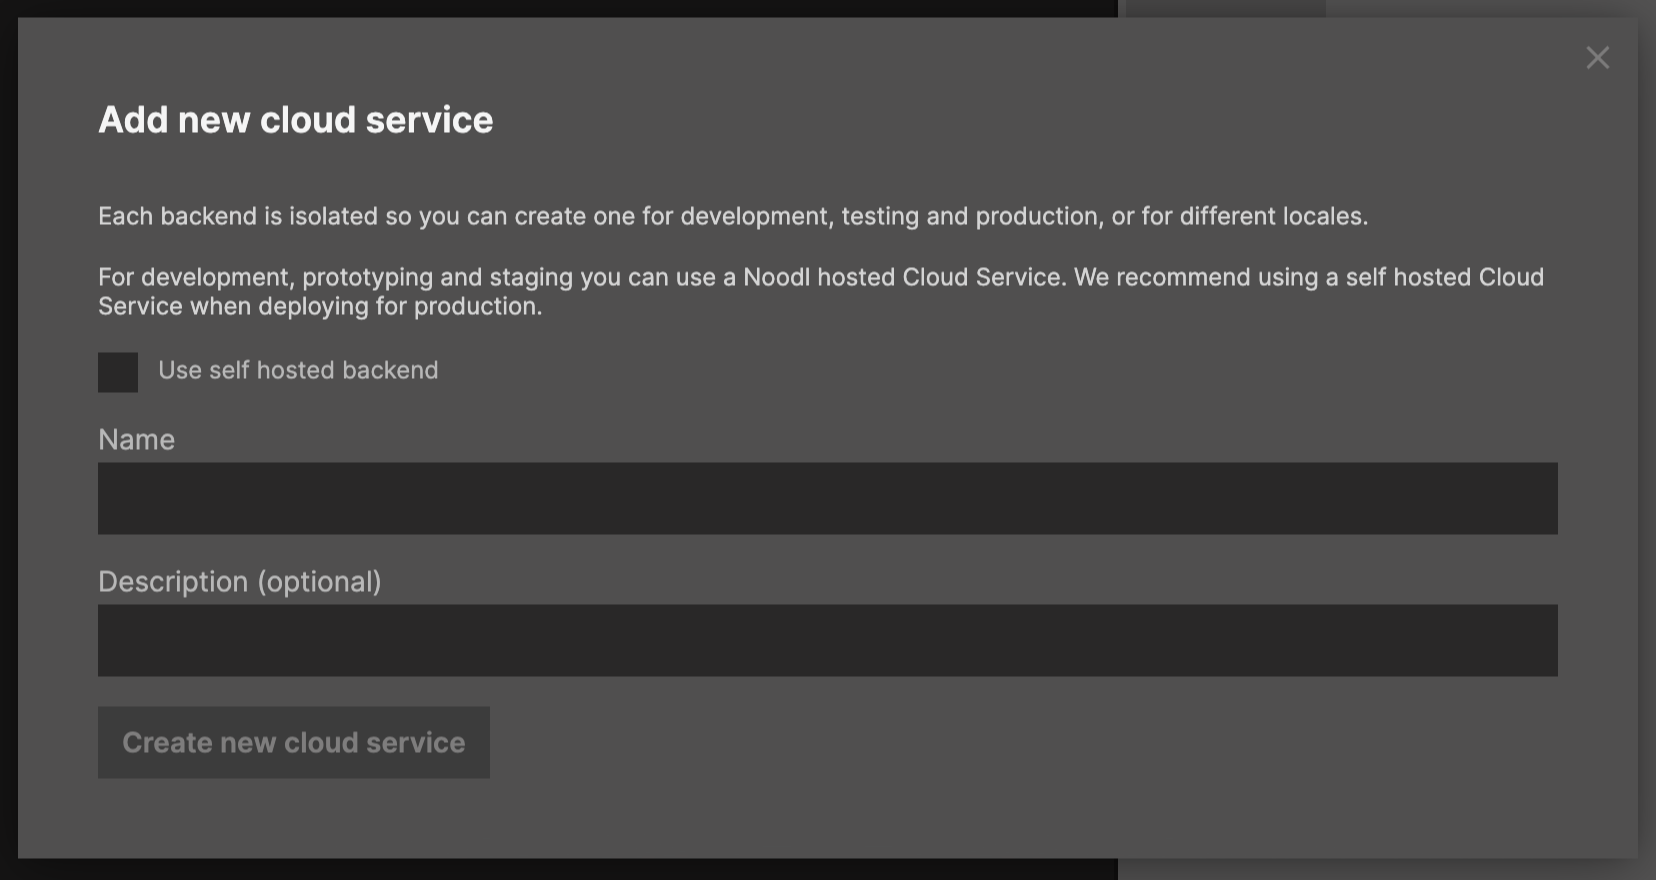
Give the Cloud Service a name, for example "My Cloud Service" and a description "My cloud service for development". It could be a good idea to have multiple cloud services for the same project, since each cloud service will have its own database. This means that you can have one cloud service for development - where it doesnt matter if you mess up your data - and one for production.
Select active cloud service
Now you can select the newly created cloud service as the active for your project. In the sidebar, click Use in editor.
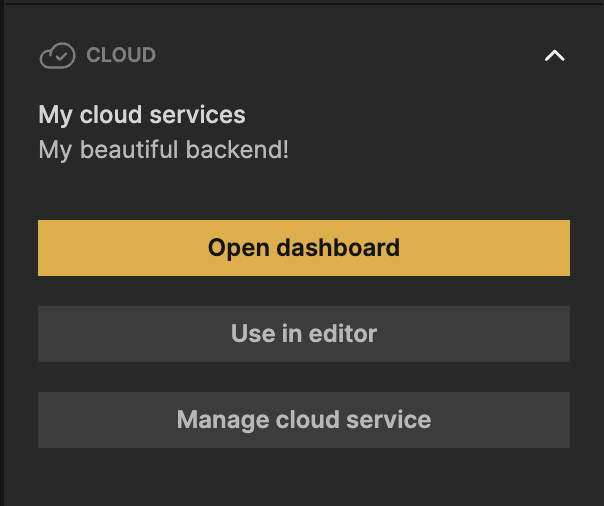
This means that any data requests, for example from a Query Records, when running in the editor will use this cloud service.
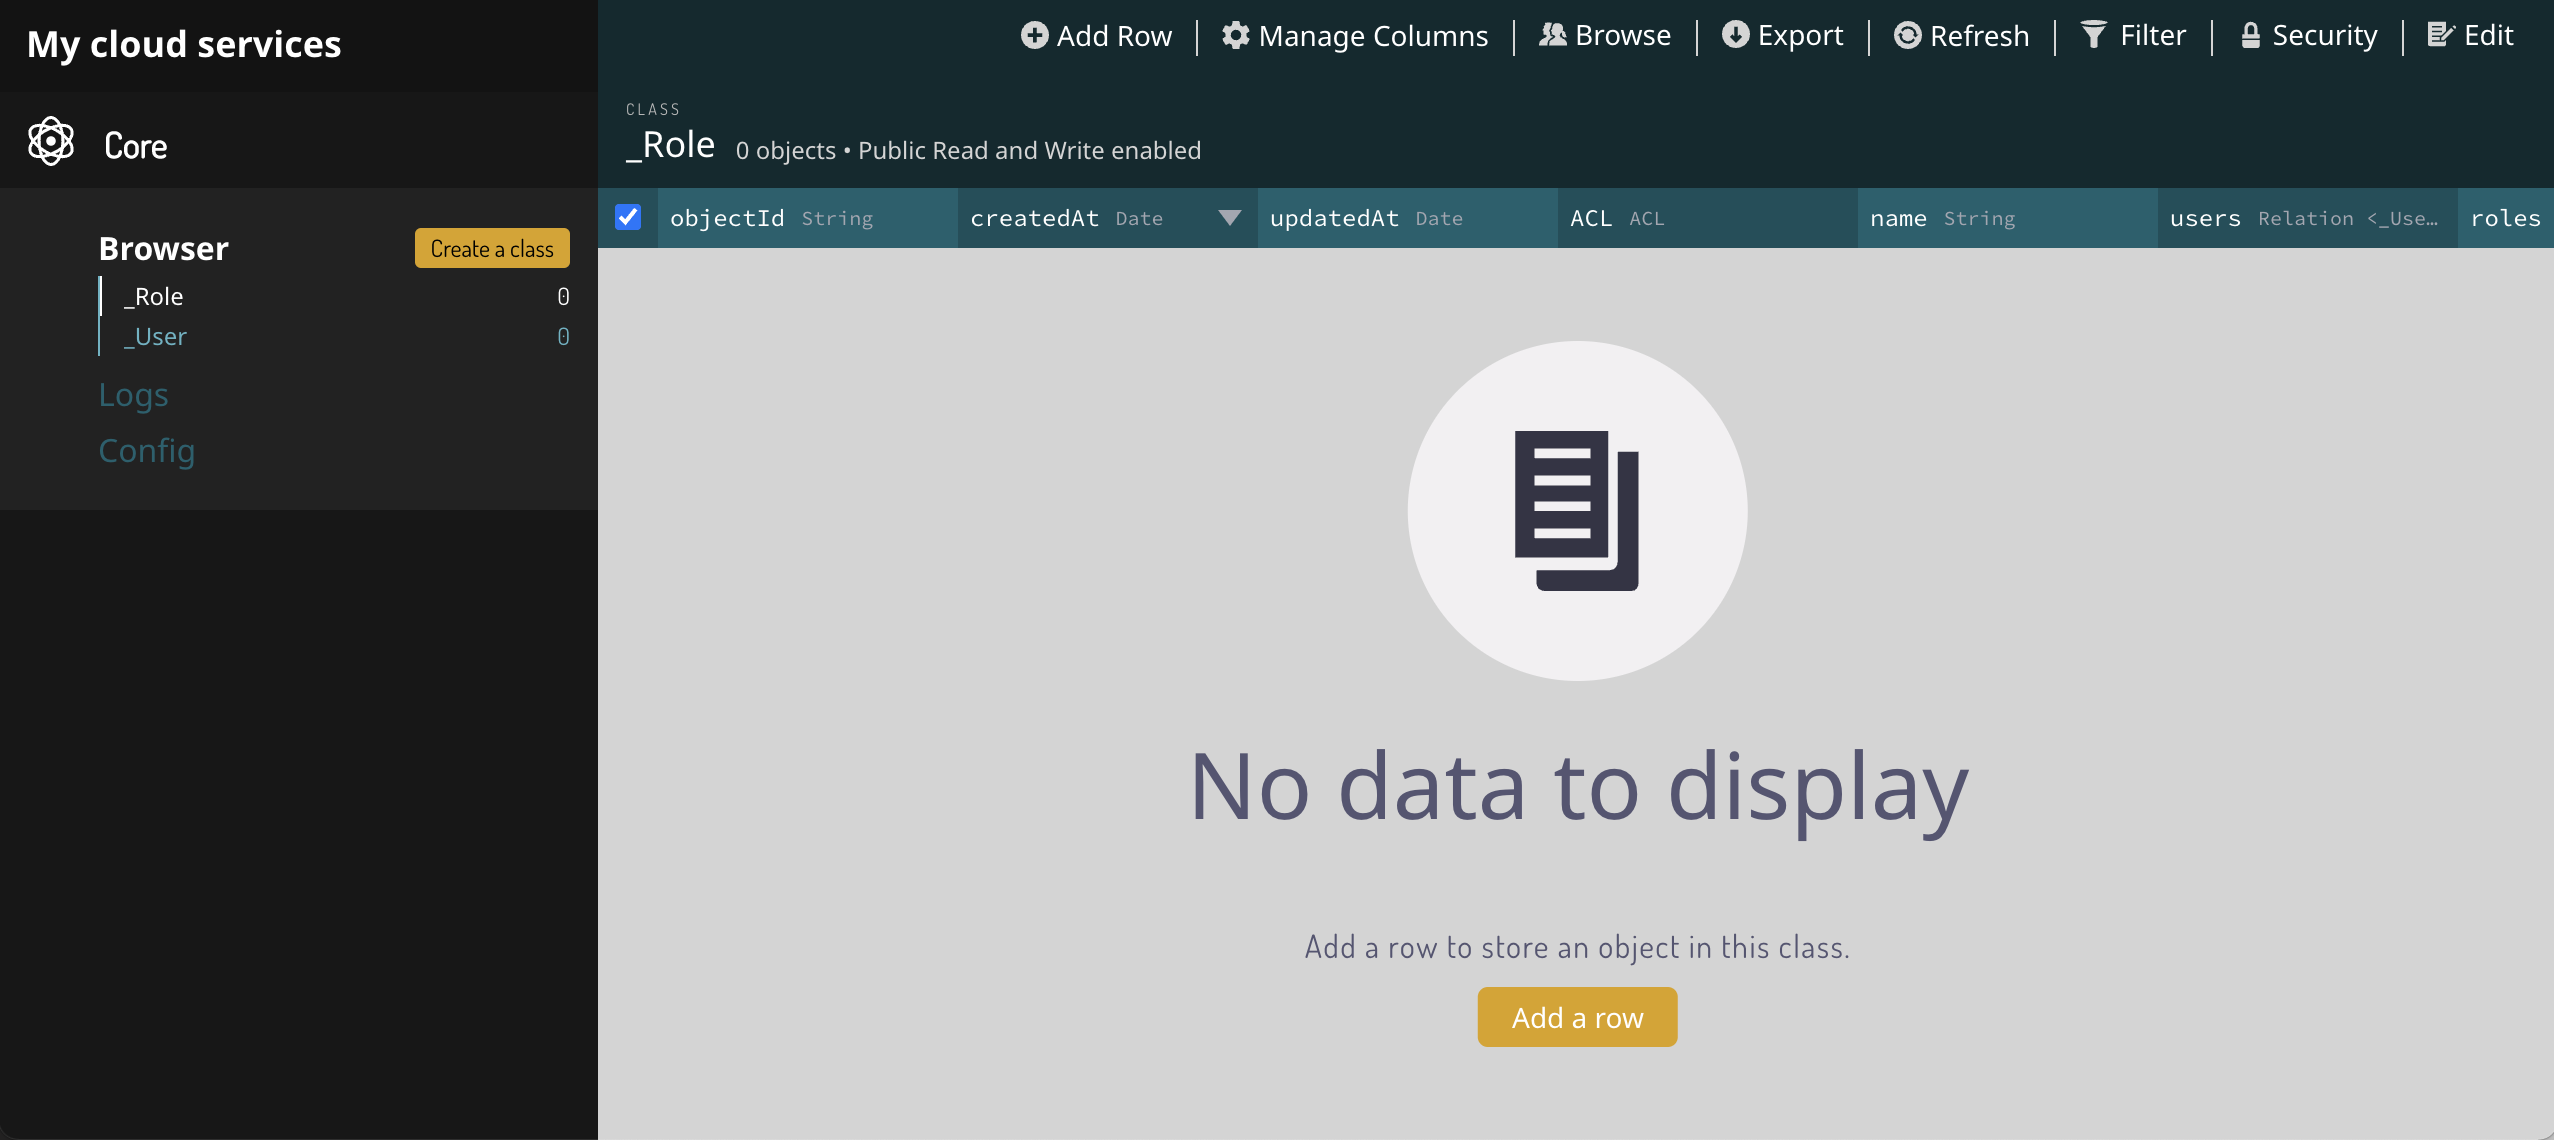
Inspect the Cloud Service using the Dashboard
Now your project is connected to a Cloud Service with a Database. The best way to get an overview of the database is to open the Dashboard. You open it by clicking the Open dashboard button on your Cloud Service.
No you can see the contents of your Database in the menu to the left, under Browser. Right now, the Database contains two classes: User and Role. These two classes are created automatically. These classes are used to manage login and credentials in your app but we will not care about them in this guide.
Classes
A Class in the database is a collection of Records of the same type. In other databases these are often referred to as Tables or Collections. In the case of the User class, it contains User Records where each record have data properties such as User Name, Email, etc. A typical app will have many different classes but we will not create any new classes in this guide. Instead you can close the Dashboard window for now.
Creating and switching to a new cloud service
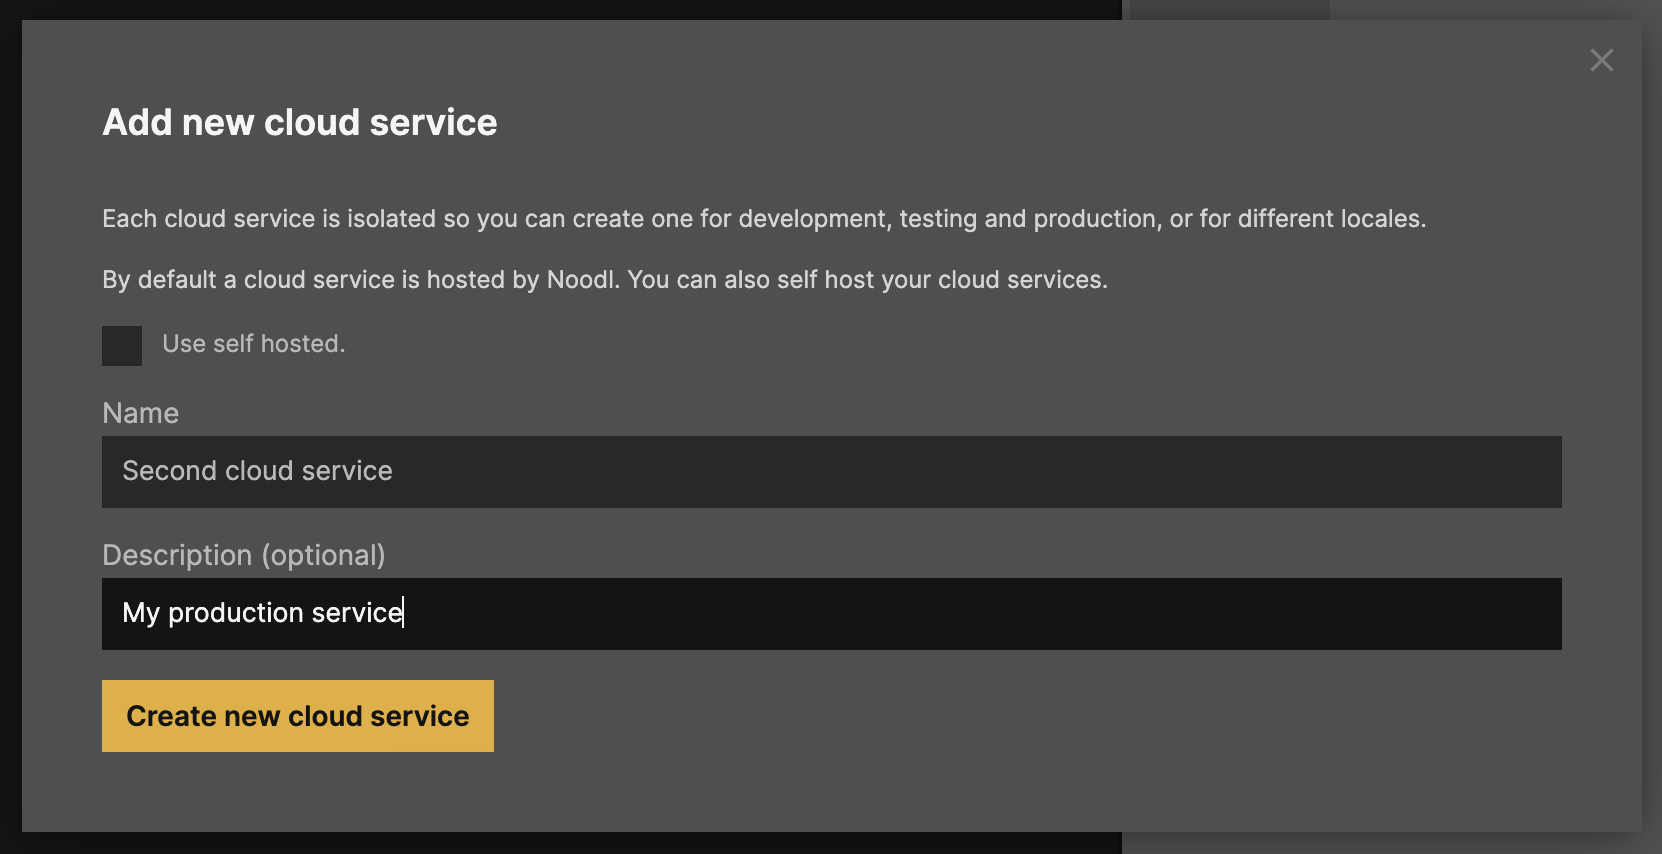
Now you can create a second cloud service, be following the same process as above. Give it a name, for example Second cloud service and a short description: My production service. You now have a second cloud service in the list, that you can make it the active backend for the editor by clicking Use in editor.
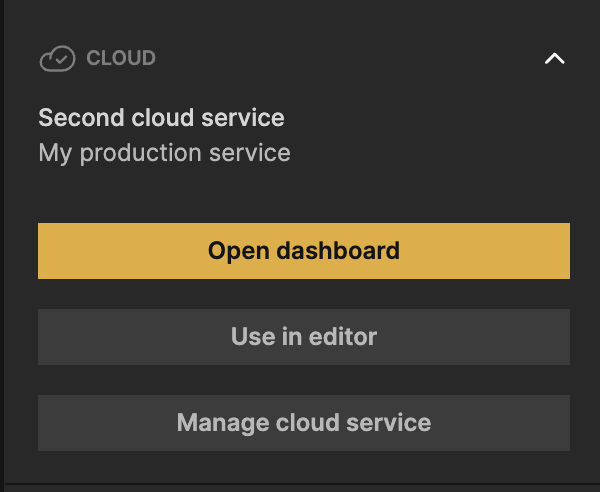
Now you can switch back and forth between your two cloud services. But most often you use one for development and the other when you deploy.
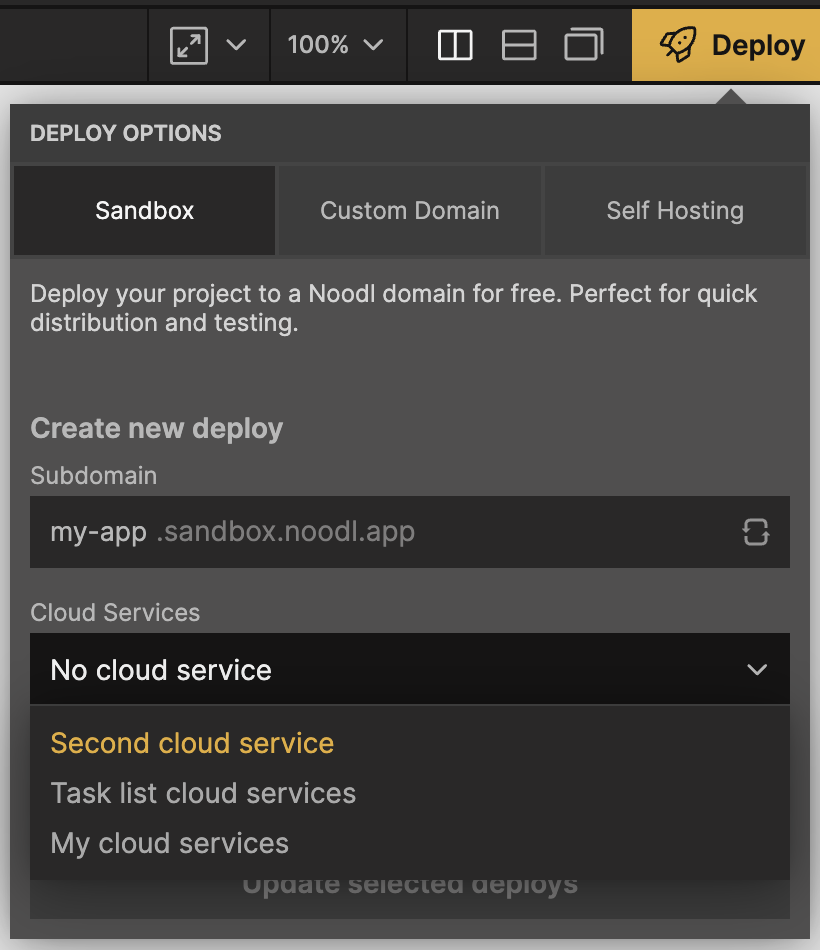
Deploying with a cloud service
When you deploy you application you pick which cloud service to use for the deploy. So you can for instance have one test deploy to sandbox that is using your development or testing cloud service, and another using your custom domain that use your production cloud service.