Creating a Class in the Database
What you will learn in this guide
In this guide you will learn how to create new Classes in the database and add new Columns to it. Classes are used to hold Records in a Database in Noodl.
Overview
We will go through the following steps in this guide
- Add a new Class to the Database using the Dashboard
- Add new Columns to the Class
- Add a couple of new Records in the Class through the Dashboard
Before you start this guide, make sure you have enabled Cloud Services and have one active for your project. You can learn how to do this in this guide.
Add a new Class to the database using the Dashboard
First, make sure you have an active cloud service for your project. Then click the Dashboard button in the Cloud Services sidebar.
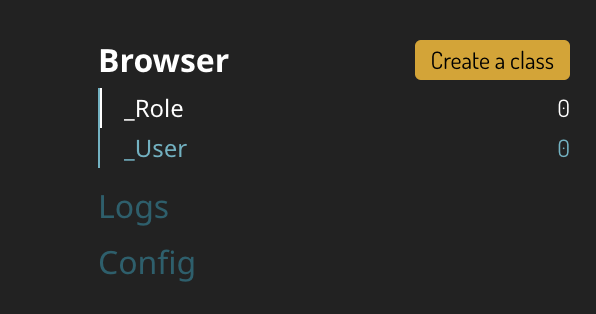
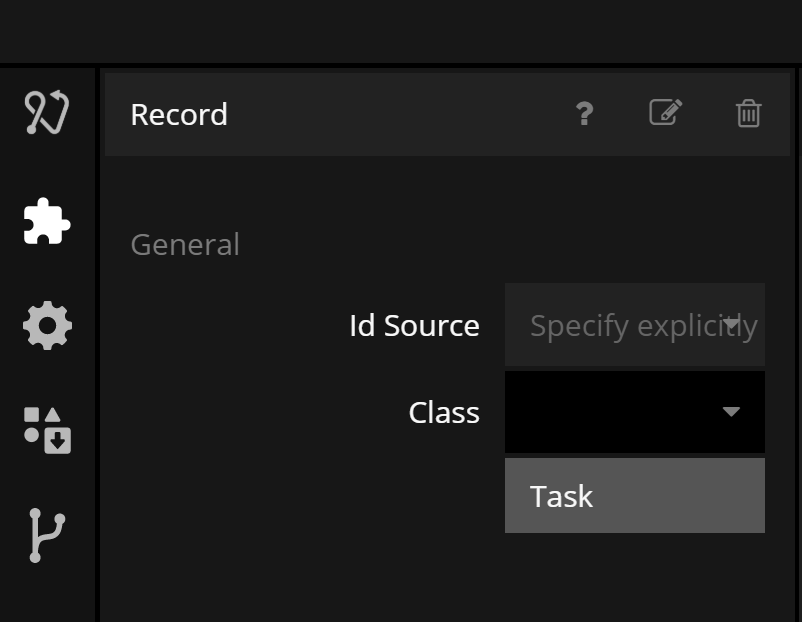
Now you can add a new Class to the database either by clicking the yellow button Create a Class in the menu to the left, or open the Edit menu and select Add a Class.
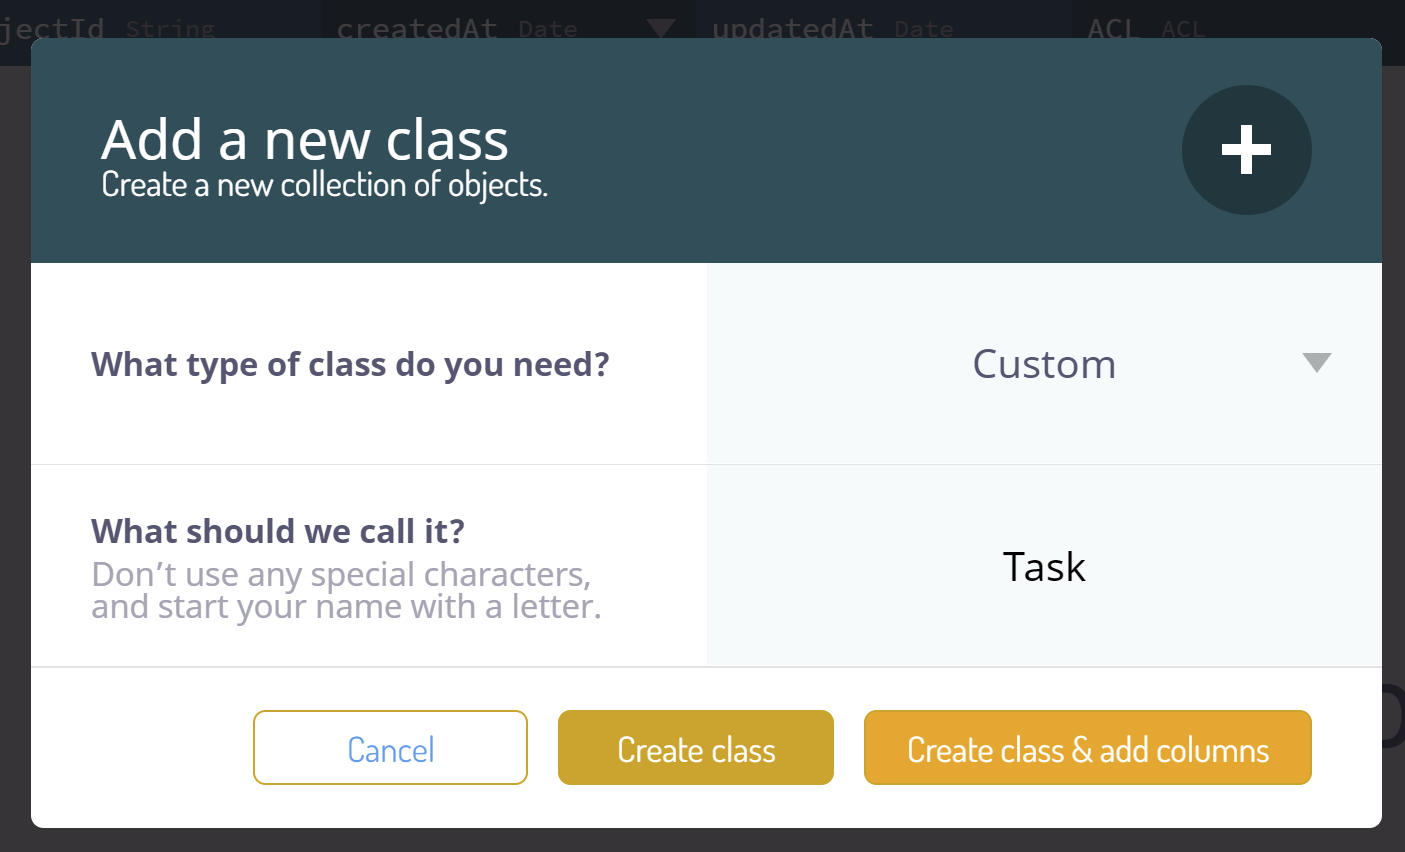
Next step is to give the Class a name. Fill in a name, for example Task and make sure it's of the type Custom. Now you can select Create class and add columns.
Adding Columns to a Class
What is a column?
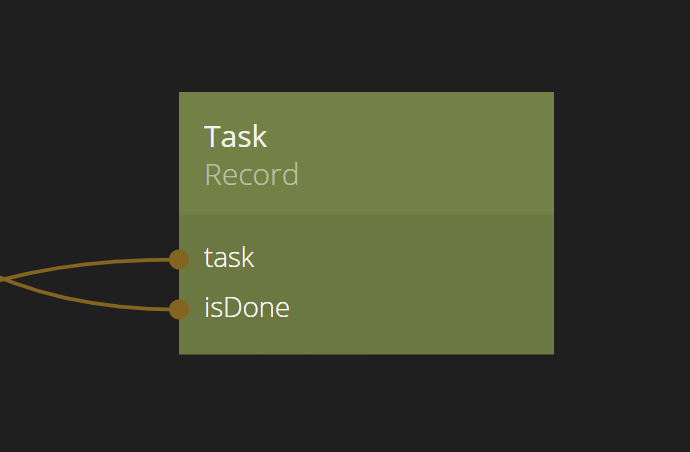
Each Class in Noodl have a number of Columns which defines what type of data each Record in the class can have. For example, if you are building a Task Management app, you may have a class called Task, with the columns task and isDone as two columns, holding the description of the task and wether the task is done or not. In Noodl, the Columns will be represented as properties on the Record node that can be used as inputs our outputs.

note
Relations are an exception here. They can only be used through Queries and won't shop up as properties on Record nodes.
Column Types
Each Column has a specific data type that decides what kind of data it can hold. There are 11 different data types available:
- String - a string value
- Boolean - a boolean value (can be
trueorfalse) - Number - a number value
- Date - a date (stored in iso format)
- Object - a JavaScript object
- Array - a JavasSript array
- Geopoint - A Geopoint, i.e. a location on the surface of the earth
- Polygon - a GEOJSon polygon object
- File - a reference to a file
- Pointer - A pointer to another Record in a Class
- Relations - A list of relations to other Records in a Class. Note that these won't show up directly on the Record node, but are available in queries.
In this guide, we will focus in on the simpler data types, String, Boolean and Number.
Lets add two columns to our Class, task - a String type column, and isDone - a boolean. You can also chose to have a default value for each column that will be set if a new Record has no entry set for that column. In our case, let set the default value of isDone to false.
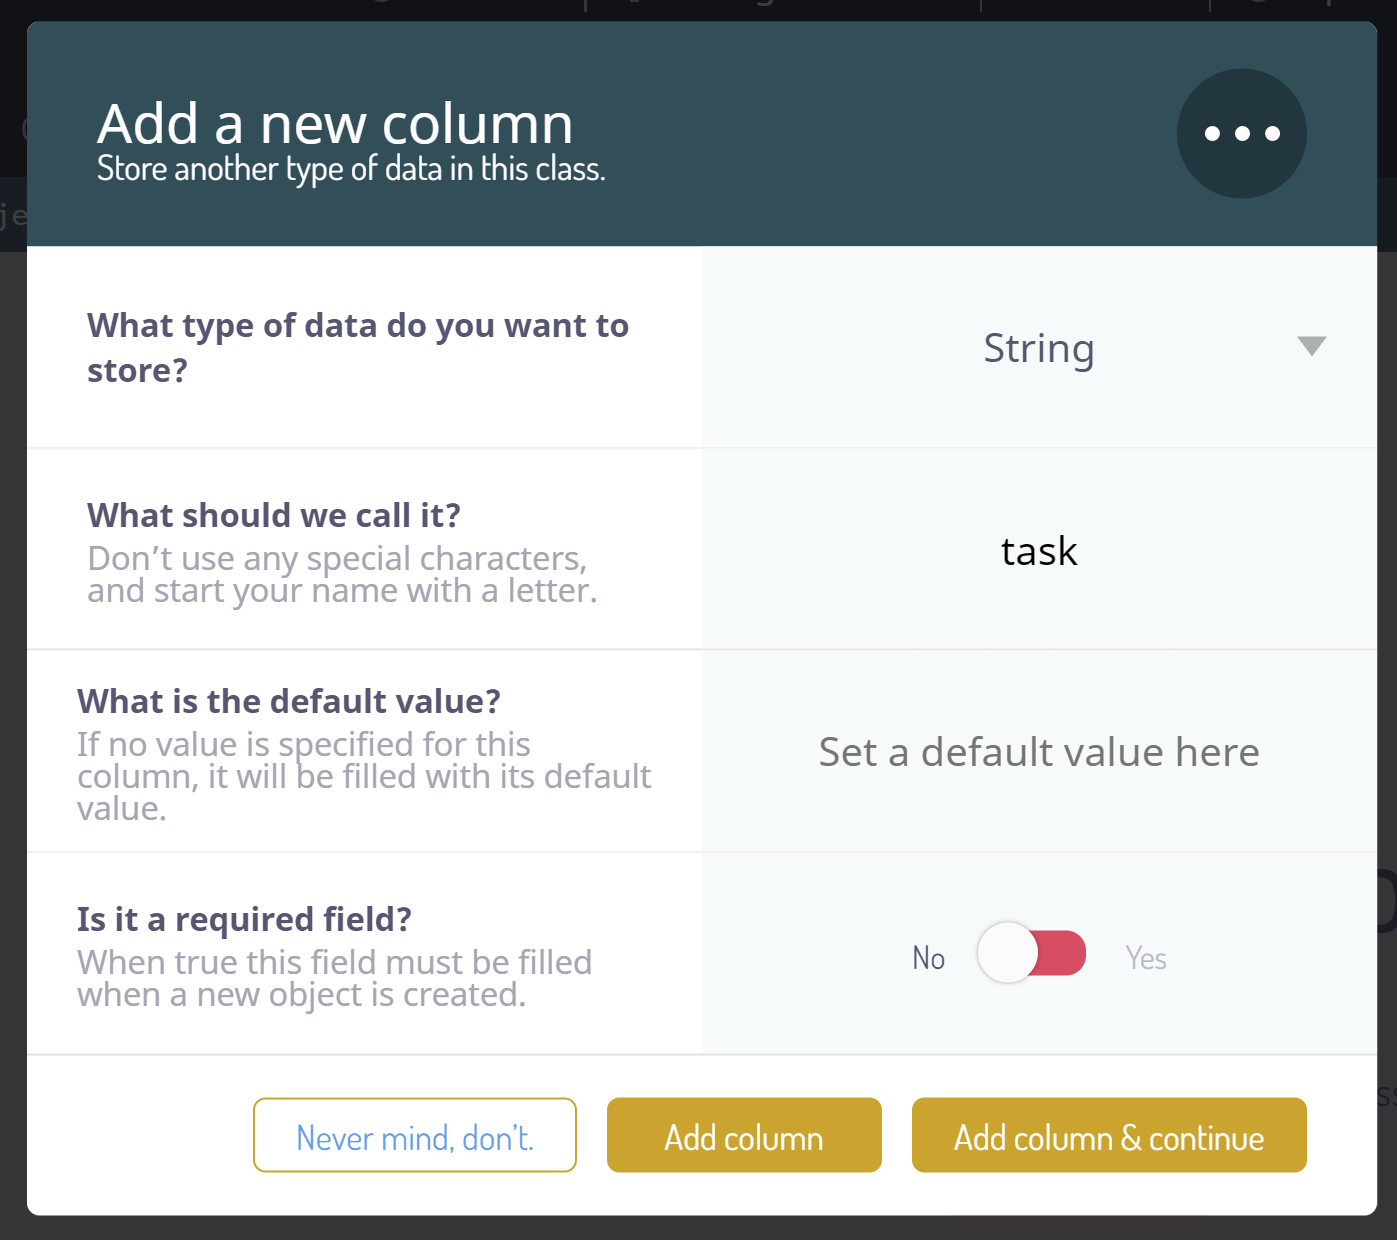
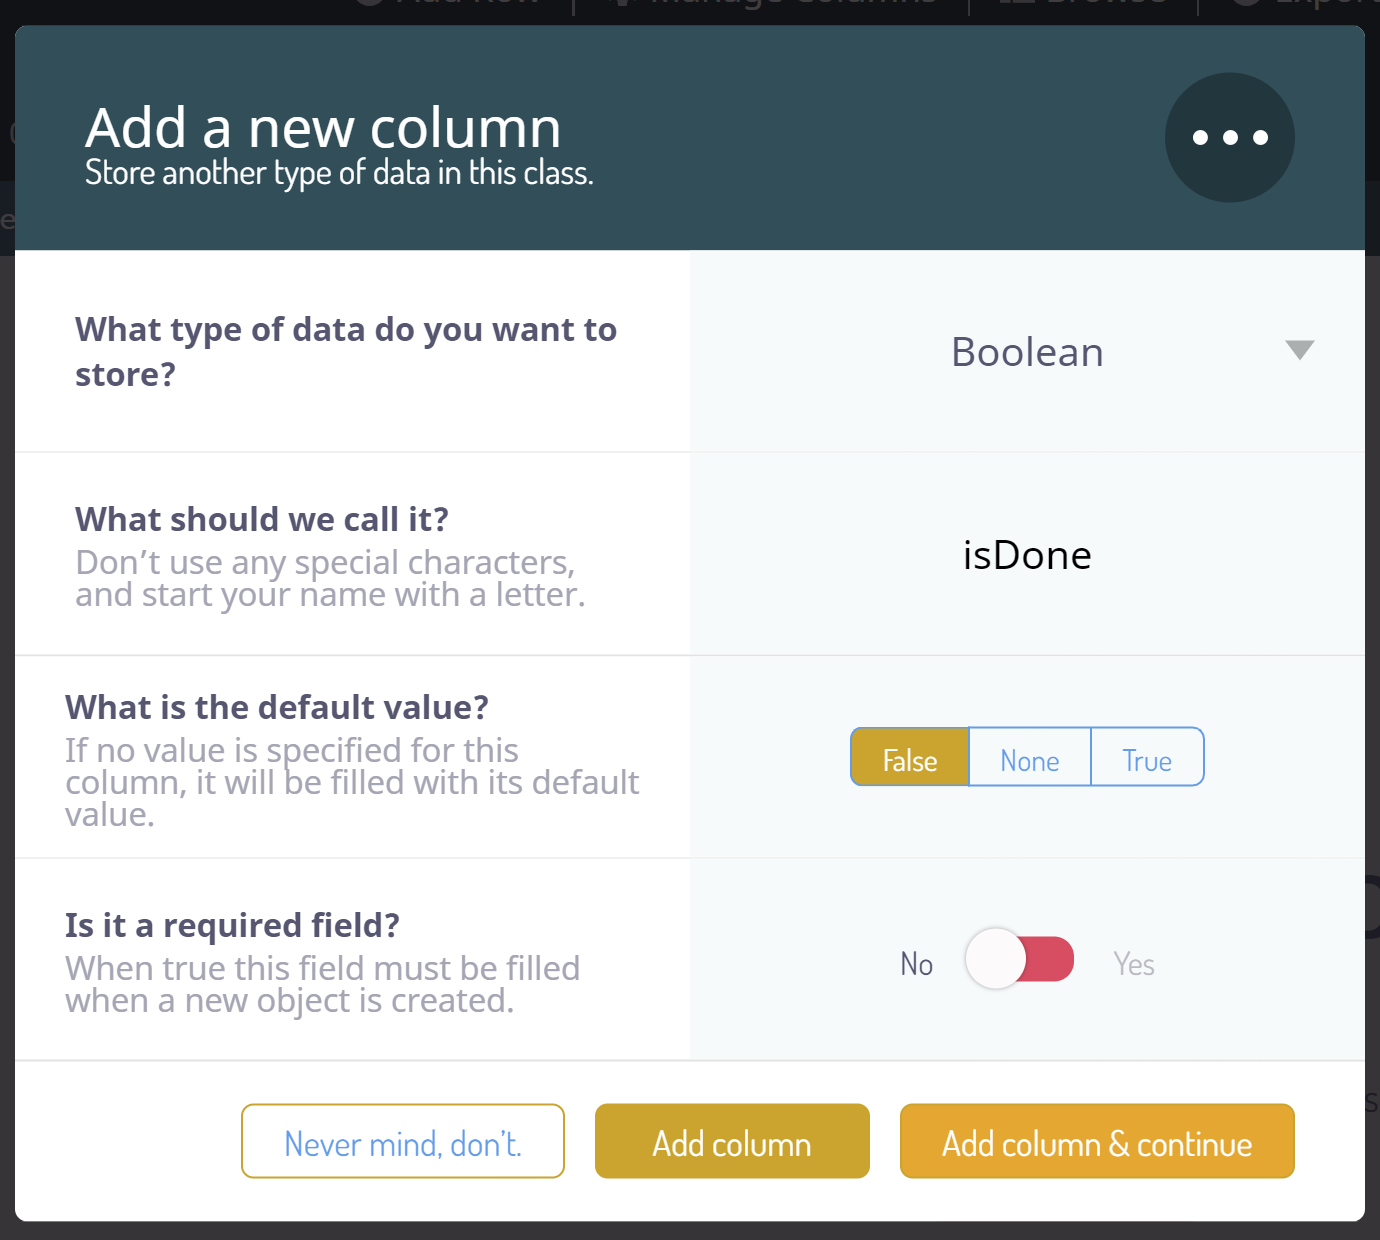
You can also select if a Column is required for a new Record to be added in the Class. If set to true, the insertion will any new Record that has no value provided for the Column. Right now we don't want that, so we will leave it in the state No for both Columns.
The default columns
As you can see when inspecting your new Task Class in the Dashboard, it also contains a few other Columns. These are automatically created you should generally not remove them. They are actually quite useful. The default columns are
- objectId - This is a unique identifyer for each Record. This identifyer will become the
idproperty of the Record node when refering to it using a Record node. - createdAt - A Date object containing the date and time for when the Record was created.
- updatedAt - A Date object containing the date and time for when the Record was last updated.
- ACL - A special column to keep track of which users and roles that has the right to fetch and store this object. For now, lets leave it as it is.
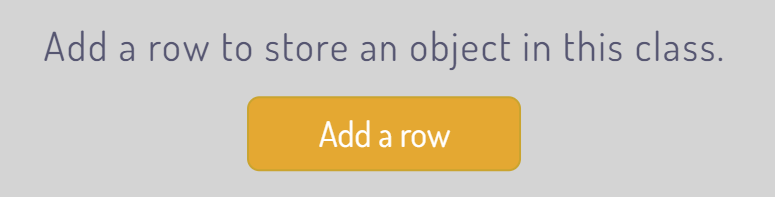
Adding a new Record
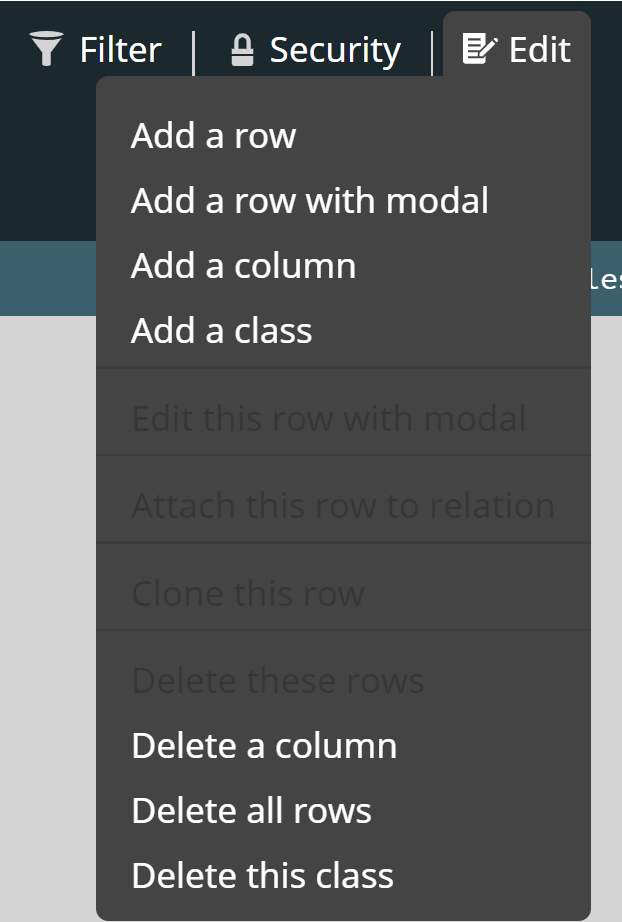
Now it's time to add a new Record to the Task Class. You can add Record either through the Add a row-button or through the Edit menu and then selecting Add row or Add row through modal. Let's click on the latter button. This brings up a form that lets you fill out the values for each Column for the new Record.
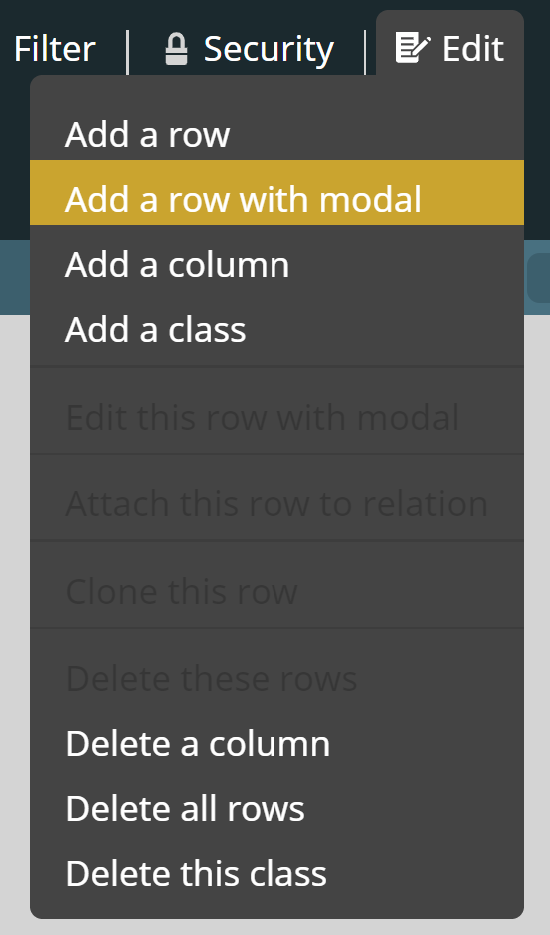
Add a few Records and see them pop up in the Class. You can also try deleting them by selecting them and click Edit->Delete these rows.