Scheduled Jobs
One very useful task for cloud functions are scheduled jobs. This is logic that you want to run in the cloud at specific intervals, such as every 15 minutes, hourly or daily. These jobs typically take care of housekeeping tasks that run in the "background" of your application.
Let's say for this example that we have a class in the database where a lot of records gets created as the application is running and to not use unnecessary data storage we want to prune the records that are older than 48 hours.
The job cloud function
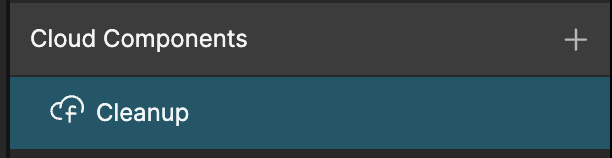
We start by creating a simple cloud function that will do the cloud job. Let's call it Cleanup.
In this function we add a small logic flow that first find all Photos that are older than 48 hours. This is done with a Query Records node and a date filter, passing in the date we want to compare createdAt too via a small Function snippet.
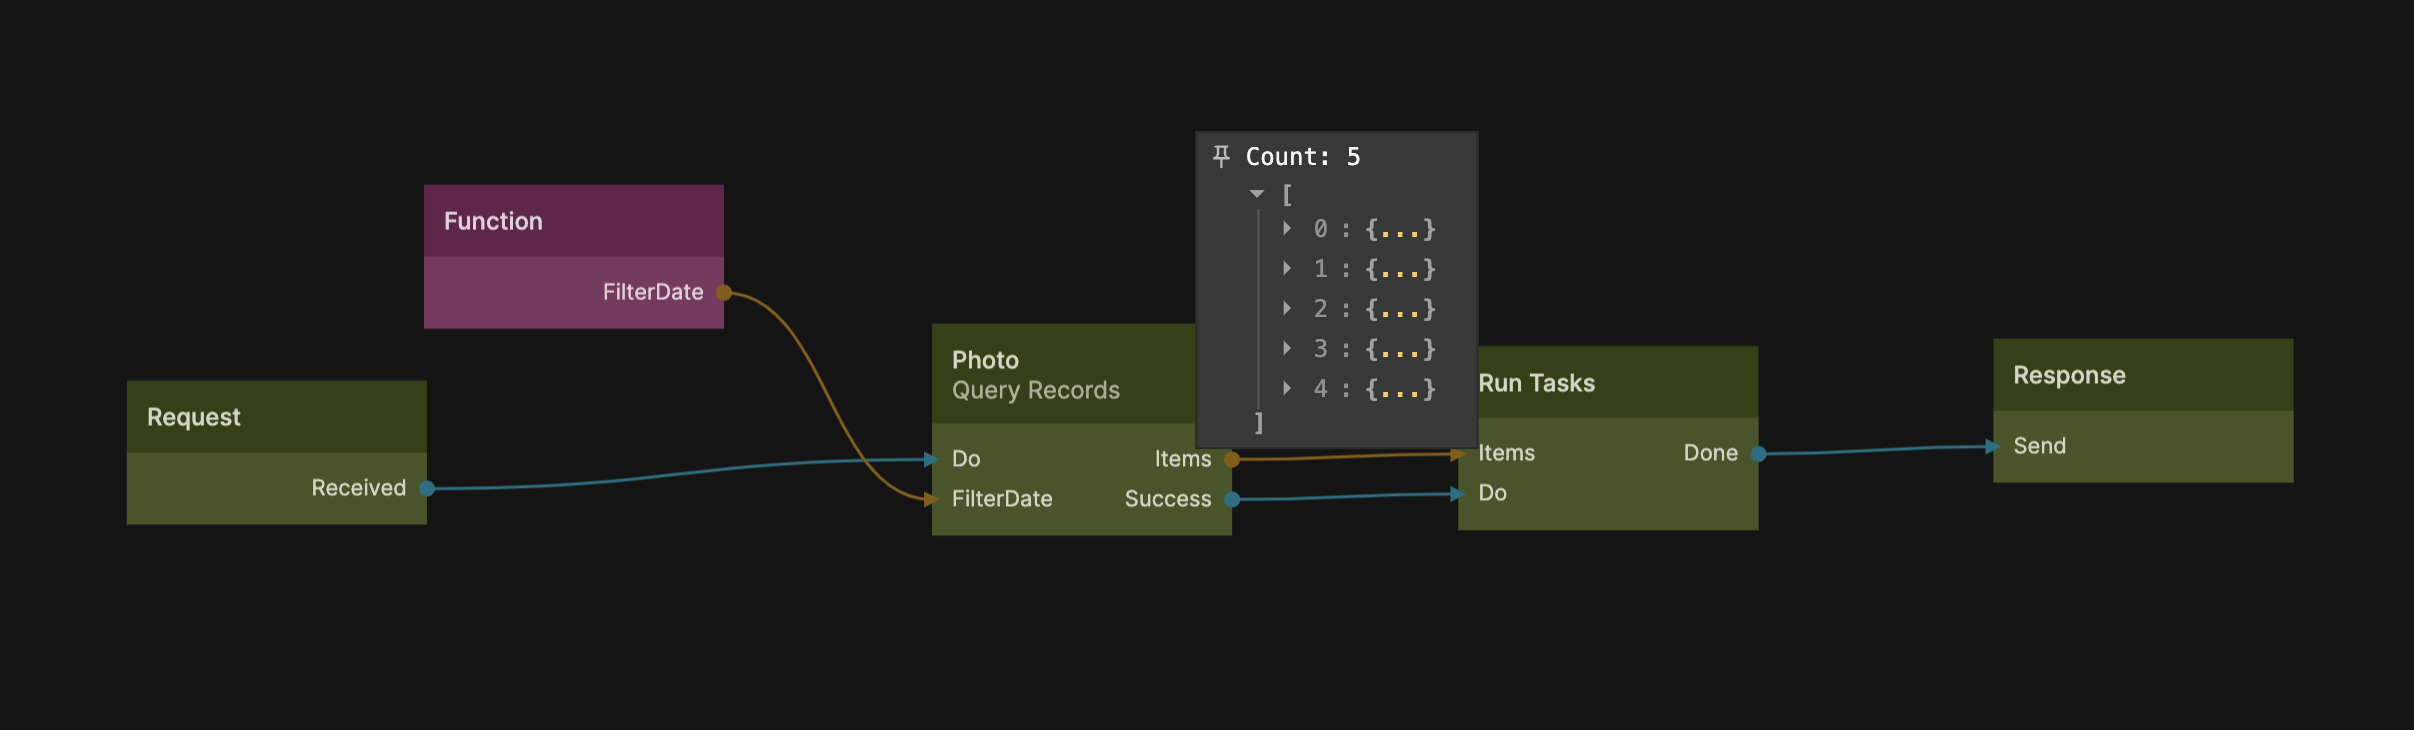
The Date object to compare to is calcuated as such (date right now, and back up 48 hours). We want all Photo records that have a date that is less (earlier) than this.
Outputs.FilterDate = new Date(Date.now() - 48*60*60*1000)
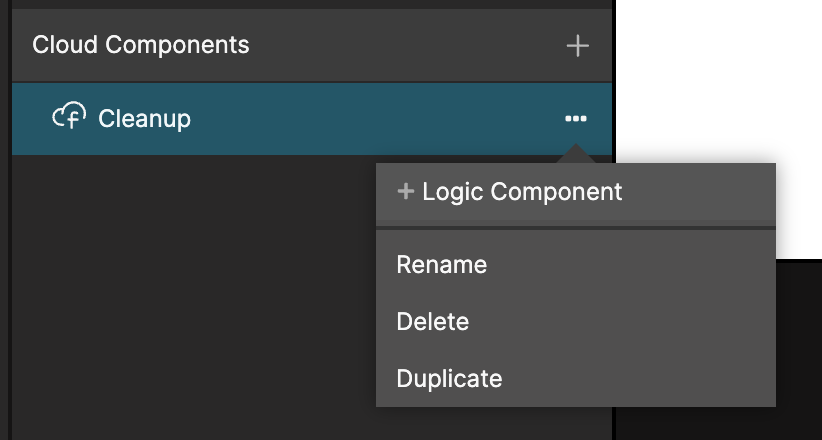
If successful the photos are passed into a handy node called Run Tasks which will perform a logic component task for each item in the array that is fed to it, reporting Done when the are all processed. We need to create the logic component, I called it Delete Task and added it as a child component to the cloud function.
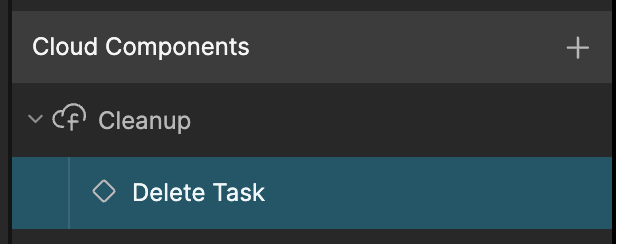
The Delete Task is very simple, it uses the Delete Record node triggered when the Do is sent. This signal is sent by the Run Tasks node.
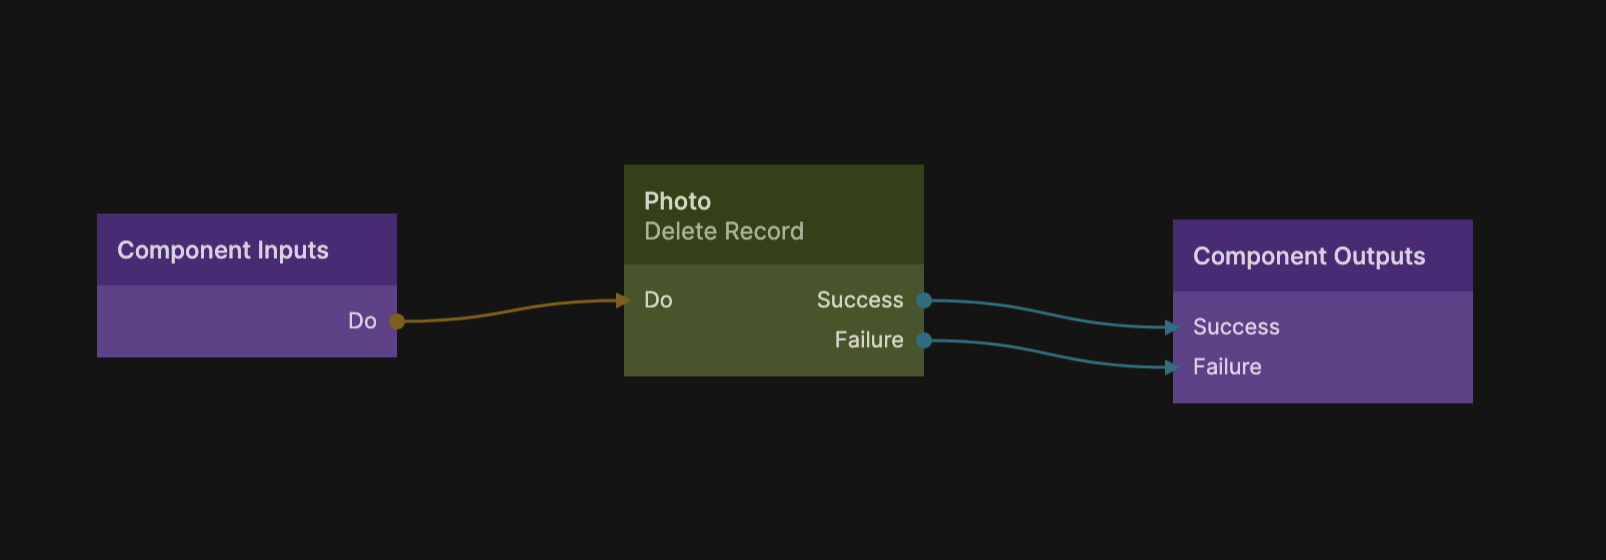
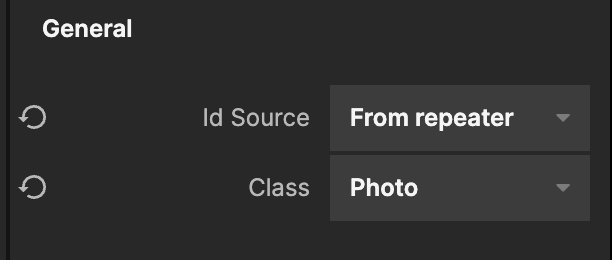
The Run Tasks node will create an instance of the task component (Delete Task) for each item in the array (that is for each Photo we want to delete) and just like the Repeater node you can specify that the Delete Record node should operate on the current record.
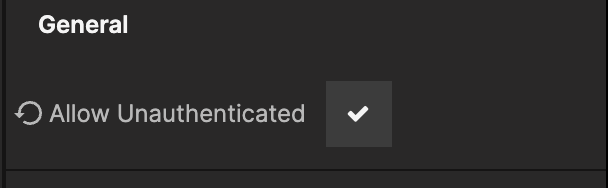
Then we just need one more thing for out Cleanup cloud function and that is to make sure it can be called without Authentication, we will get back to this a bit later. Make sure the Request node in the Cleanup cloud function has this property checked.
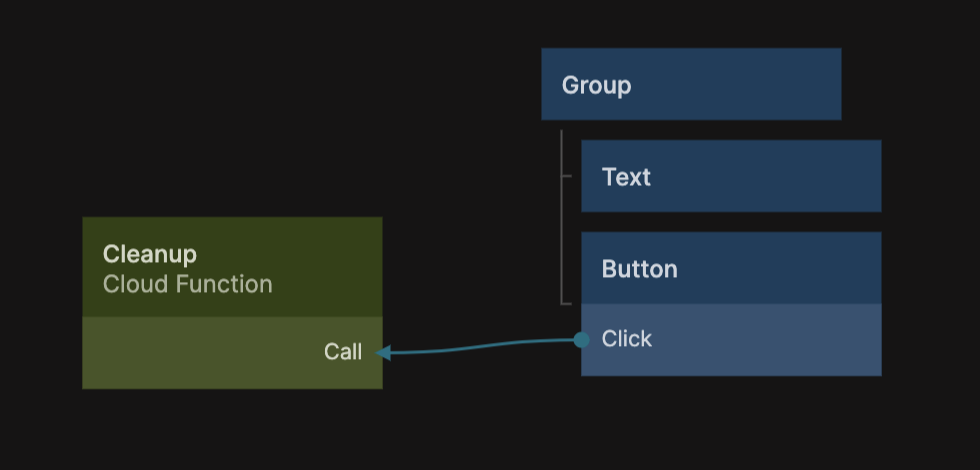
Testing and deploying
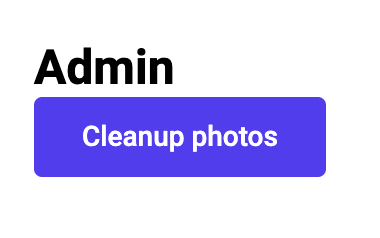
The easiest way to test your background job is to trigger it manually from the UI of your application. Add a button somewhere (maybe in an admin panel of your app) and simply run the function. This will allow you to test if properly and debug it in the Noodl editor before deploying.
When it's working to your liking, deploy it to your backend. Take a look in this guide to learn more about deploying.
Scheduling the job
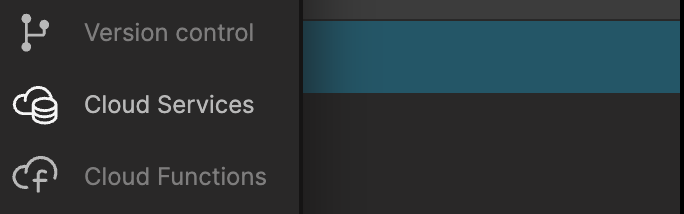
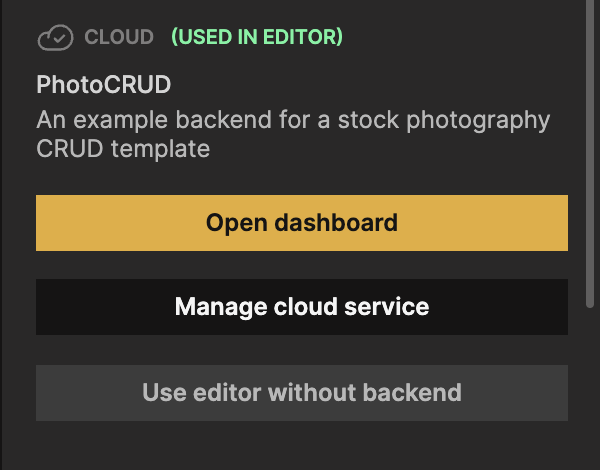
When the cloud function is deploy we need to schedule it to be run at the interval we want. You can run a deployed cloud function from outside of Noodl, this is very handy for tasks like handling paymnents with external providers etc, and it's super useful for scheduling cloud jobs too. First, find your cloud service in the cloud services tab, and look for Manage Cloud Service.
This will open a popup showing you information about the selected cloud services, we are looking for the Endpoint, this is the HTTP address you use to access your cloud service.
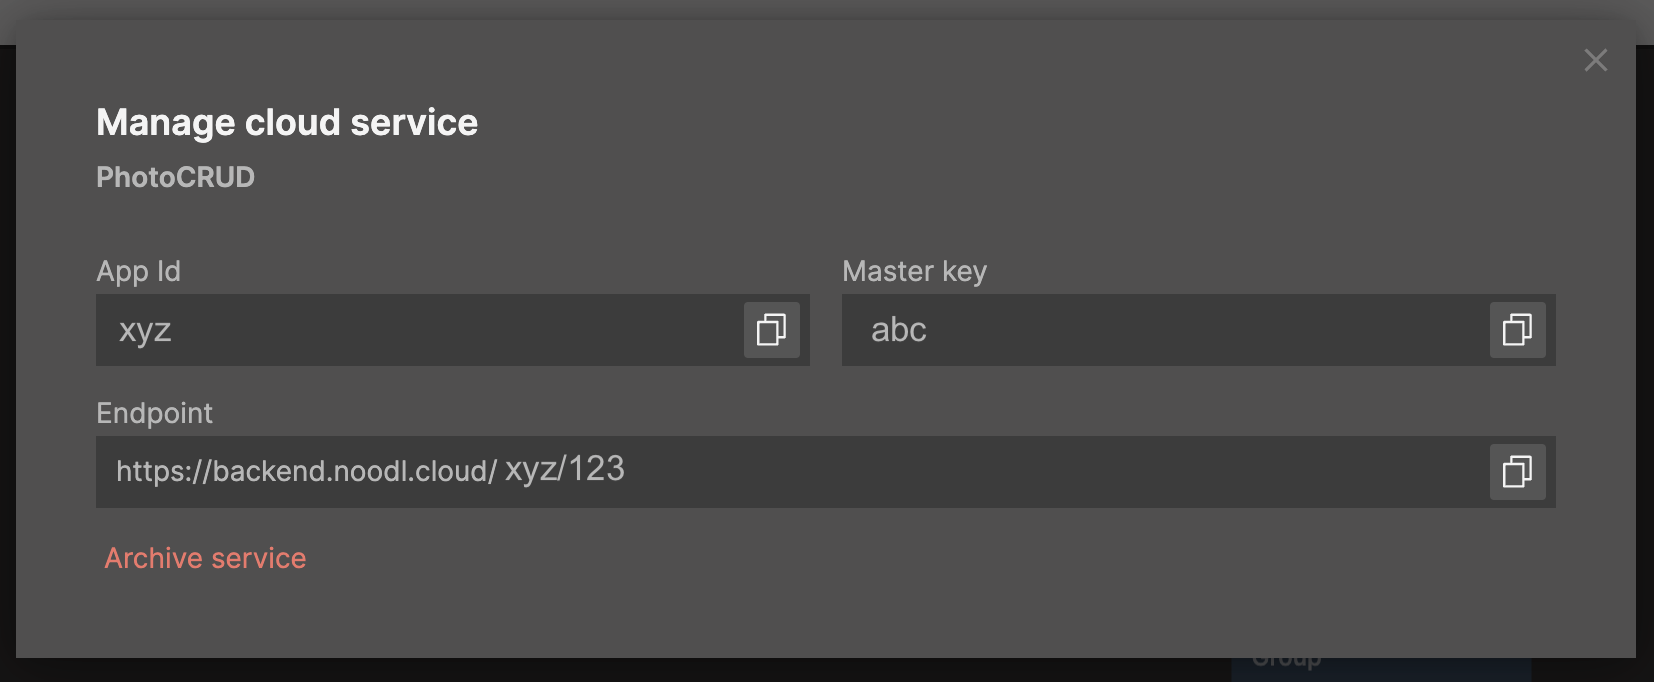
The endpoint will have the following format:
https://backend.noodl.cloud/xyz/123
With the endpoint in hand you can go ahead and set up the scheduling for your cloud job. There are a wide range of tools for scheduling HTTP calls and my absolute favorite is cron-job.org, it's clean, simple and free.
Once you have created an account and sign in, look for the Create Cronjob button.
First you provide the endpoint of the cloud function that is your backgroud job that you want to schedule, you use the endpoint for above and add /functions/{function-name}

note
Some tools don't handle urls with big and small cases to it might be a good idea to just use small cases in the names of your cloud functions and no spaces or other special characters.
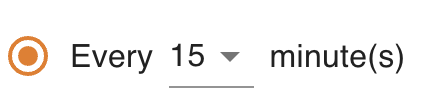
Move on to choosing the schedule interval for your background job:
note
Don't schedule your tasks too often. In Noodl hosted cloud services (and generally self hosted too) you are billed for the amount of time your cloud function runs, and if you are using a free plan and run too many cloud functions they will be throttled after a while and your application performance will suffer.
Now move over to the Advanced tab for some additional settings. Mainly that you need to change the Request Method to POST as that is how you invoke cloud functions in Noodl.

That's it, you can now test your function using the Test Run button and it should run successfully. Then go ahead and create it.

Now your cloud function will be scheduled and you can just sit back and watch as your photos are clean up (or whatever you choose to do in your background job) nicely.
Security
One final note on security. Above we set the cloud function to allow unauthenticated requests, this means that anyone can call this function whenever. It's not a huge problem since it doesn't do anything sensitive, it will simply prune our photos a bit more often. But it might run up our bill. So let's add a secret key that is needed to make the call.
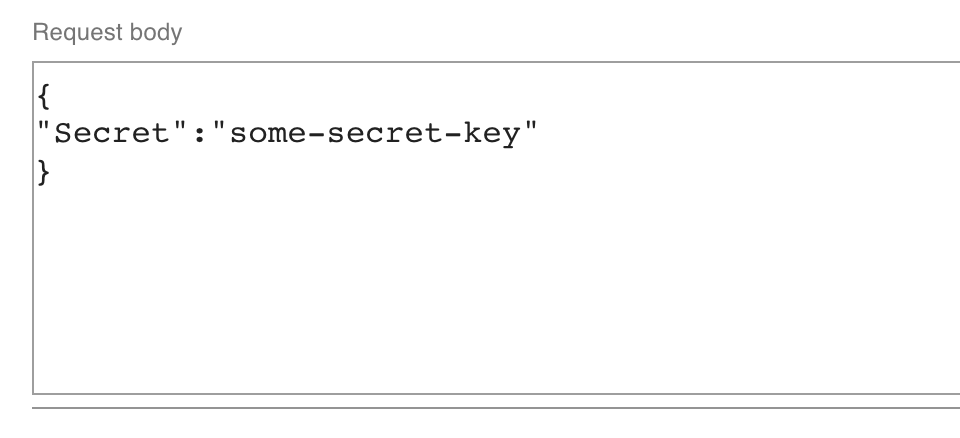
Simply add parameter to your cloud function called Secret, and add a small logic in the beginning of your function to verify it (you can pick any secret you like).
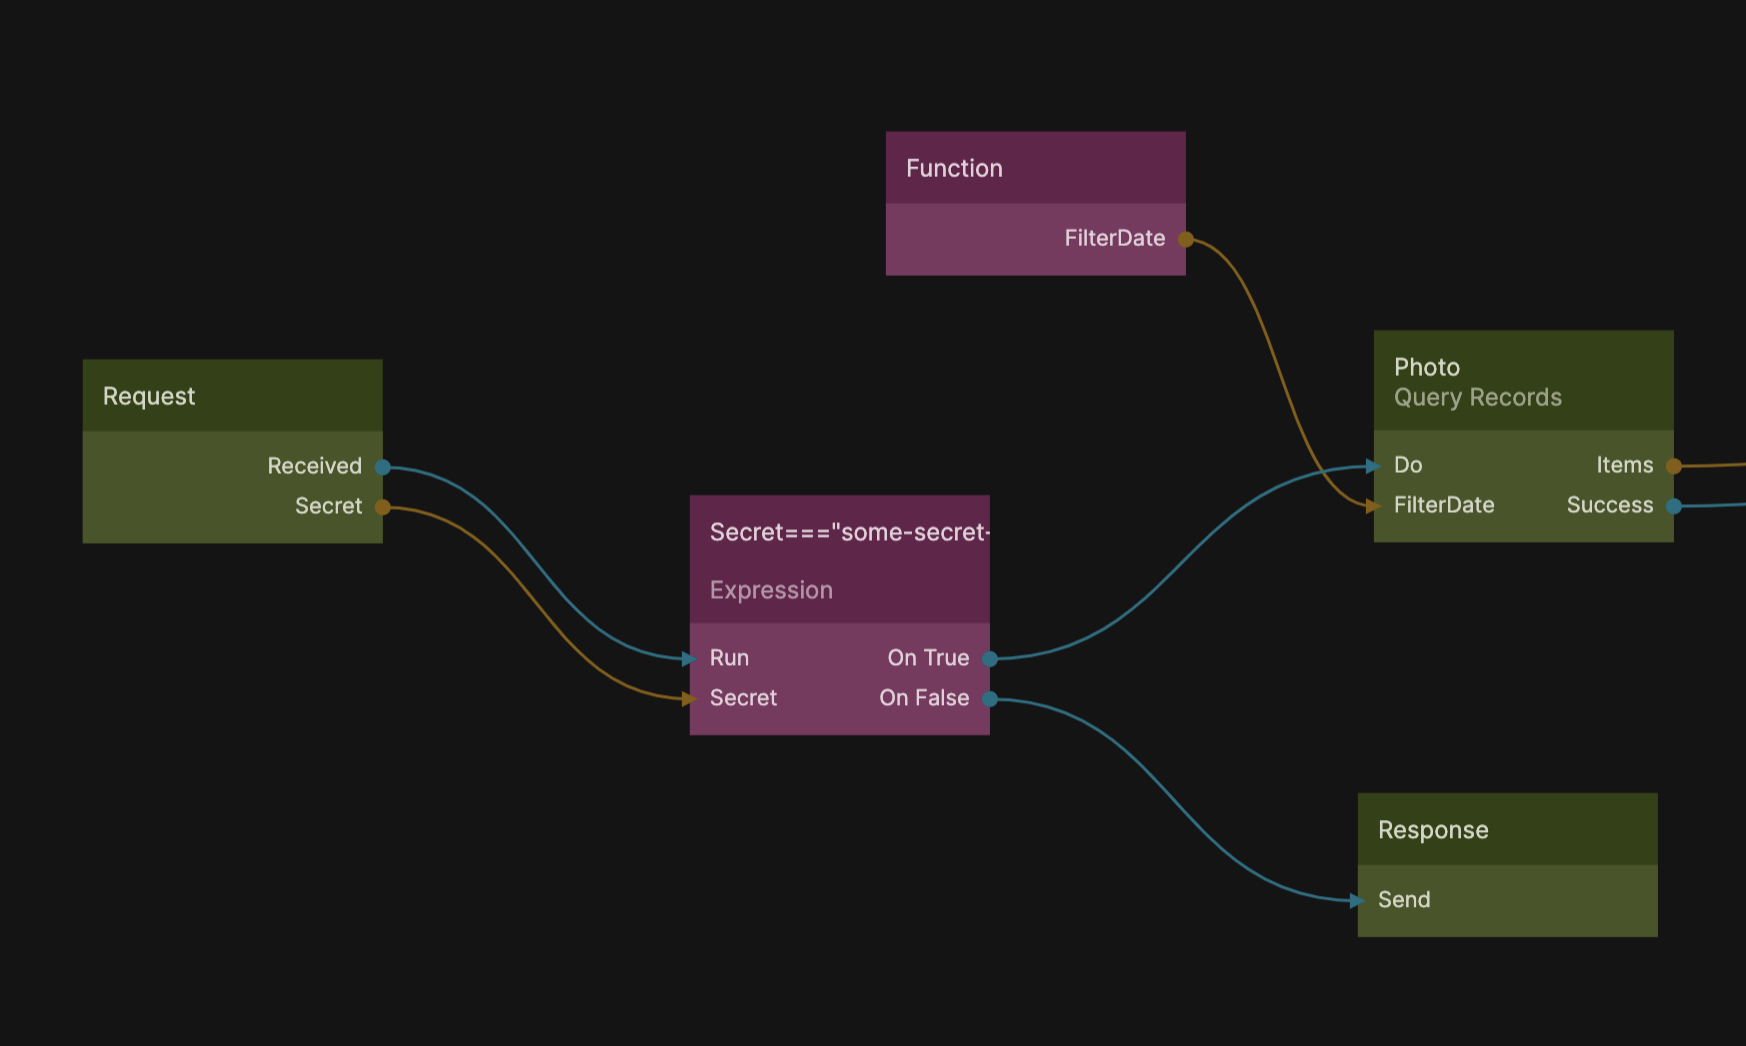
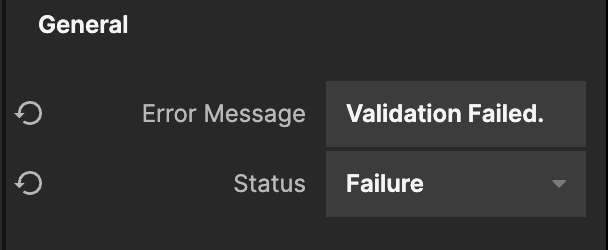
If the secret provided when calling this function does not match, then send an error response back.
This will make sure that no one can call your function (or at least, it won't do any possibly expensive work) without knowing your secret. Finally, provide the same secret when scheduling your background job, this can be done in the Advanced tab in cron-job.org.
There you go, now you have a scheduled cloud job up and running. Calling cloud functions from external services like this is a very useful pattern to integrate Noodl with other services, it will be a recurring pattern in other guides so it's good to know.