Modules and Prefabs in Noodl
Noodl has a lot of nodes available out of the box, but it can never include a node for everything. For that reason you can extend your project with specific modules or prefabs containing nodes and components to capture specfic functionality or UI controls.
The main difference between Modules and Prefabs is that Modules install new nodes to the editor, while Prefabs clones components built with the core nodes, and stores them as if you created them yourself. Prefabs can be imported as many times as you want, and each clone can be modified how you see fit.
You can see the list of modules here, and prefabs here. Make sure to check in often as the library keeps growing quickly.
How to add modules and prefabs to your project
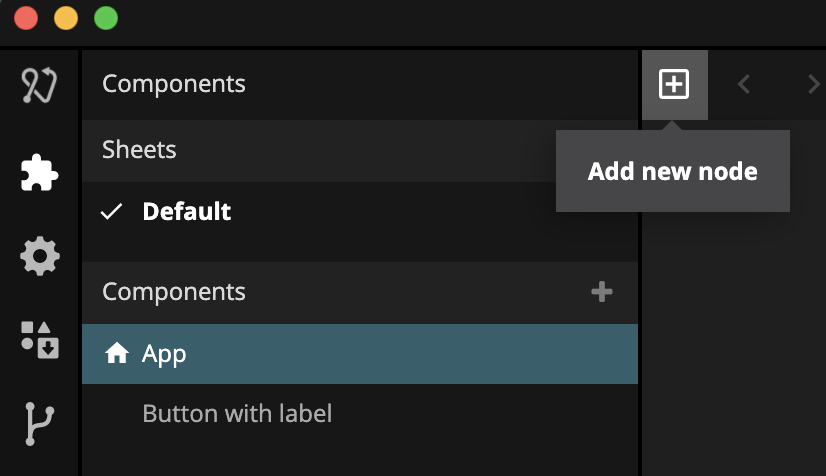
You add modules to your project by opening the project you want to use the module in and the bring up the Node Picker. You can do this either by Right Clicking in the node canvas or by clicking the + icon at the top left.
In the node picker, the find the tab Modules and then click Import on the module you want to use. The module is added to your project.
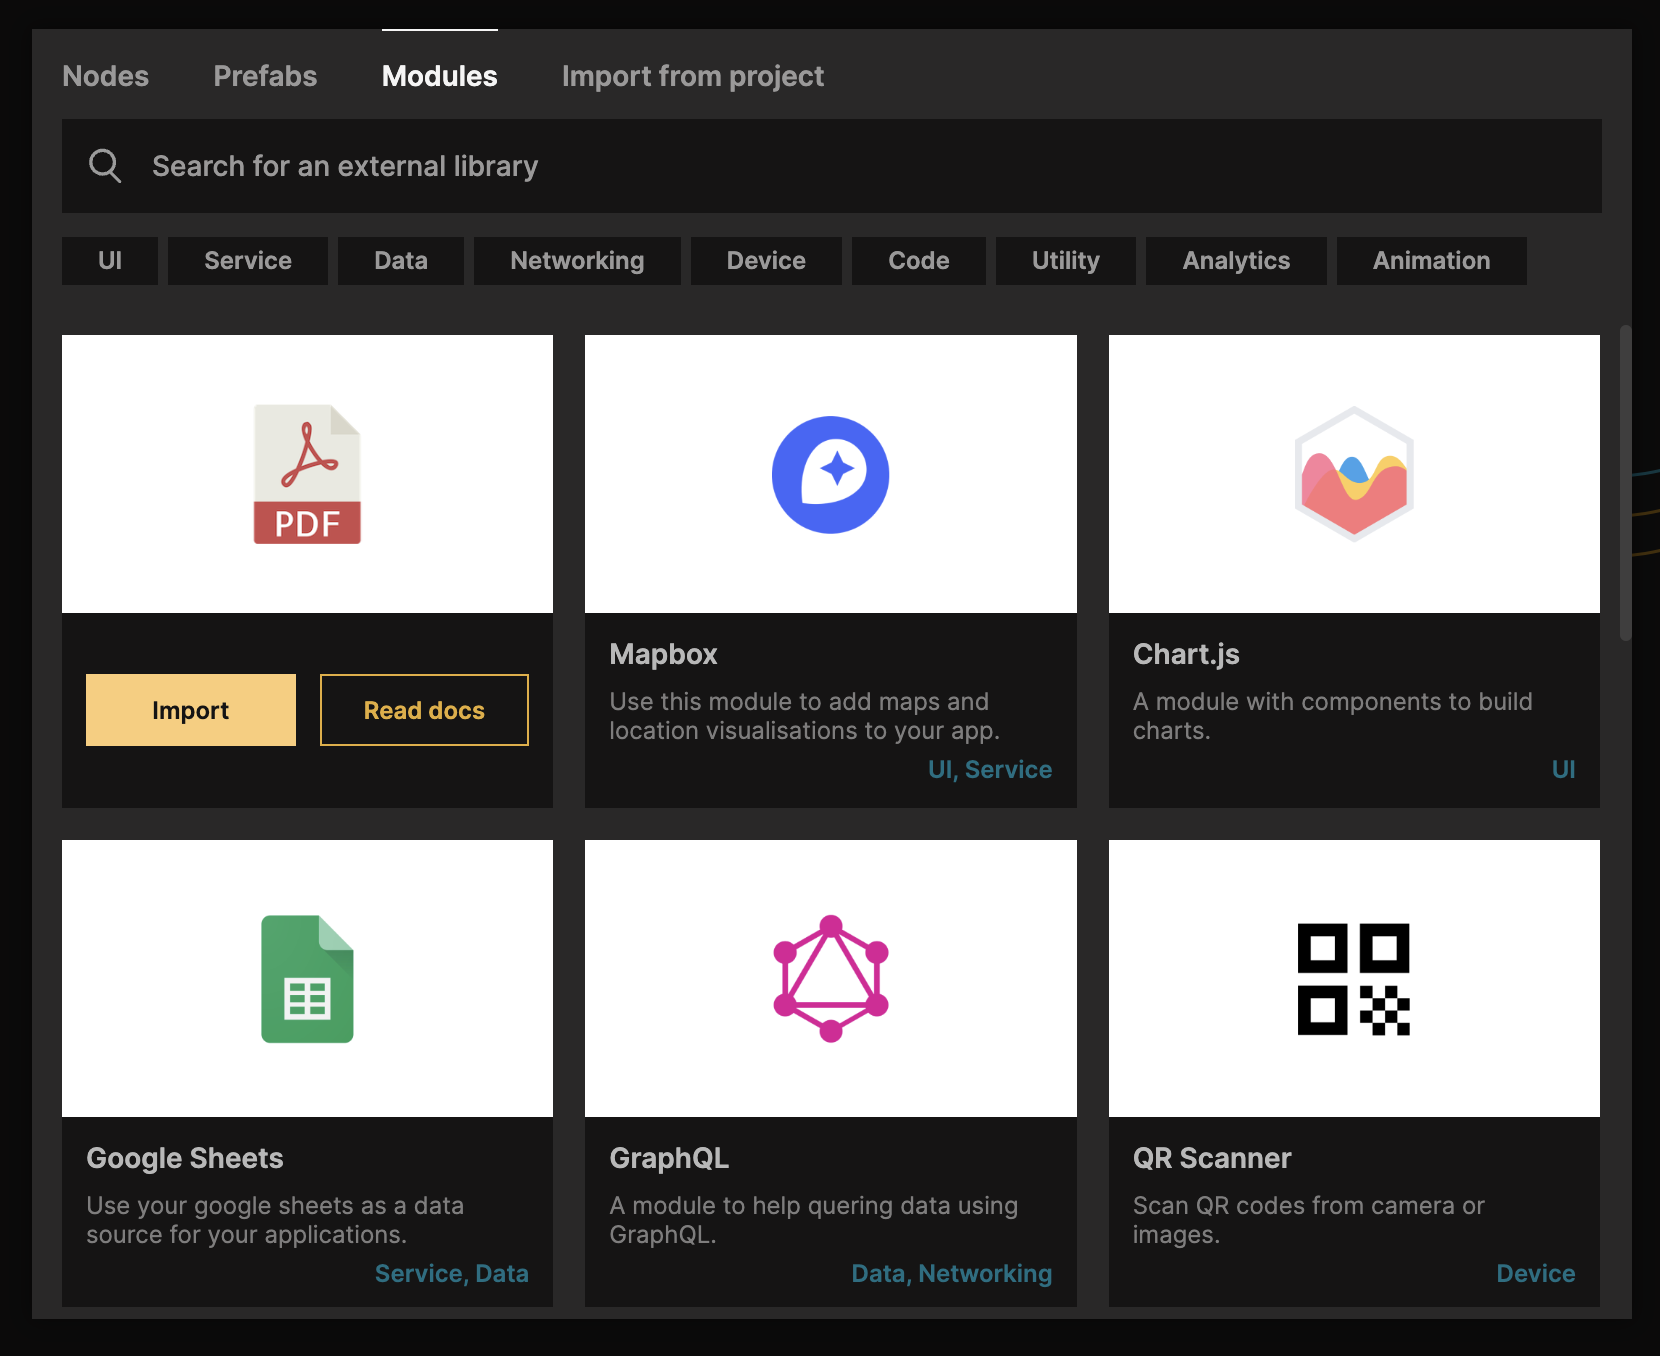
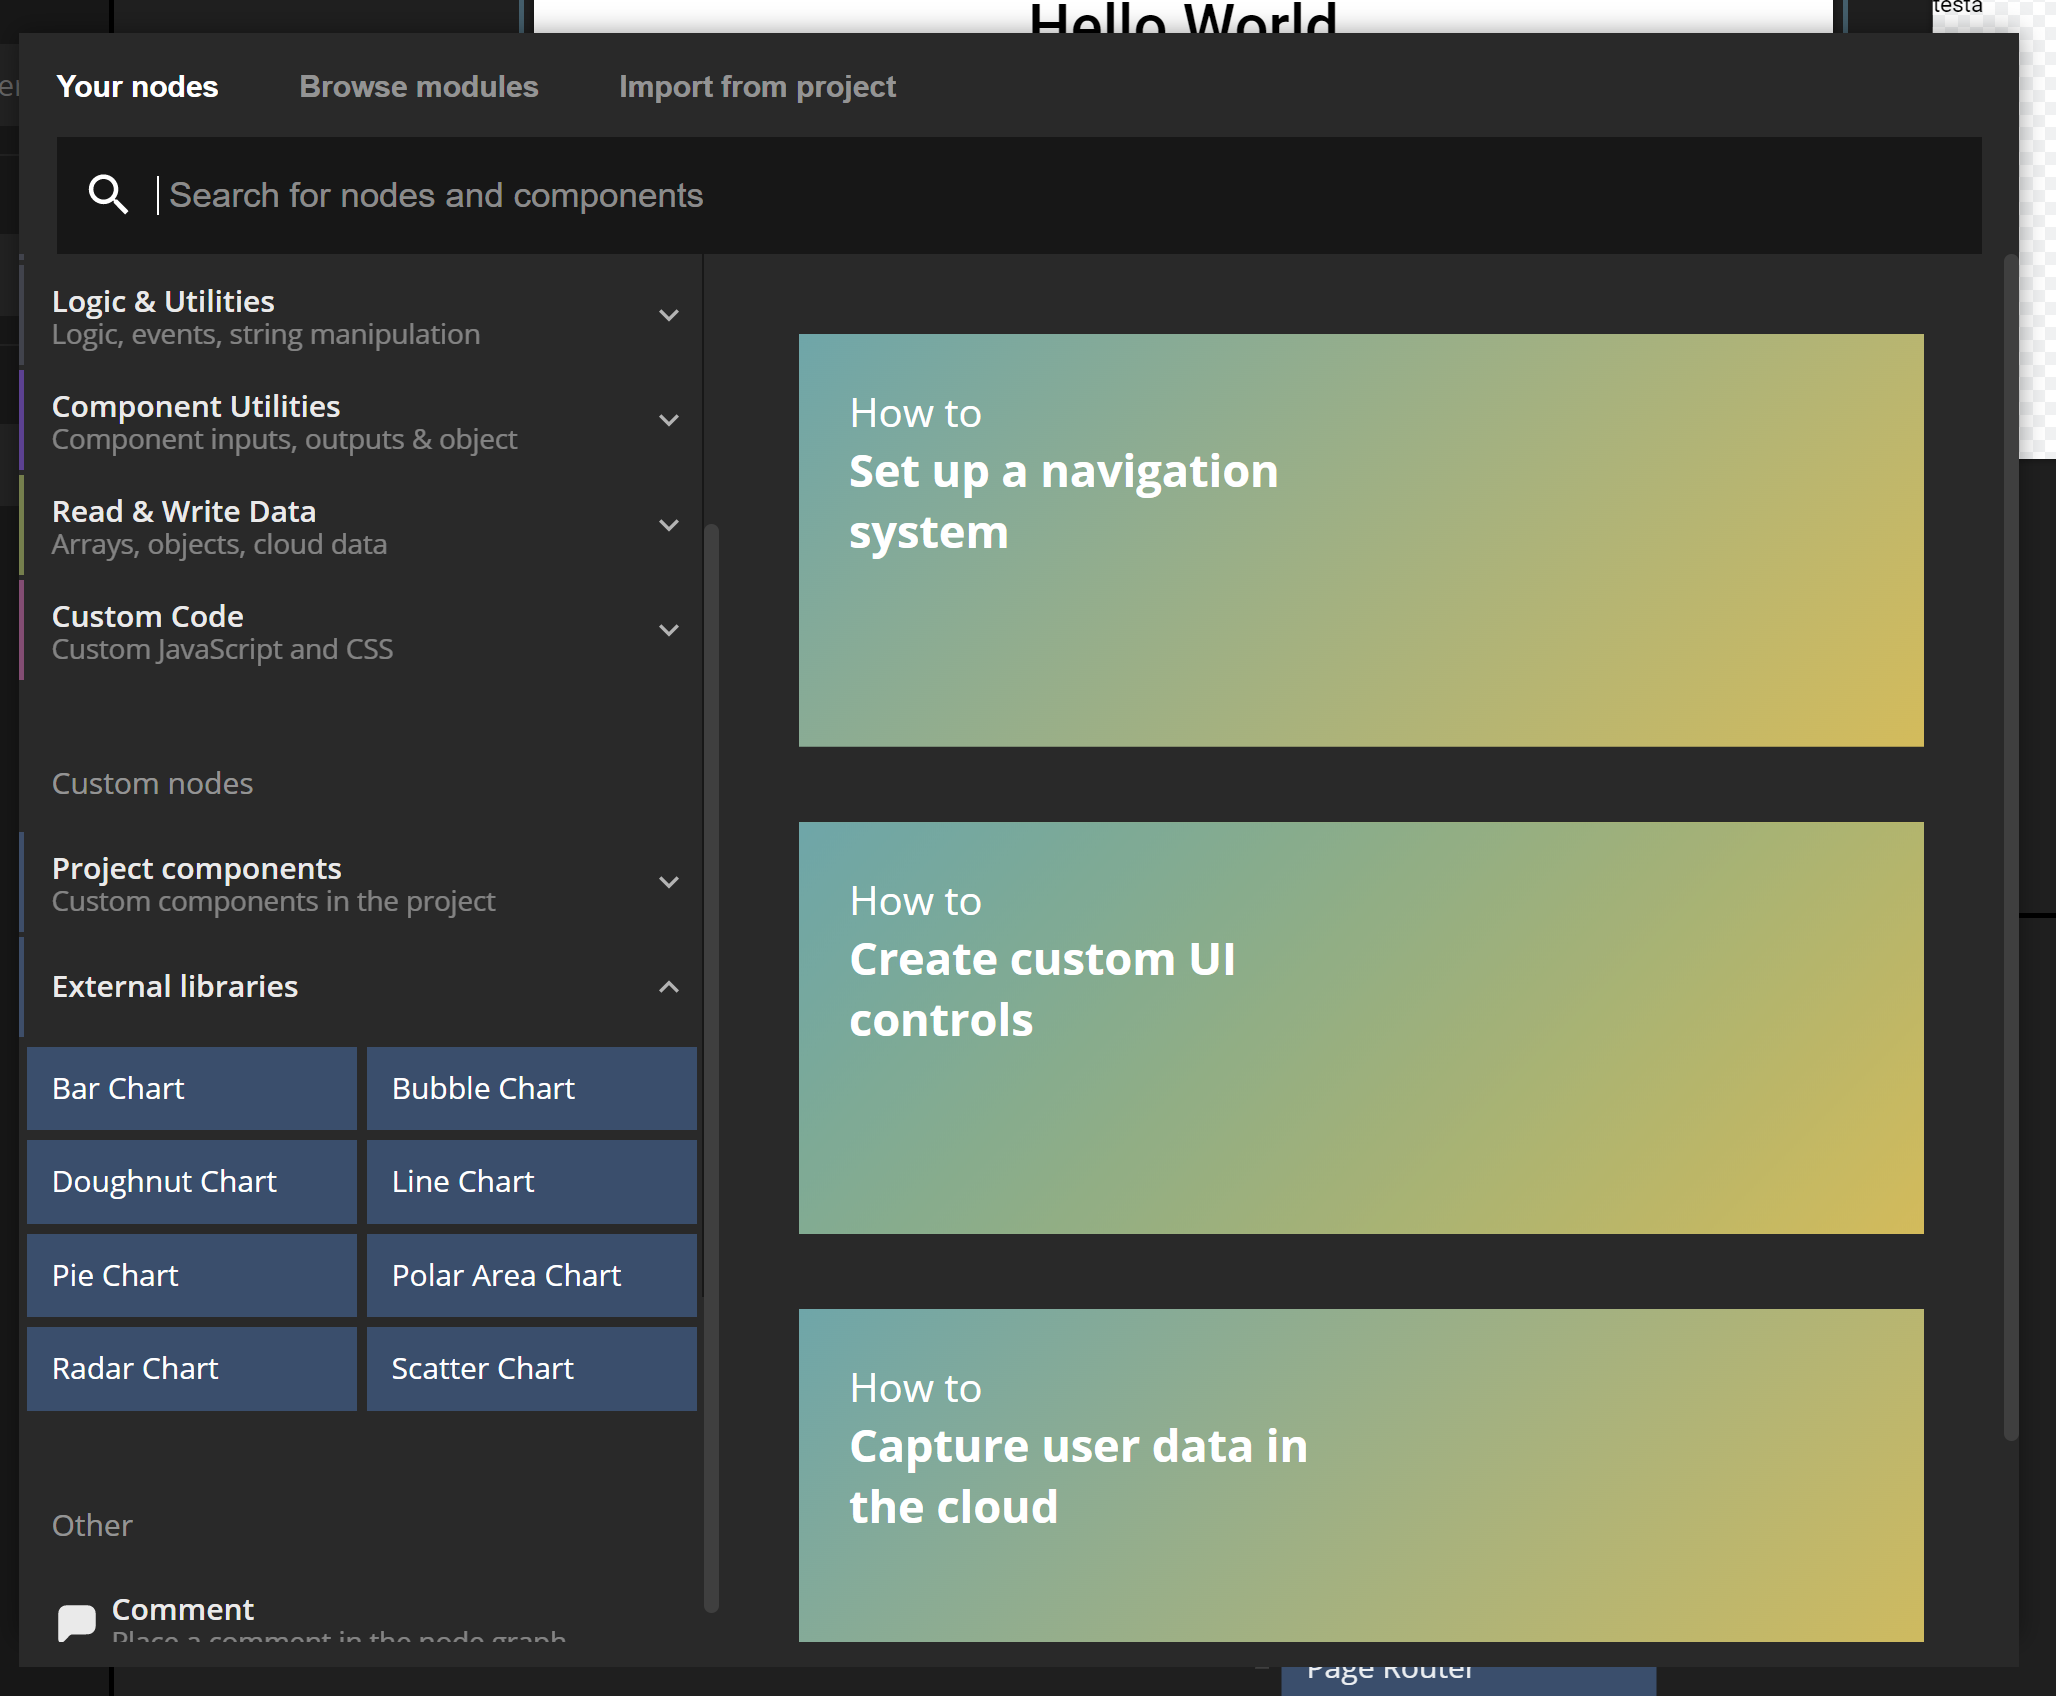
After importing the module you new nodes and components are now available under External Libraries.
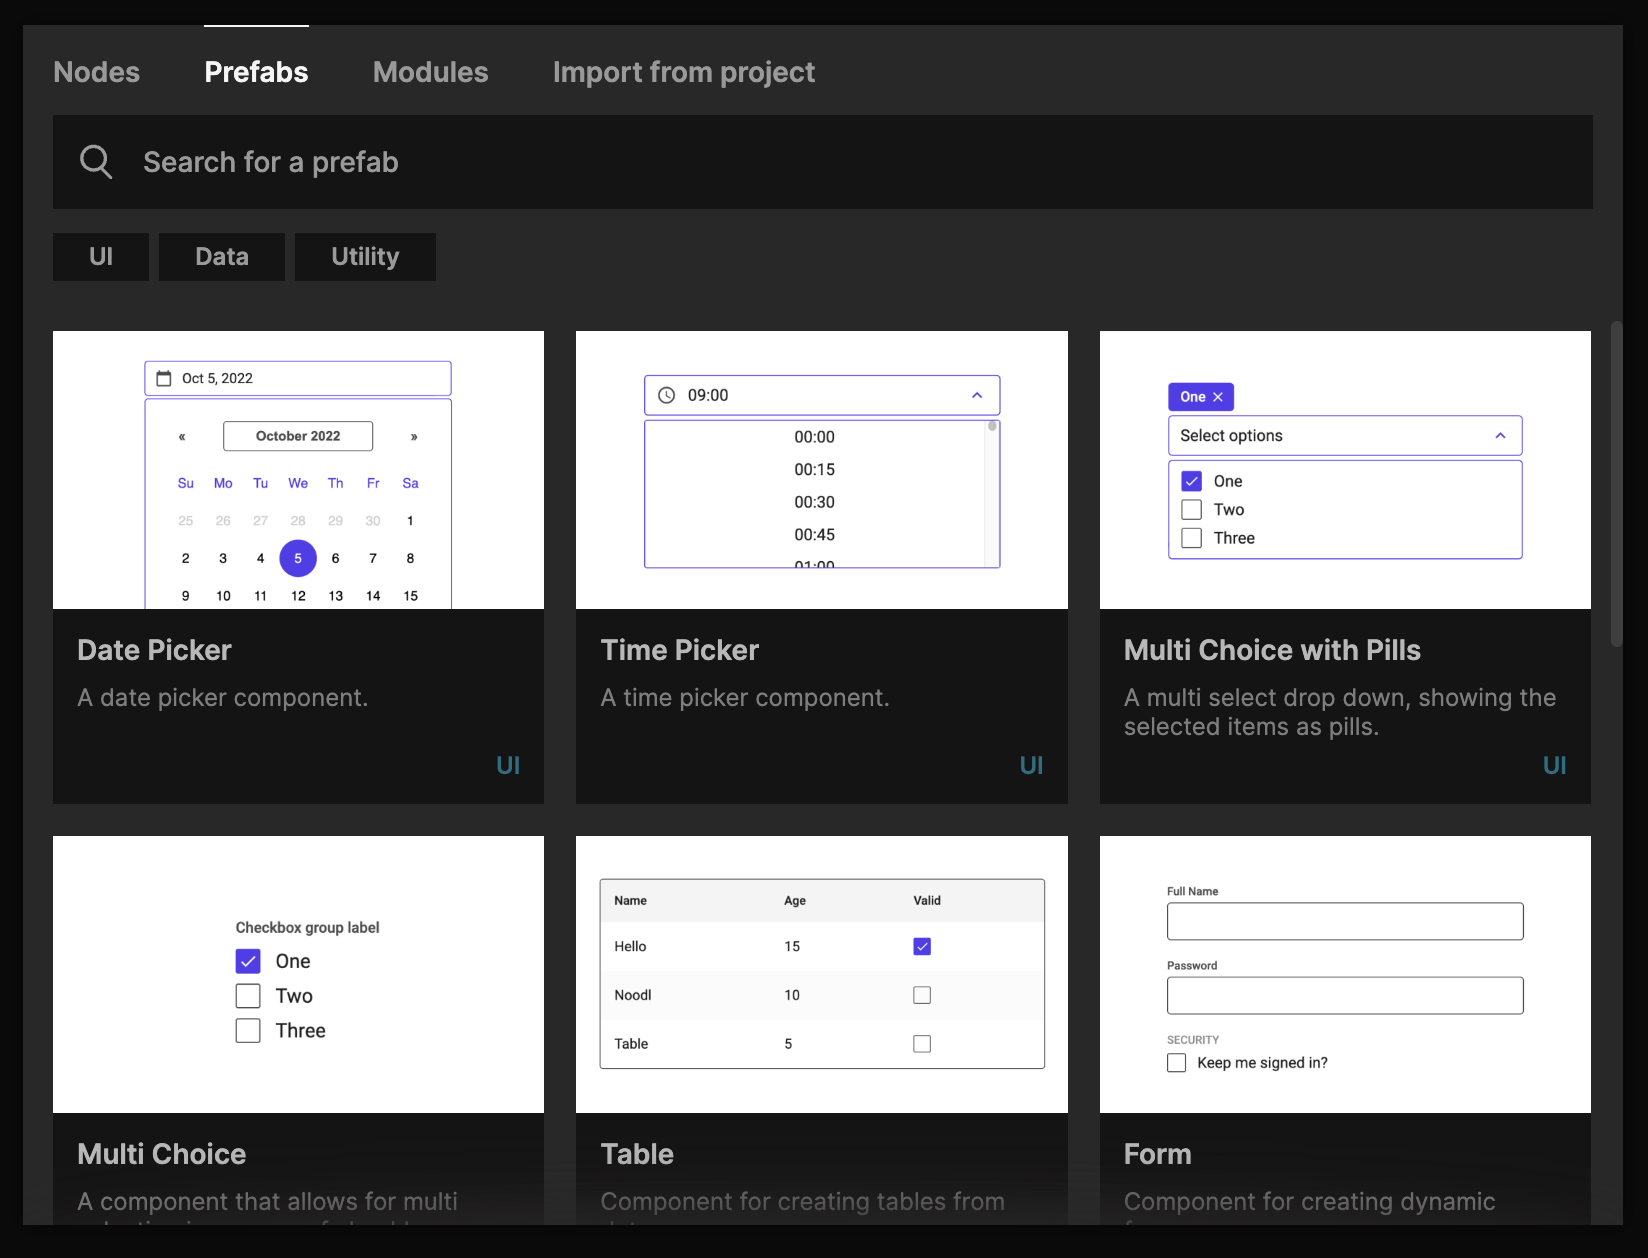
Adding a prefab is done via the Prefabs tab in the same way, click Import. Prefabs will add a component to your library of components. If you already have components with that name (maybe you have included the prefab before), you will be asked to overwrite.
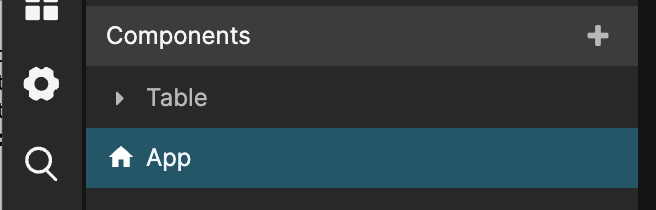
When the prefab is imported you will get one or more new components in your default sheet.
Don't forget to read the documentation for the prefabs you intend to use, there you will find how to use them but also useful guides on how to customize and build upon them to your liking.