Multi Level Navigation
What you will learn in this guide
In this guide we will look at using multiple Page Routers to achieve navigation hierarchies with multiple levels. We will use the Navigate and Navigate To Path nodes to move between the different Pages of the App.
This is used when your Pages are routed to URLs where each subroute manages their own routes. For example you may have a section of your app, "Products", that you reach through the URL https://mydomain.com/products, which in turn has three subsections:
/products/steel/products/wood/products/plastics
There's another section, "Settings", with the URL https://mydomain.com/settings. It has two subsections:
/settings/company/settings/user
Overview
We will go through the following steps:
- Add and configure multiple layers of Page Routers.
- Use the Navigate node to move between pages within each Page Router.
- Use the Navigate To Path to navigate in multiple Page Routers in one go.
If you are new to Web Type Navigation you should go through the Basic Navigation guide first. We will build upon the example built in that guide. If needed you can first import the base project by clicking the "import" button below.
Multiple Page Routers
The first thing we want to add to our app is three categories under our "Product" page. We want three categories
- Steel Products - with the path
/products/steel - Wood Products - with the path
/products/wood - Plastic Products - with the path
/product/plastic
We also want a Top Bar Menu, only available in the Products Page, to navigate between them.
How you acheive this in Noodl is to add a Page Router in the Products Page, and create three new pages for the sub pages. We add the Top Bar directly in the Products Page, so it will be consistent between the three subpages.
So lets start with creating the Top Bar. Go to the Product Page.
More or less the same way as the sidebar menu was created, we can create the Top Bar. The main difference is that its laid out horizontally and that the buttons has a text instead of an icon. Make sure the Top Bar Group is set to Content Height so it doesnt take upp any unnecessary space.
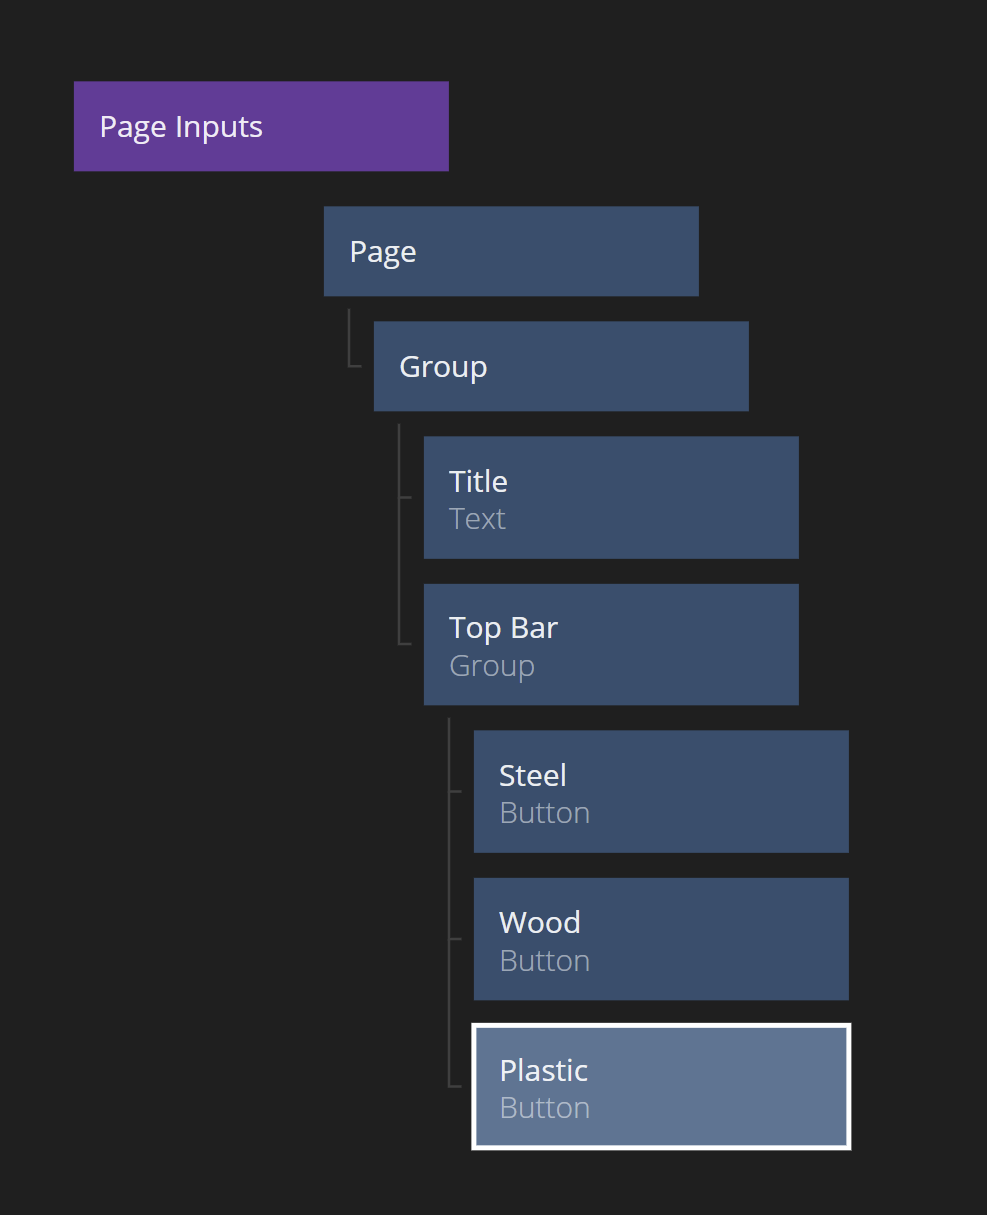

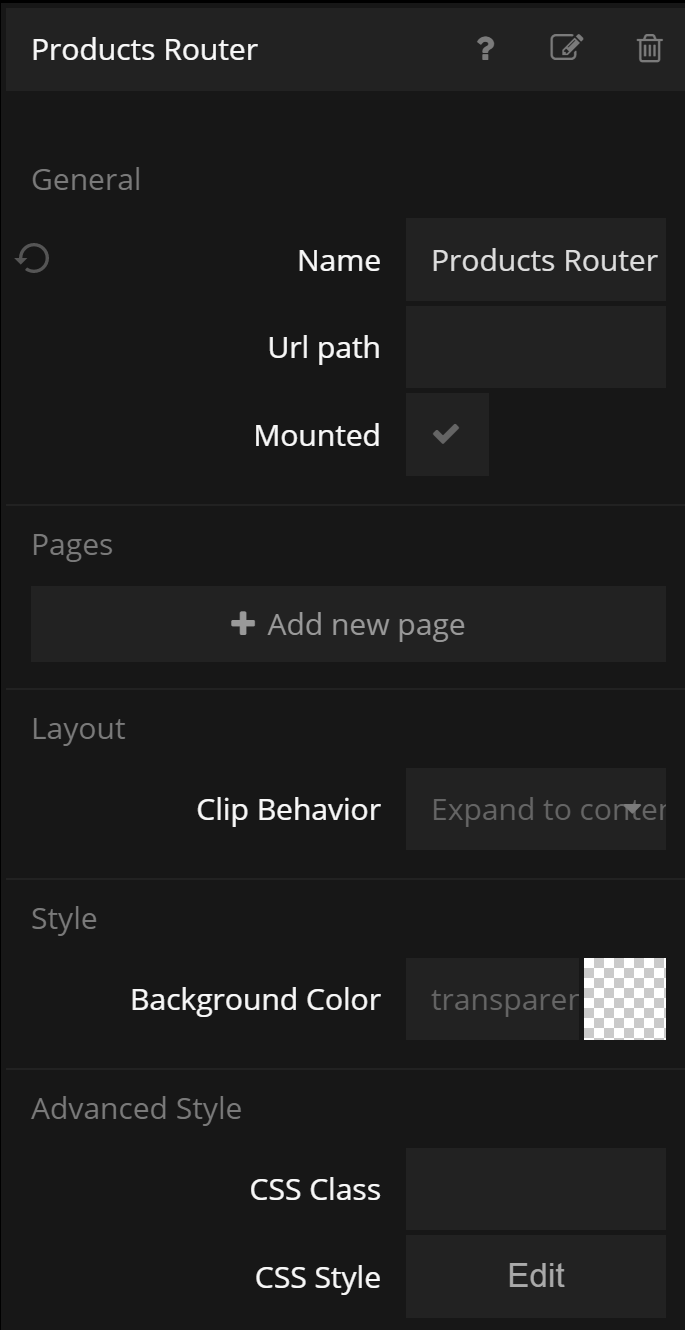
Now let's add a Page Router under the Top Bar. It will take up the rest of the space of the Page. We change the name of the Node and the name of the Page Router (the Name Property) to "Products Router".
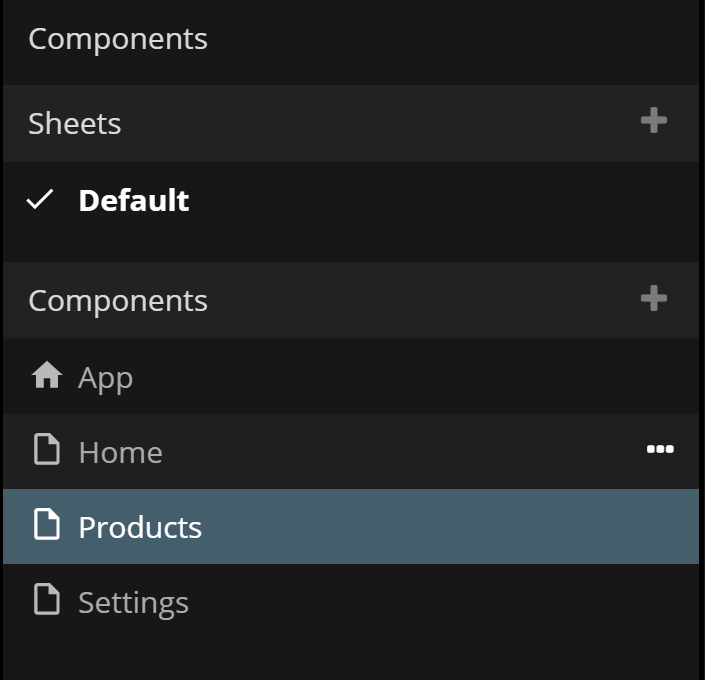
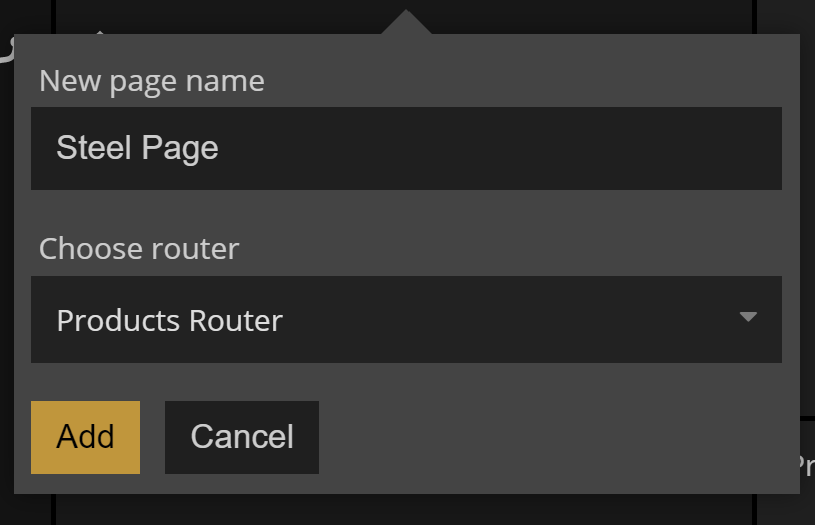
The next step is to add three new Page Components using the "+" icon on the Components List. To keep things tidy, we first create a new folder, "Products Pages", and add the Page Components under that folder, "Steel Page", "Wood Page", "Plastic Page"
As you can see you now have to select which Page Router you want to add the Page Component to. We choose our newly created "Products Router".
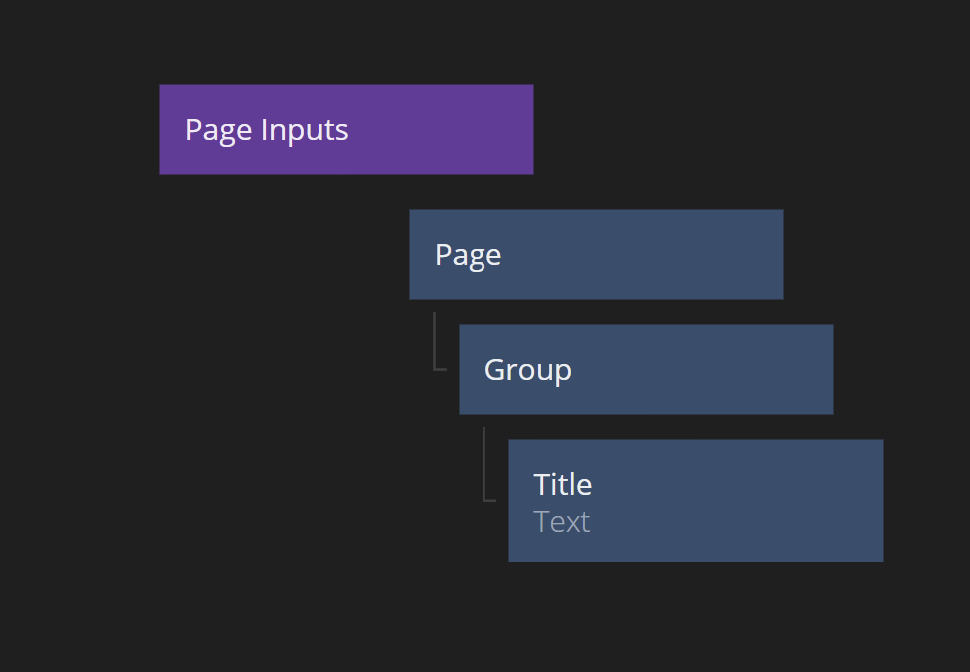
Once each page is created, add a Group node with some easy to recognize color and add a Text node as a title, centered.
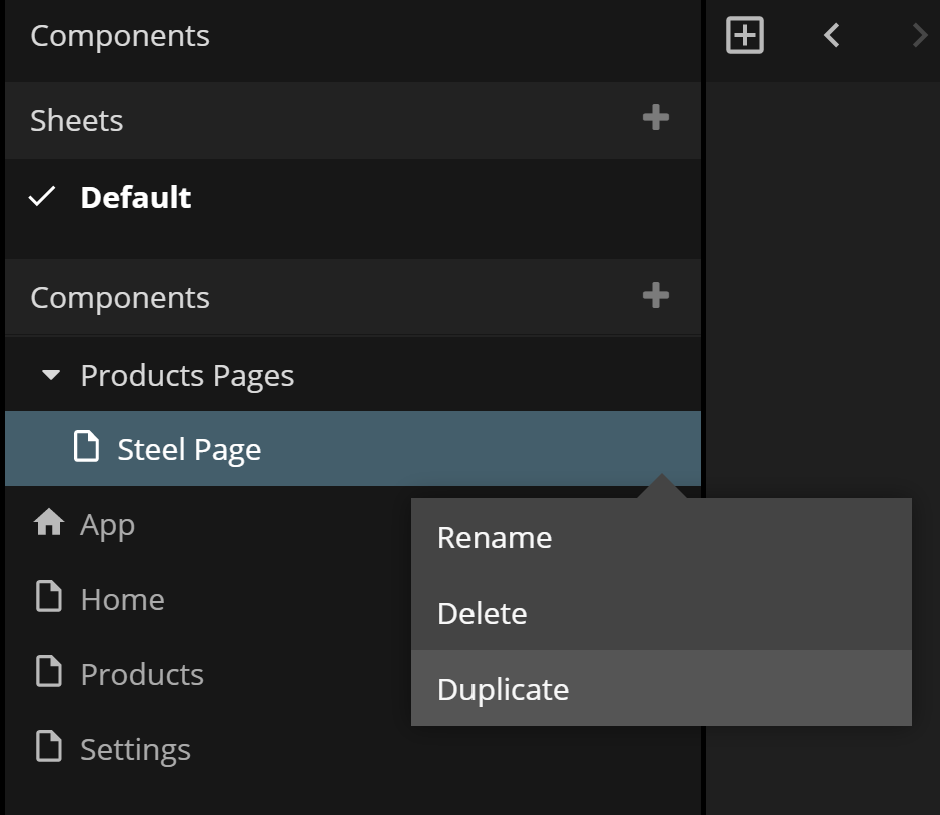
A fast way to create the Page Components is to create one, and the use the "Duplicate" component feature.
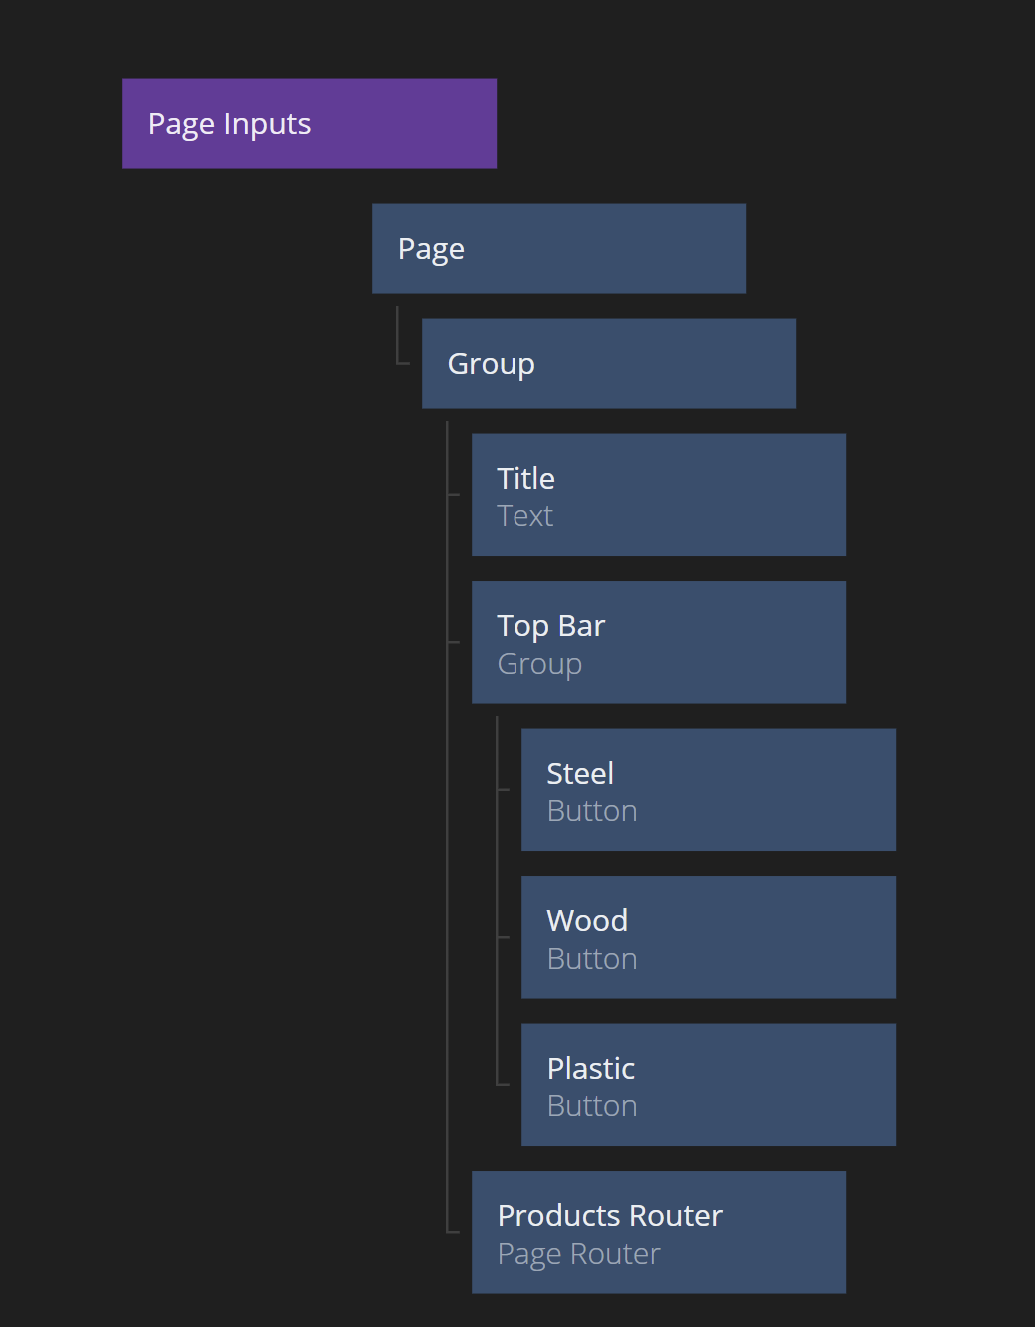
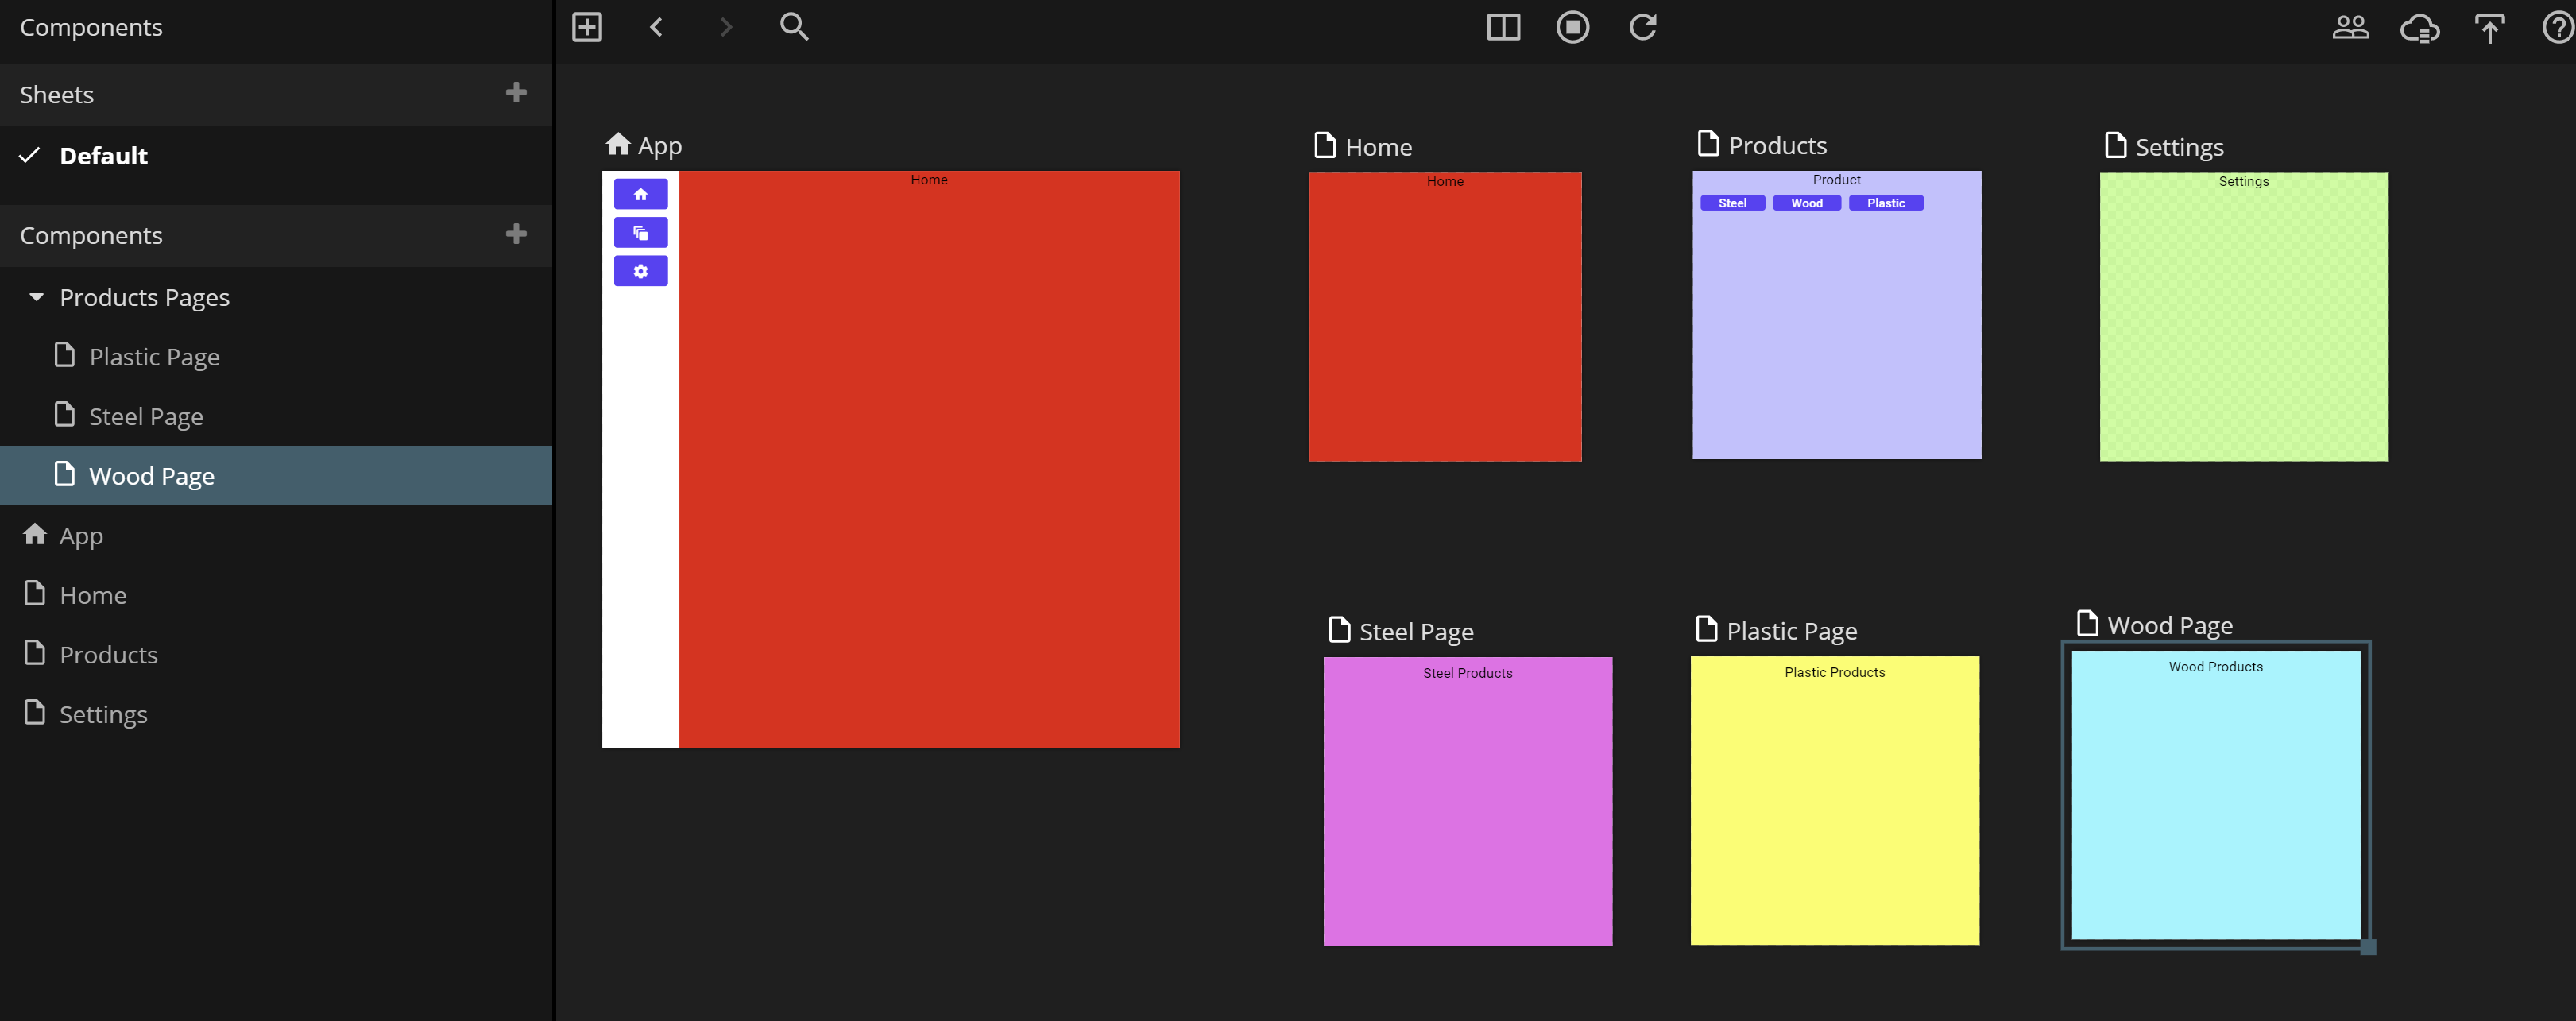
After creating the pages, changing their color and title, you should now have something that looks like this.
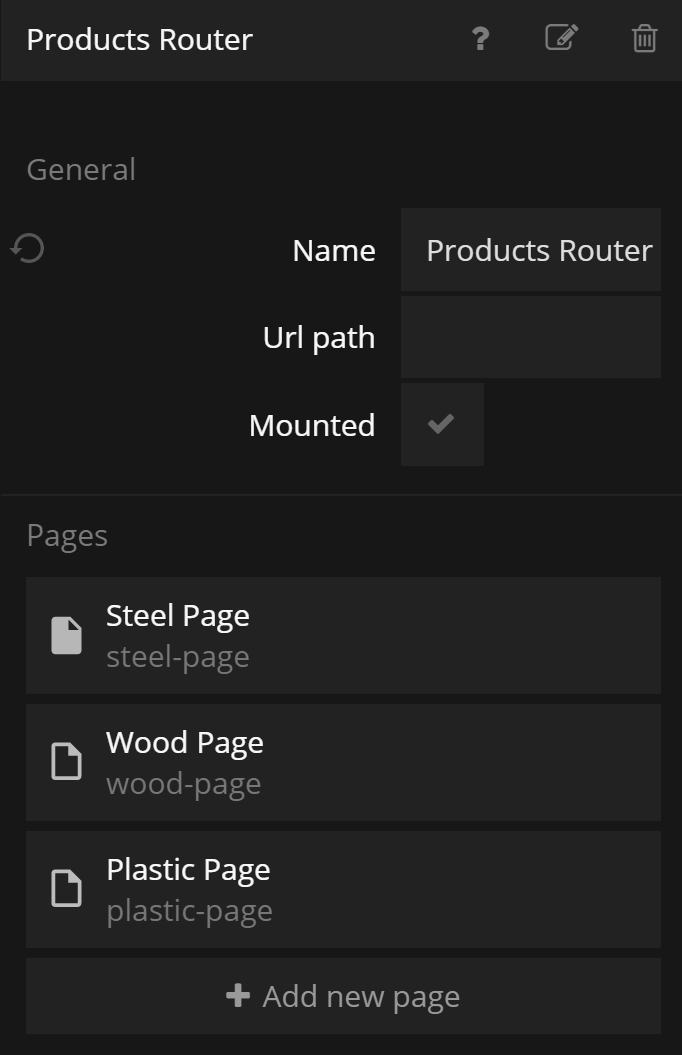
You can now double check the Page Router in the "Products Page". It should have the three newly created pages as their available Page Components.
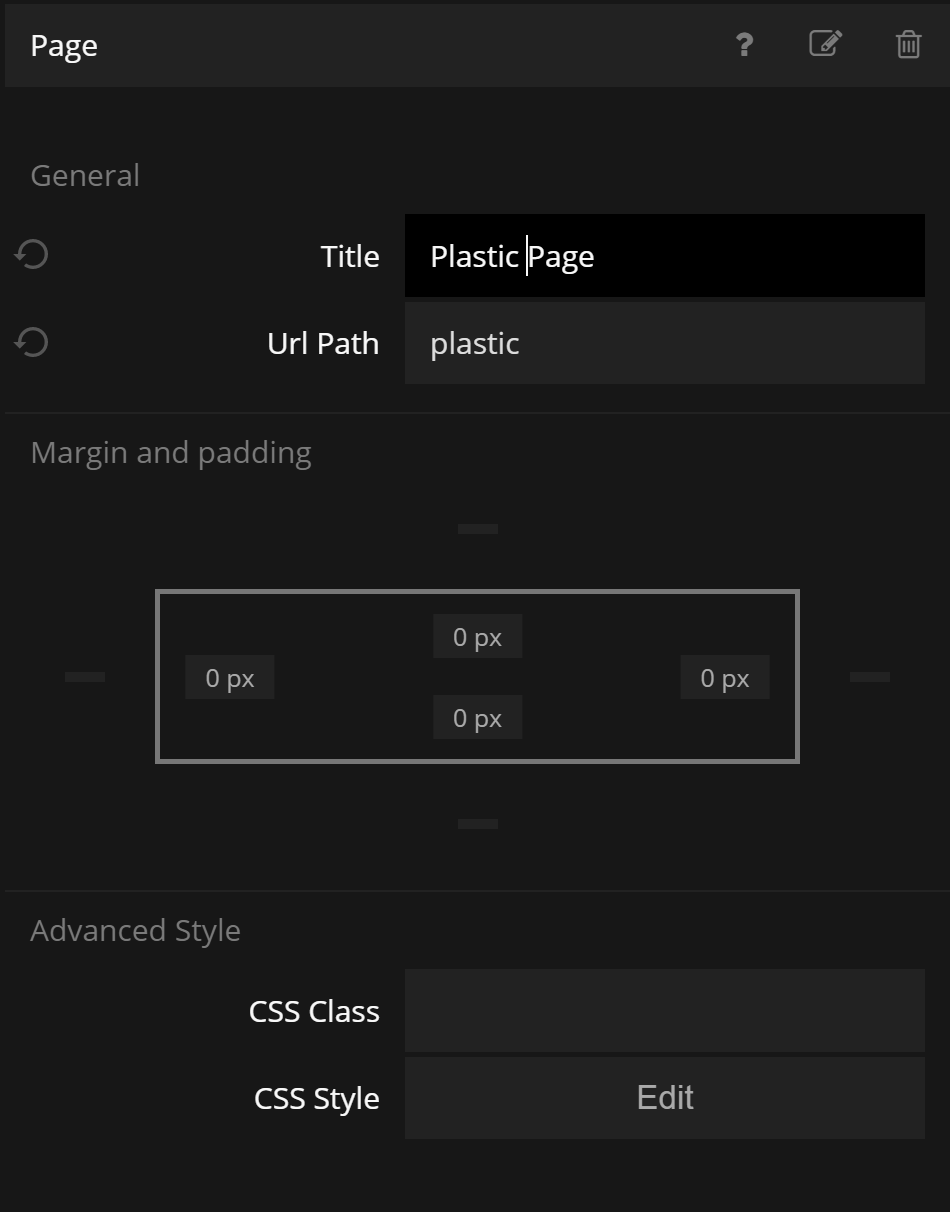
We should also check the individual Page nodes so the "Url Path" is set correctly. Change it to "steel", "wood", "plastic".
With the right URL Paths set in place you should now be able to navigate directly to the inner pages of the "Products Page" by editing the URL in the navigation bar of the browser.
Open your favourite browser and try the three different URLs http://localhost:8574/#/products/steel, http://localhost:8574/#/products/wood, http://localhost:8574/#/products/plastic. They should tell the Main Page Router to go to the "Products Page" and then the Products Page Page Router to go to the specific pages, "Steel", "Wood" or "Plastic".
Navigating Specific Routers
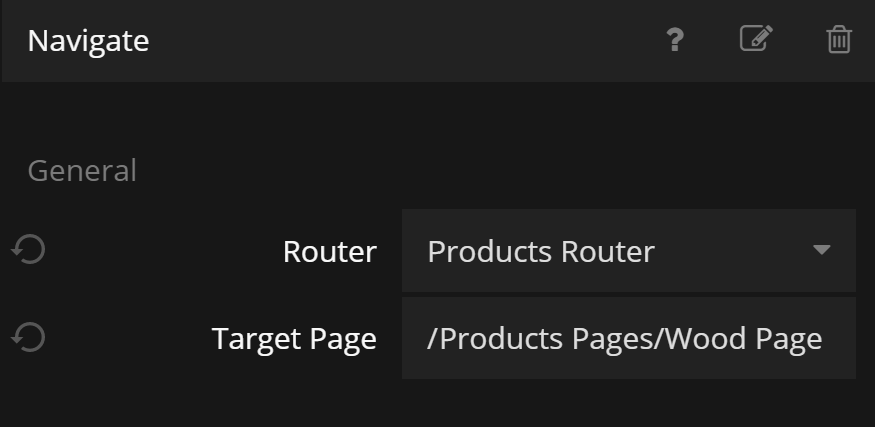
Now lets hook up the Top Bar. Create three Navigate nodes in the Products Page Component. Set each of them to target the Products Router Page Router and chose the respective target page.
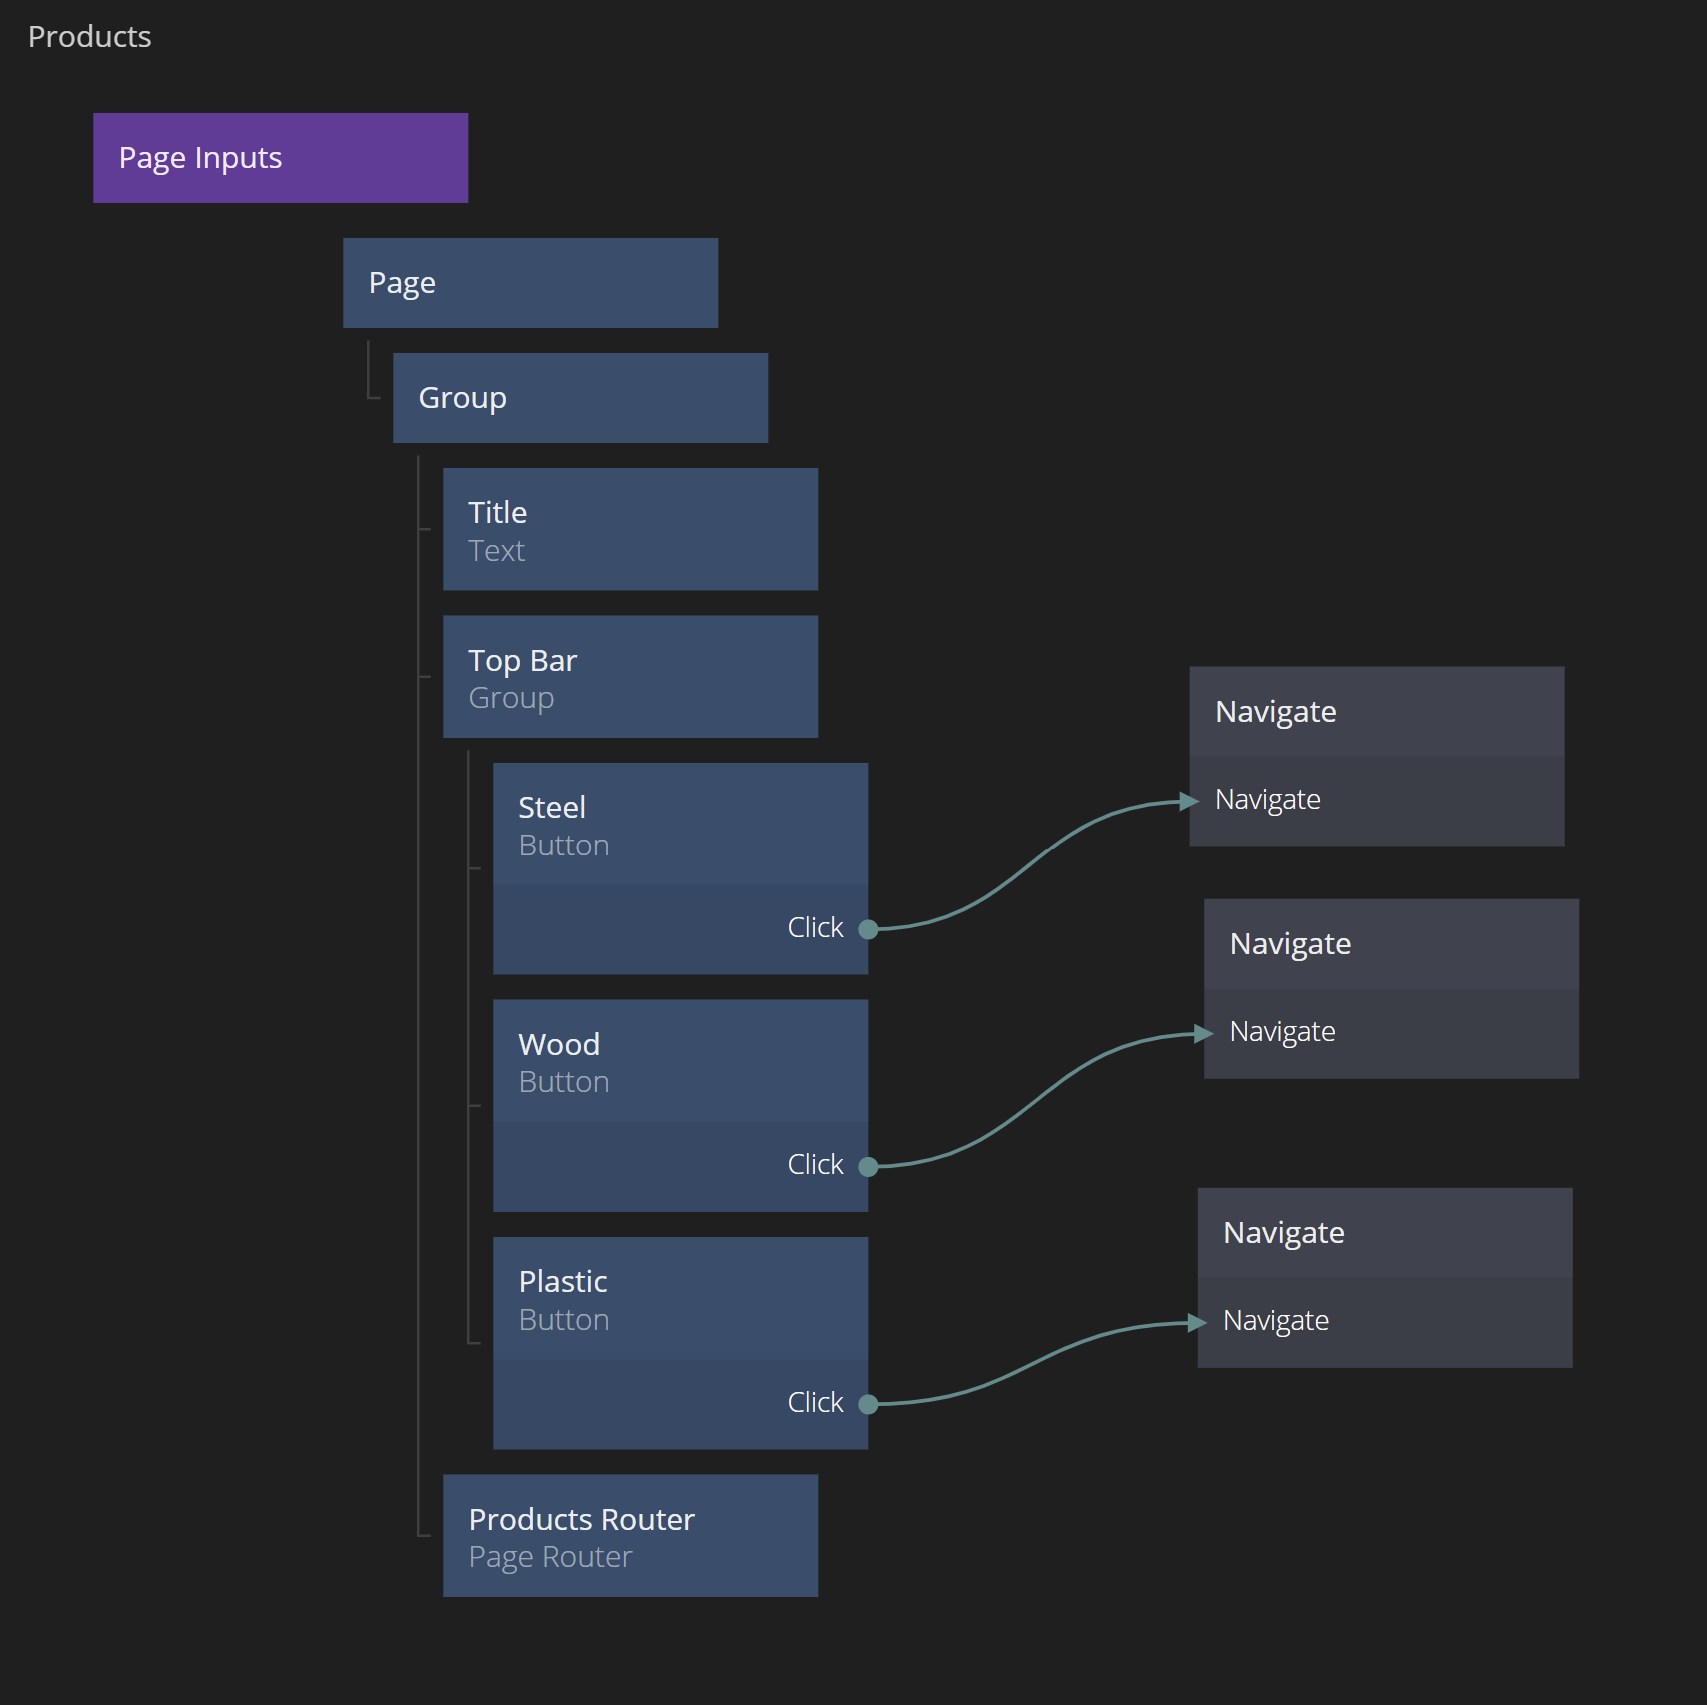
Try clicking the Top Bar. You should now be able between the Page Components in the inner Page Router.
Using the Navigate To Path node
Finally, lets add a shortcut to the "Plastic" page to the sidebar. Clicking that button should do two things:
- Navigate to the "Products" Page Component in the Main Page Router.
- Navigate to the "Plastic" Page Component in the Products Page Router.
Doing this using the individual Page Routers would be a bit messy, so instead we use the Navigate To Path node. It will give the App a path to navigate to and let Noodl resolve which navigations that need to happen on which Page Routers based on the path.
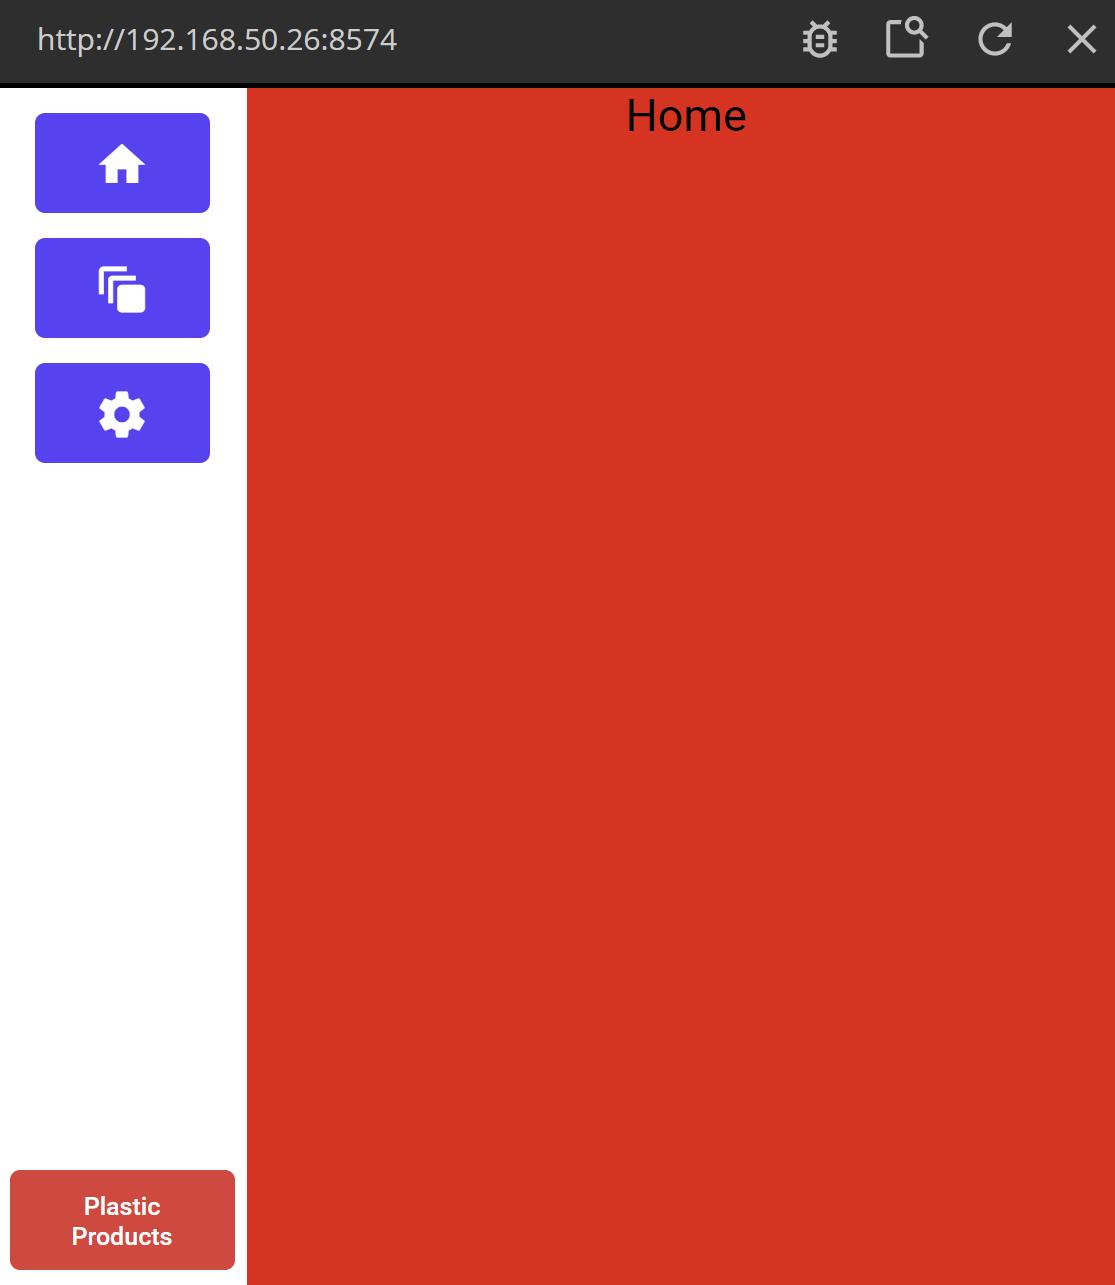
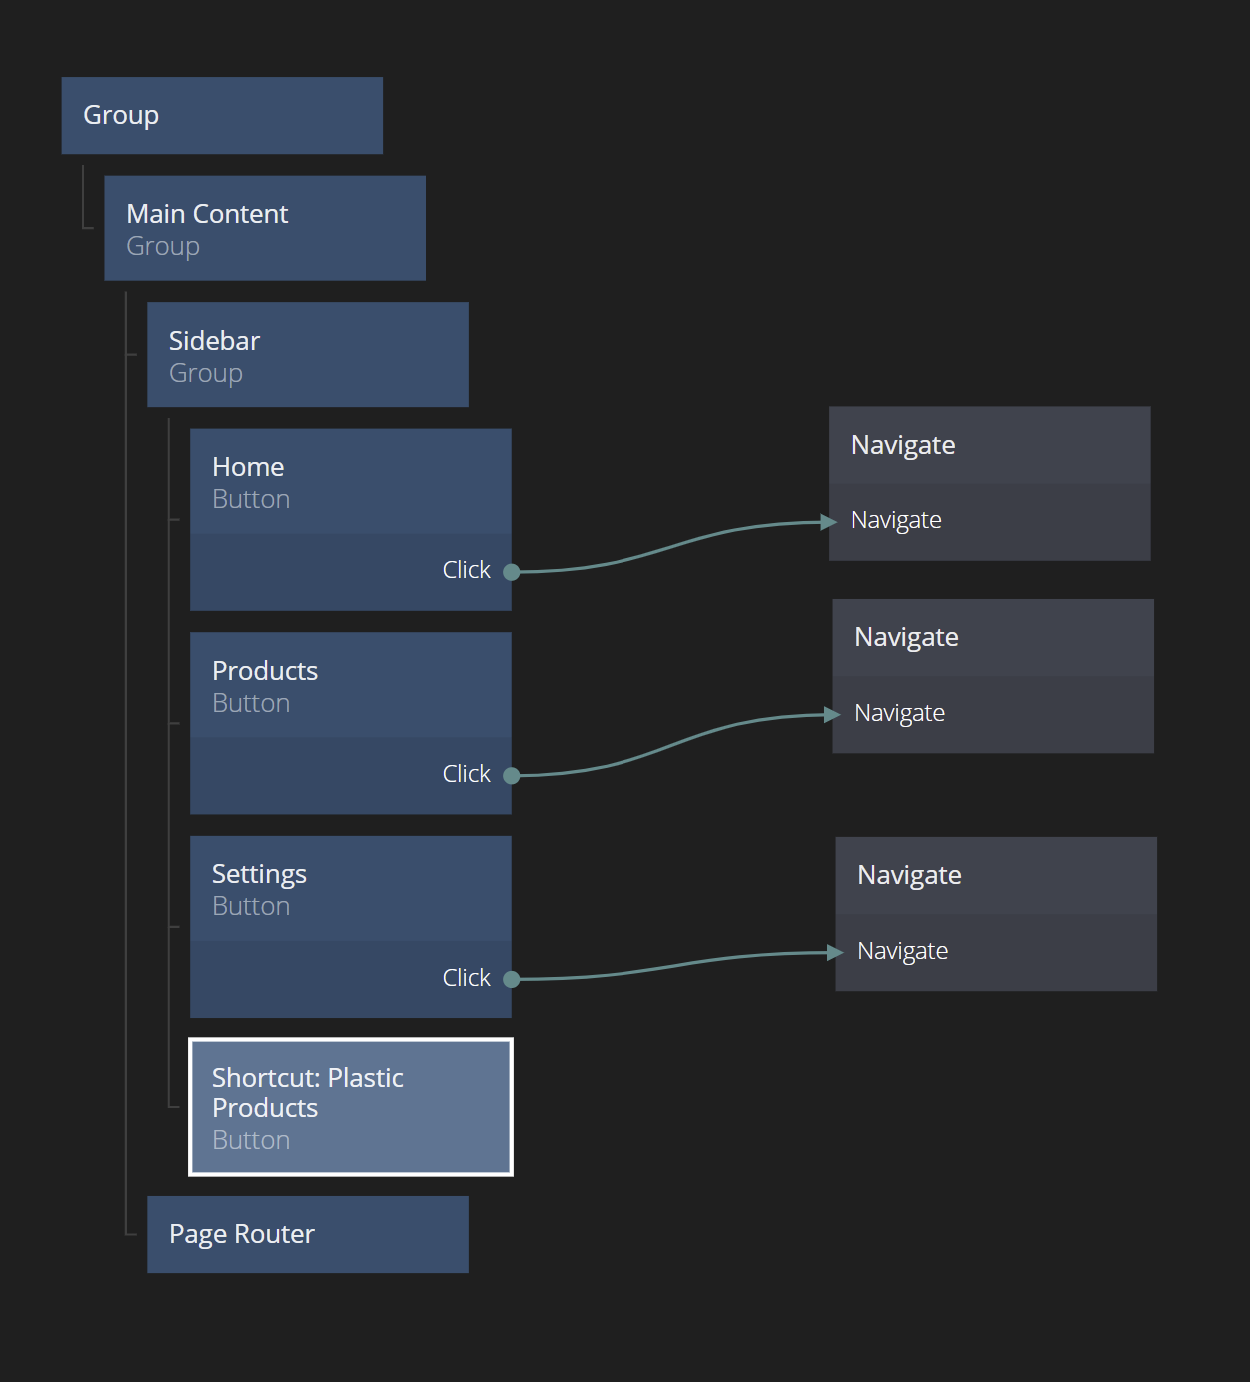
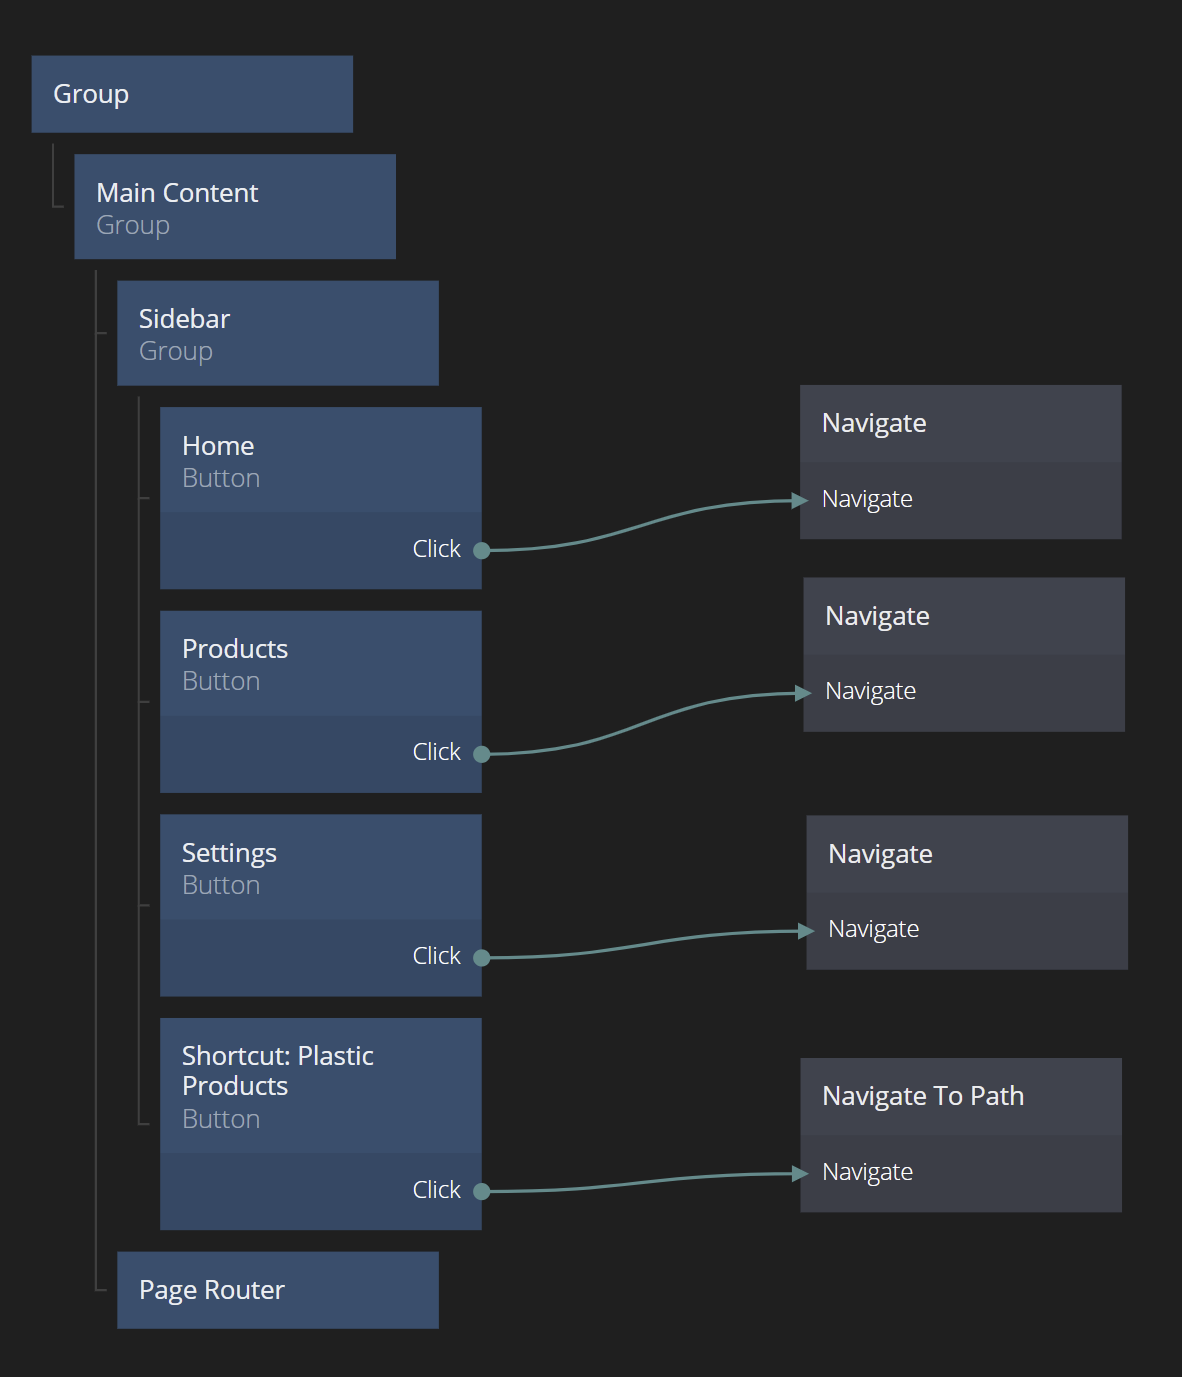
First lets add the shortcut button. Go to the main App component and add a new Button to the sidebar. Call it "Shortcut: Plastic Products". Make it red so it stands out, align it to the bottom, and change the Text Style to a smaller font. Something like this:
To finish things up, add a Navigate To Path node, make sure its path is set to products/plastic.

Finally connect the Click signal of the Button to Navigate on the Navigate To Path node and we are done.
Try clicking the Shortcut Button and make sure it always navigates to the "Products" Page Component and the "Plastic" Page Component within it.