Self hosting your Noodl frontend
What you will learn in this guide
In this guide you will learn how to Self Host by deploying your Noodl App frontend to a local folder and then host it on either Google Cloud Platform or AWS. This is needed if you want to host your Noodl App frontend in your own cloud infrastructure and with your own domain name.
note
Self Hosting
Note: To be able to follow this guide you must have "Self Host" feature enabled. This is not available in the free Noodl plan. But you can request a trial here.
Overview
By default, Noodl will host you App (both backend and frontend), by deploying your app to a sandbox.noodl.app domain for free or using your own domain. See this guide for more information.
However, for various reasons, you may want to host your frontend on your own infrastructure. For this you will first deploy it locally and then upload it to your hosting provider of choice.
Deploying to Local Folder
By using the Self Hosting section in the Noodl deployment popup will save a version of your frontend to a folder on your local machine, this folder will contain everything needed and you can simply upload the content to your hosting service.
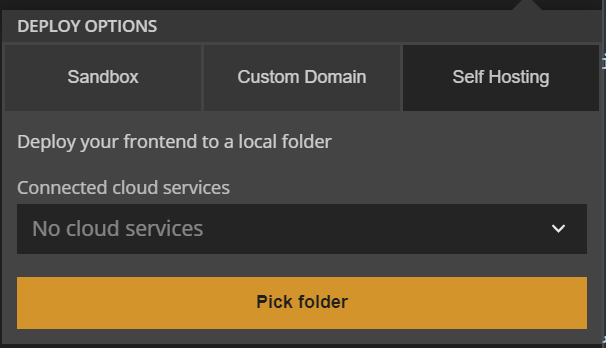
Make sure you pick the backend you want to use for the deploy.
Hosting your Frontend at GCP or AWS
Google Cloud Platform If you would like use GCP to host the frontend you can follow this guide. There you will create a bucket, a load balancer and a CDN.
Amazon Web Services If you prefer to use AWS you can watch this video it will explain how to create an S3 bucket and how to route traffic using the AWS DNS service, Route 53.