Deploying to your custom domain
What you will learn in this guide
This guide will take you through the steps needed for deploying a Noodl app to your own custom domain. Note that the app is still hosted by Noodl, but you let your custom domain point to the app. If you want to host the backend and frontend yourself check out the Using a self hosted backend and Hosting Frontend.
note
To be able to follow this guide you must have custom domain feature enabled. This is not available in the free Noodl plan. But you can request a trial here.
Overview
The guide walks you through the following topics
- Acquiring a domain
- Deploying to your acquired custom domain
- Managing your custom domain deployments
You can also check out the video below that walks through all deployment options in Noodl, including deploying to a Custom Domain:
Acquiring your domain
The first thing you need to do is to acquire the domain, i.e. purchase it from a domain provider if you don't have it already. There are many different places where you can acquire a domain and they all work a little differently. The important thing is that you need to be able to configure the DNS records and especially set a CNAME record. You will need this later.
Deploying to you domain
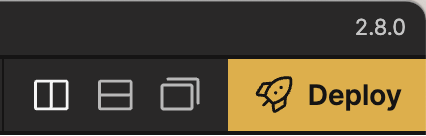
Once you have acquired the domain, click the Deploy application icon in the top right corner.
Then select the Custom Domains tab.
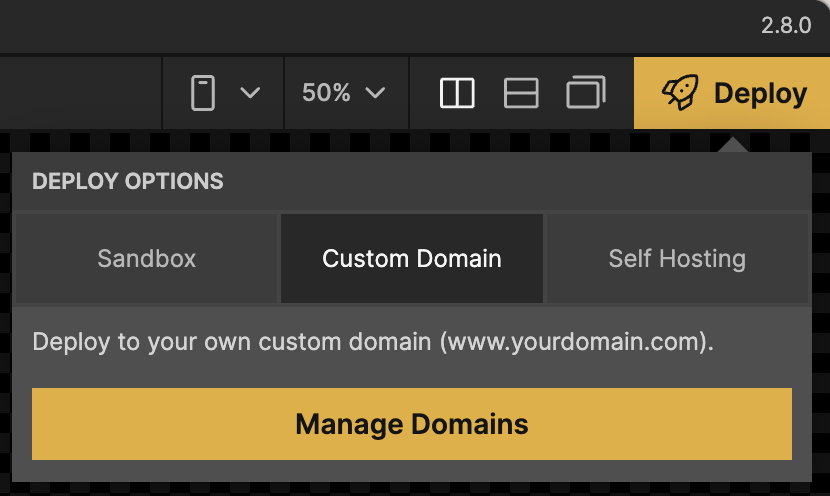
Click Manage Domains. This allows you to add a new custom domain.
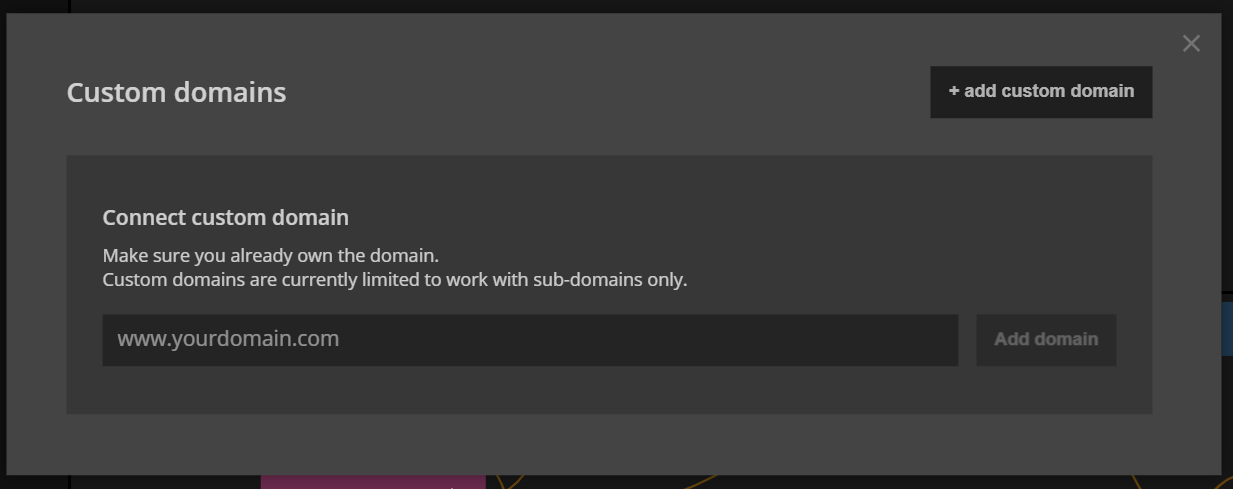
Enter the name of the domain you want to deploy to, including the subdomain. Note that Noodl does not support naked domains (e.g. mydomain.com) so you will have to add a subdomain, for example www..
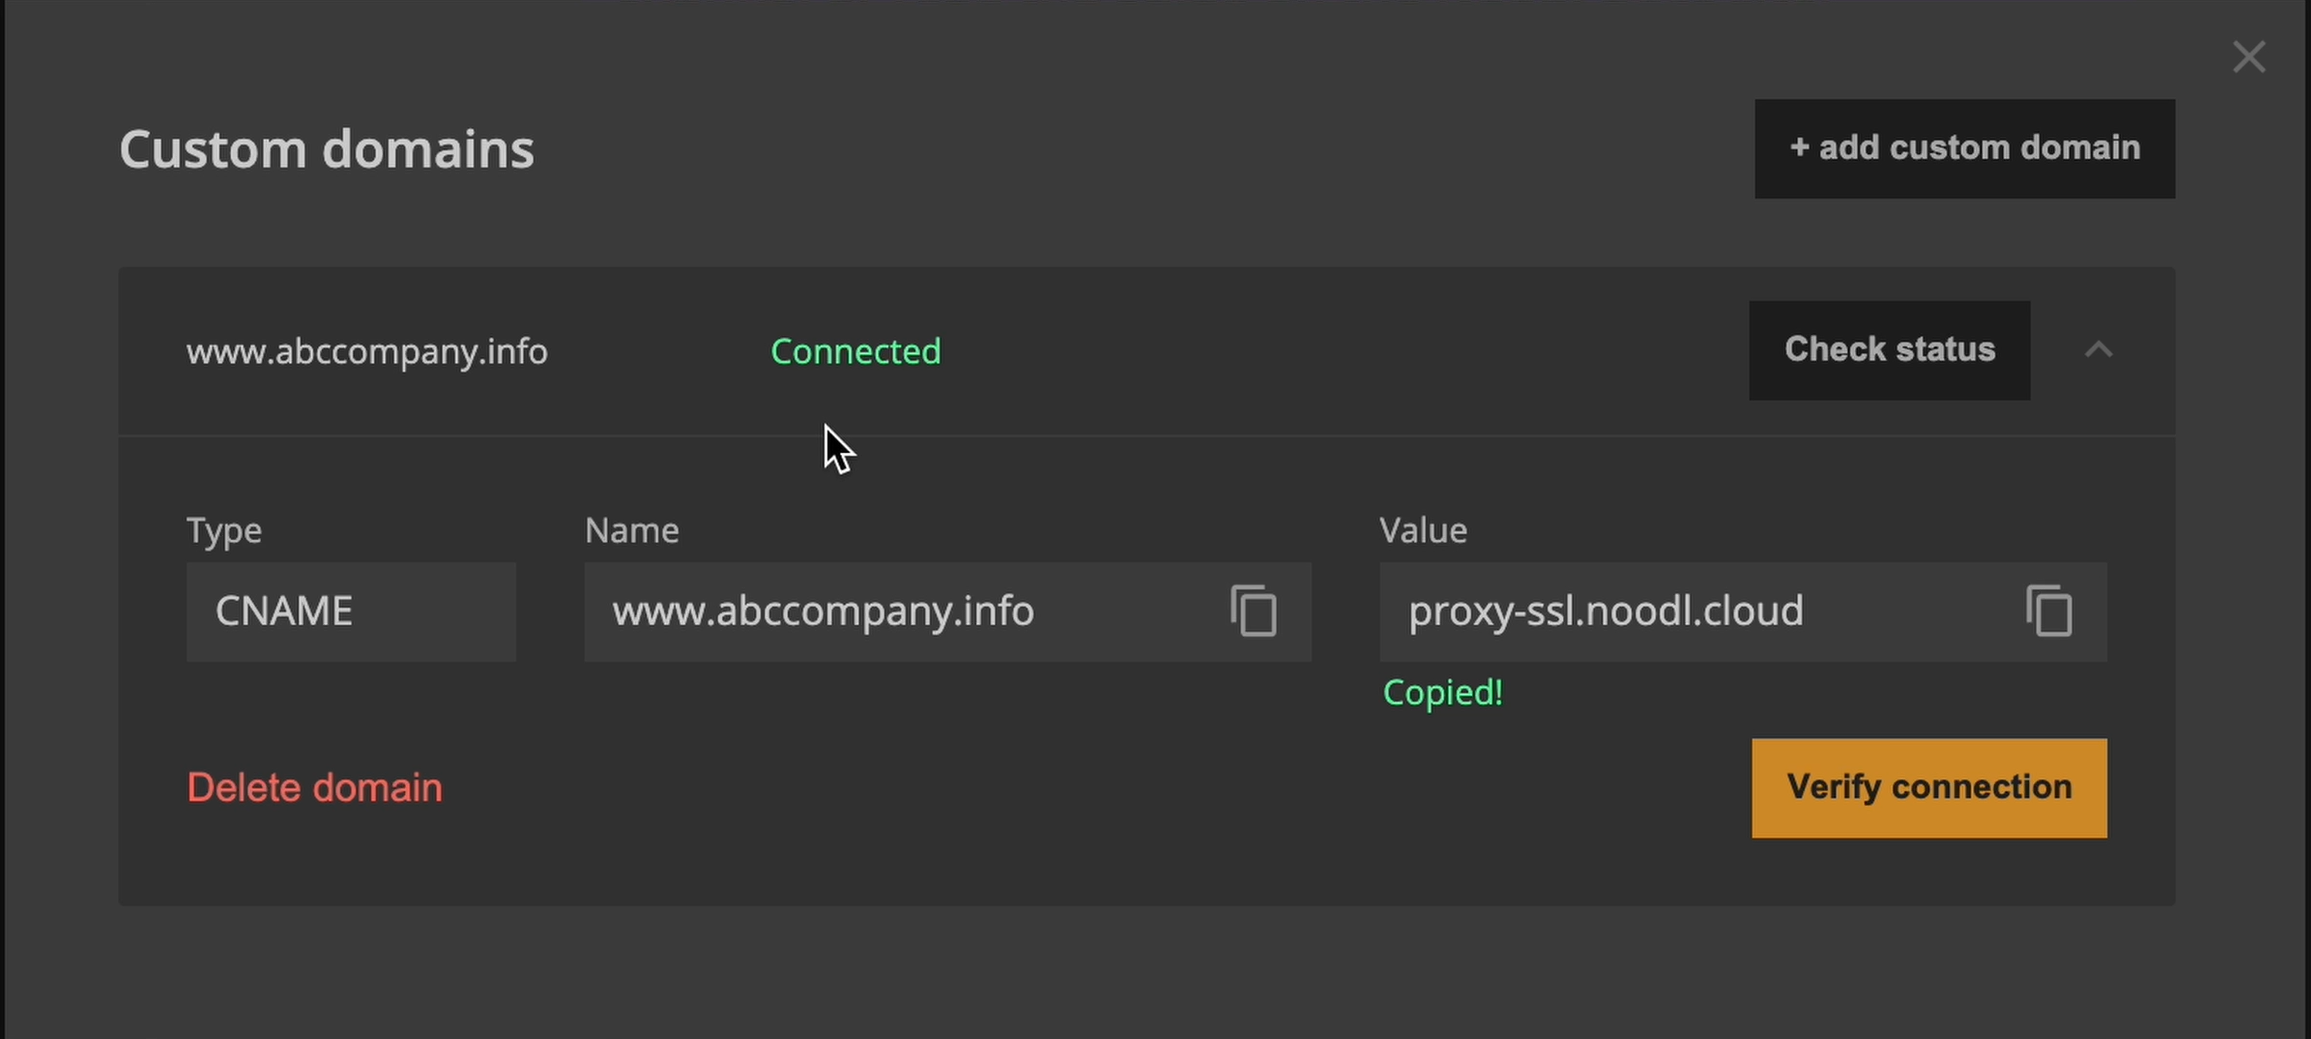
Click Add Domain. Noodl will now try to connect to the domain which will always fail the first time. You need to set up a CNAME record in the DNS on your domain providers side that matches Noodl.
Copy the value in the Value box (proxy-ssl.noodl.cloud). You will need to provide when you create the CNAME record on the domain side.
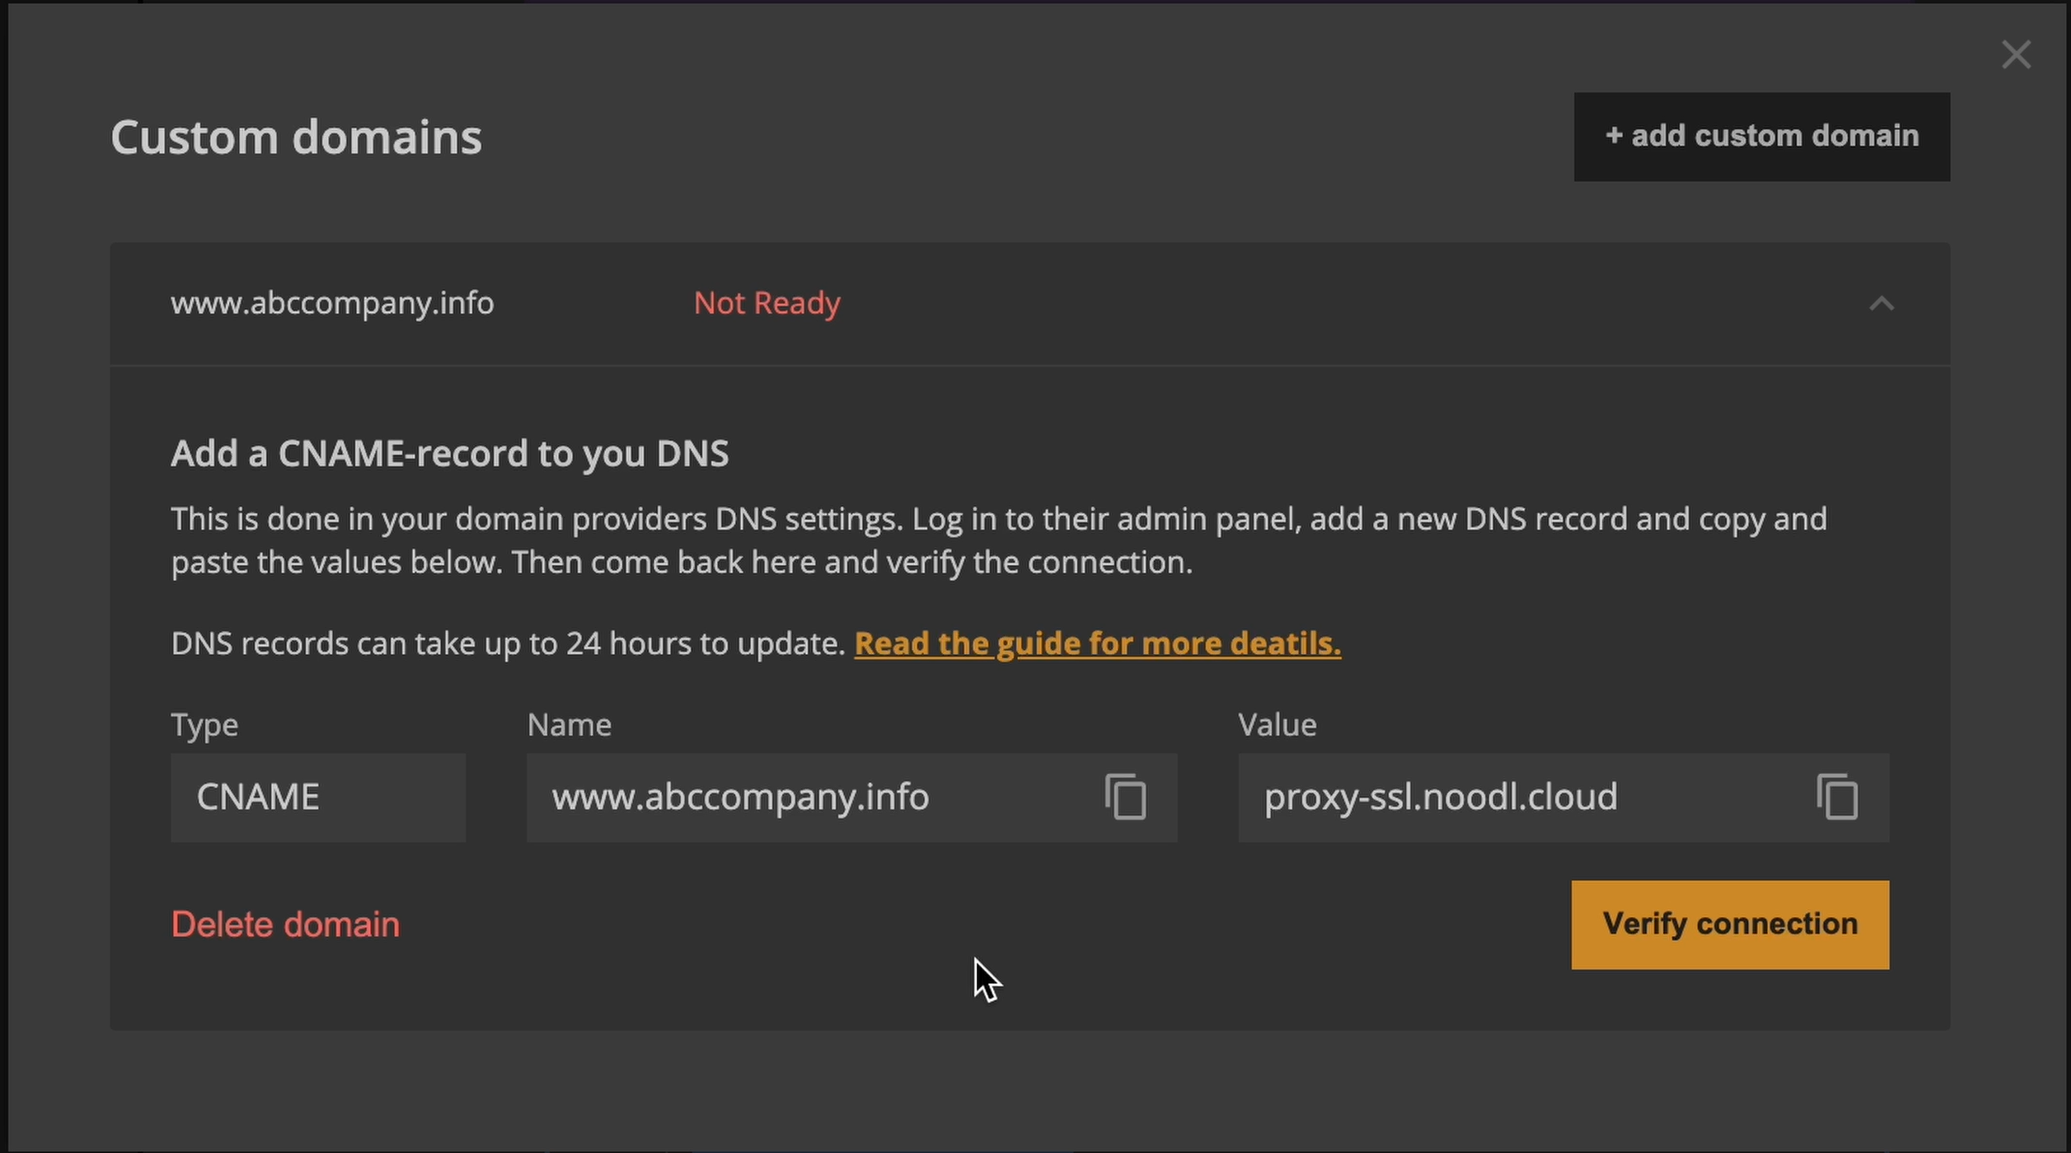
Create the CNAME record in the DNS at your domain provider. Once that's done, click "Verify Connection" to see if Noodl can coonect.
?> Note that it could take some time - up to several hours - for your domain provider to propertly update the DNS records so if Noodl cannot verify the domain, try again in a few minutes or hours.
Once the domain has been verified you will see the green Connected text.
Now your domain is available to deploy to. So close the Manage Domains popup.
You can now choose your newly added domain as a target. Make sure to also pick the backend you want to use in the deploy.
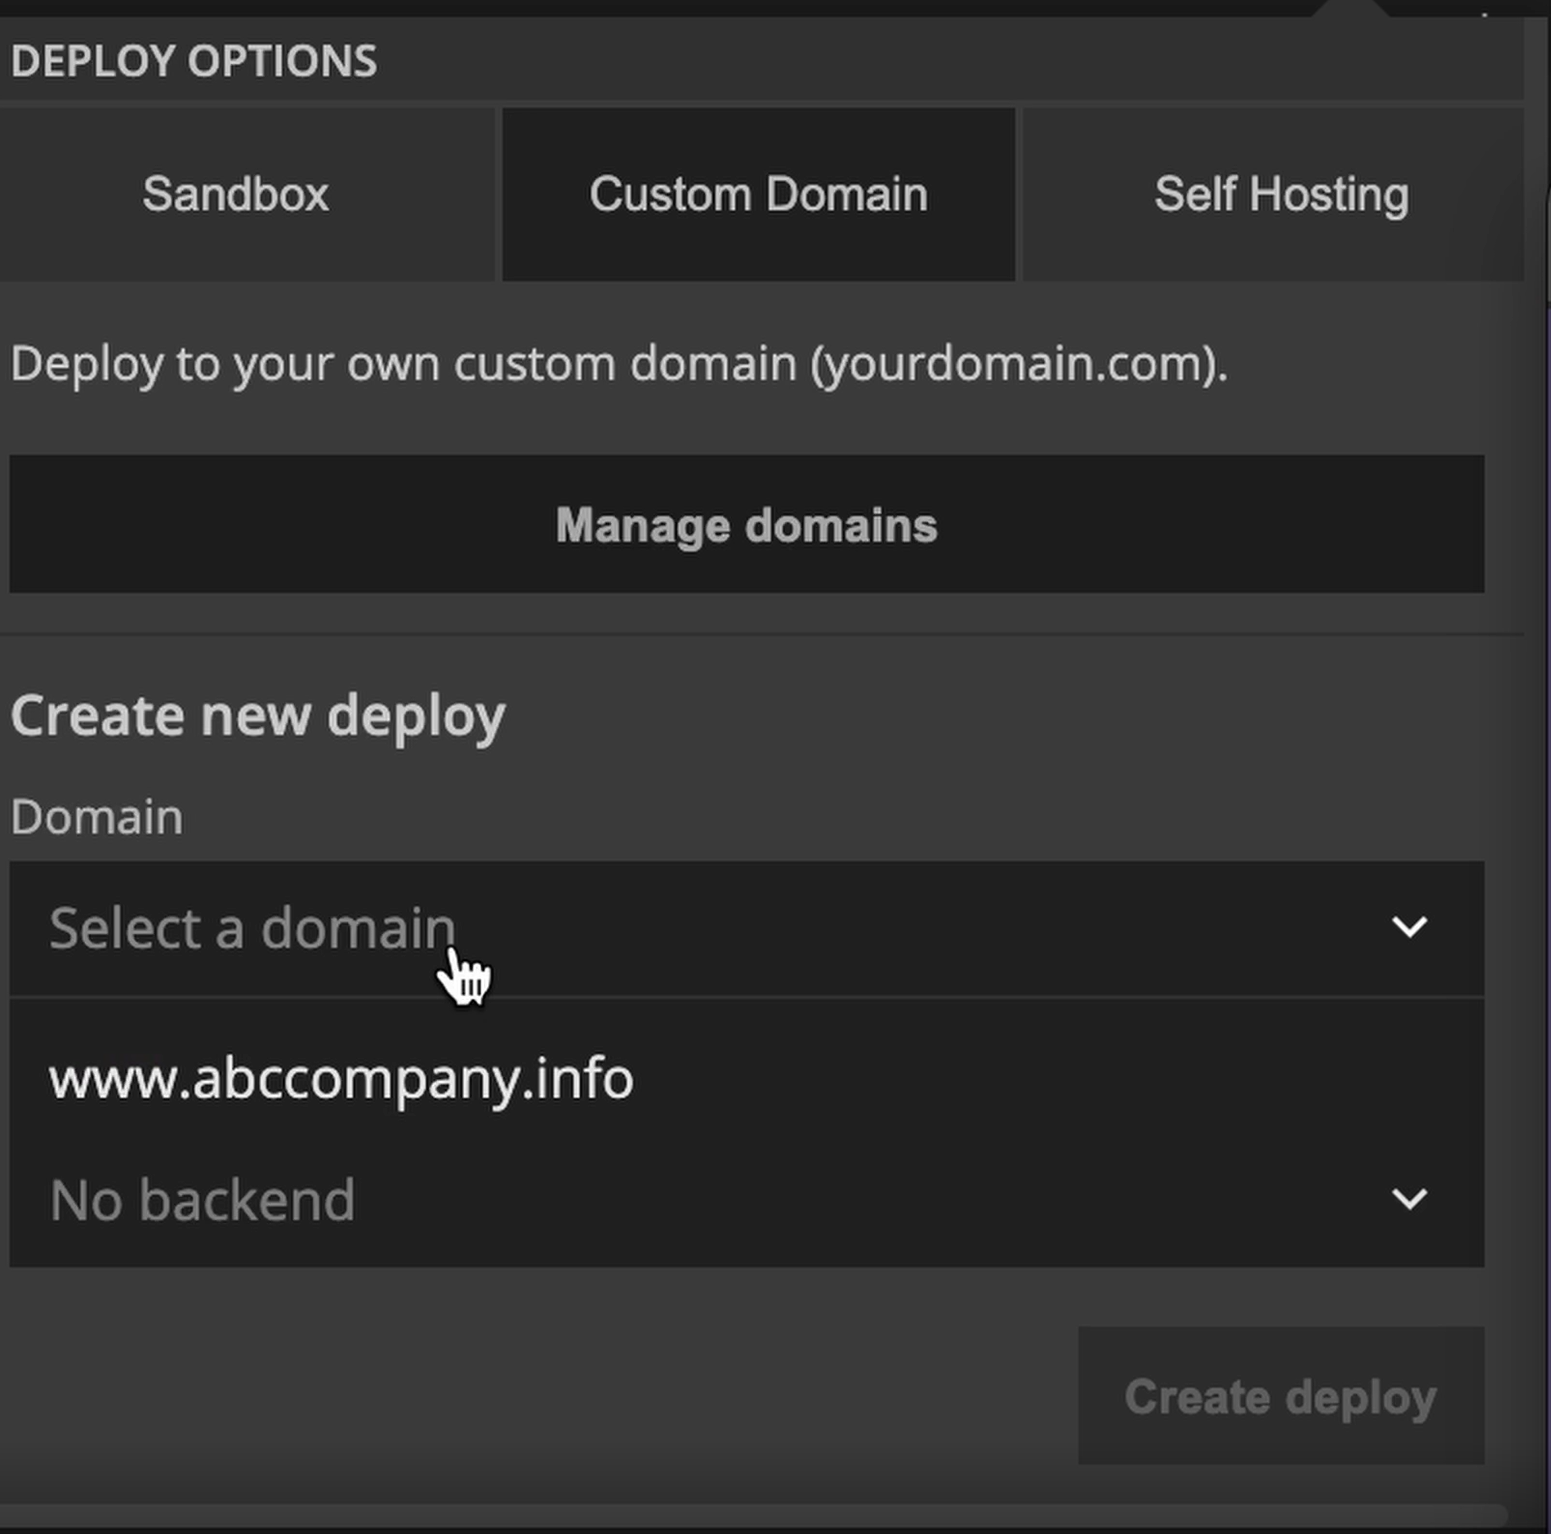
Press Create Deploy and your new deployment is ready.
Managing your custom deployments
Once you have added your custom domain and deployed to it you can updated it whenever you like, delete it or update which backend it uses.