Introduction to Cloud Functions
Cloud Functions in Noodl is a way to create logic that run in the cloud using the same techniques that you use when building business logic in your frontend, namely connecting logic and action nodes into flows, injecting Javascript where needed.
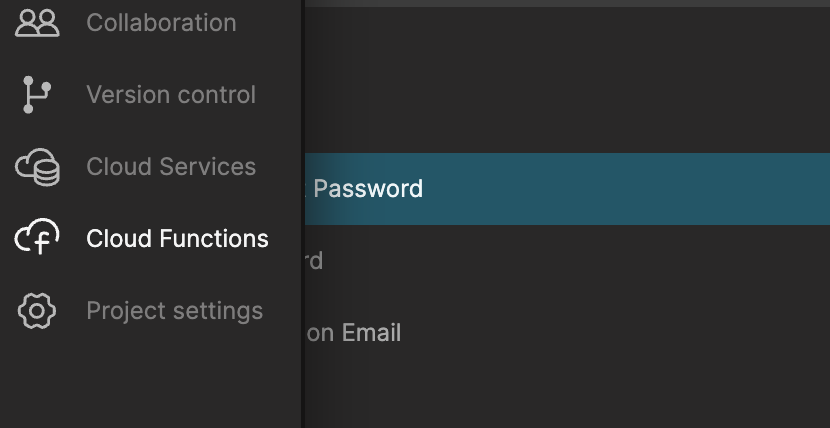
A Cloud Function is just another component in your project, but they don't live among the frontend components. Instead you find them in the Cloud Functions tab.
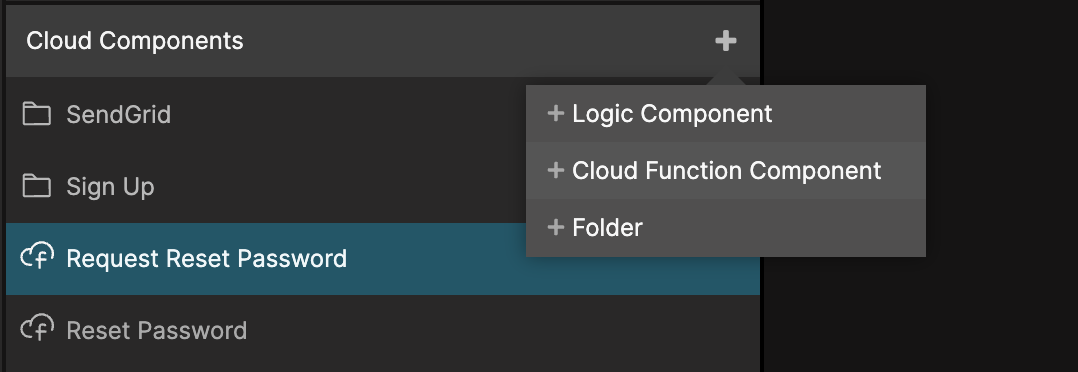
You create a new Cloud Function component by clicking the + icon in the sidebar and selection Cloud Component Function.
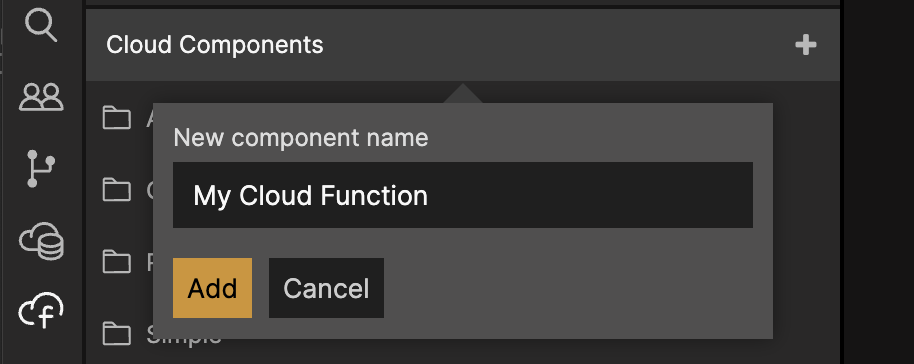
You give the cloud function a name and click Create.
You can also create Folders and Logic Components just like you do on the frontend to keep things organised and to seperate functionality into reusable logic components.
Anatomy of a cloud function
When you create a new Cloud Function you will end up with two nodes that are the backbone, the Request and the Response nodes.
![]()
First let's look closer at the Request node. When a cloud function is called from the client this is where the logic flow starts.

The logic flow is initiated by the Received signal. So the first actions that you want the cloud function to perform should be connected to this signal. There are also a couple of important properties on the Request node that we should look at:
Allow unauthenticated. This is an important property, by default all cloud functions need the user to be logged in to be accessible. But if you for some reason want the function to be callable without a user you can check this property. You must be careful since all cloud functions have full access to your database and can do things that might be limited in the client for security reasons.
Parameters. Here you add the parameters for your cloud function, these will become outputs on the Request node and inputs on the Cloud Function node in the frontend that you use to call your functions.
In the very simple example above we use the Set User Properties node to set the password of a user, this obviously needs a logged in user (otherwise the Set User Properties node wont work), we accept the new password as a parameter and trigger the action node on the Received signal.
When a Cloud Function completes it needs to either succeed or fail, this is done using the second important cloud function node, namely the Response node.
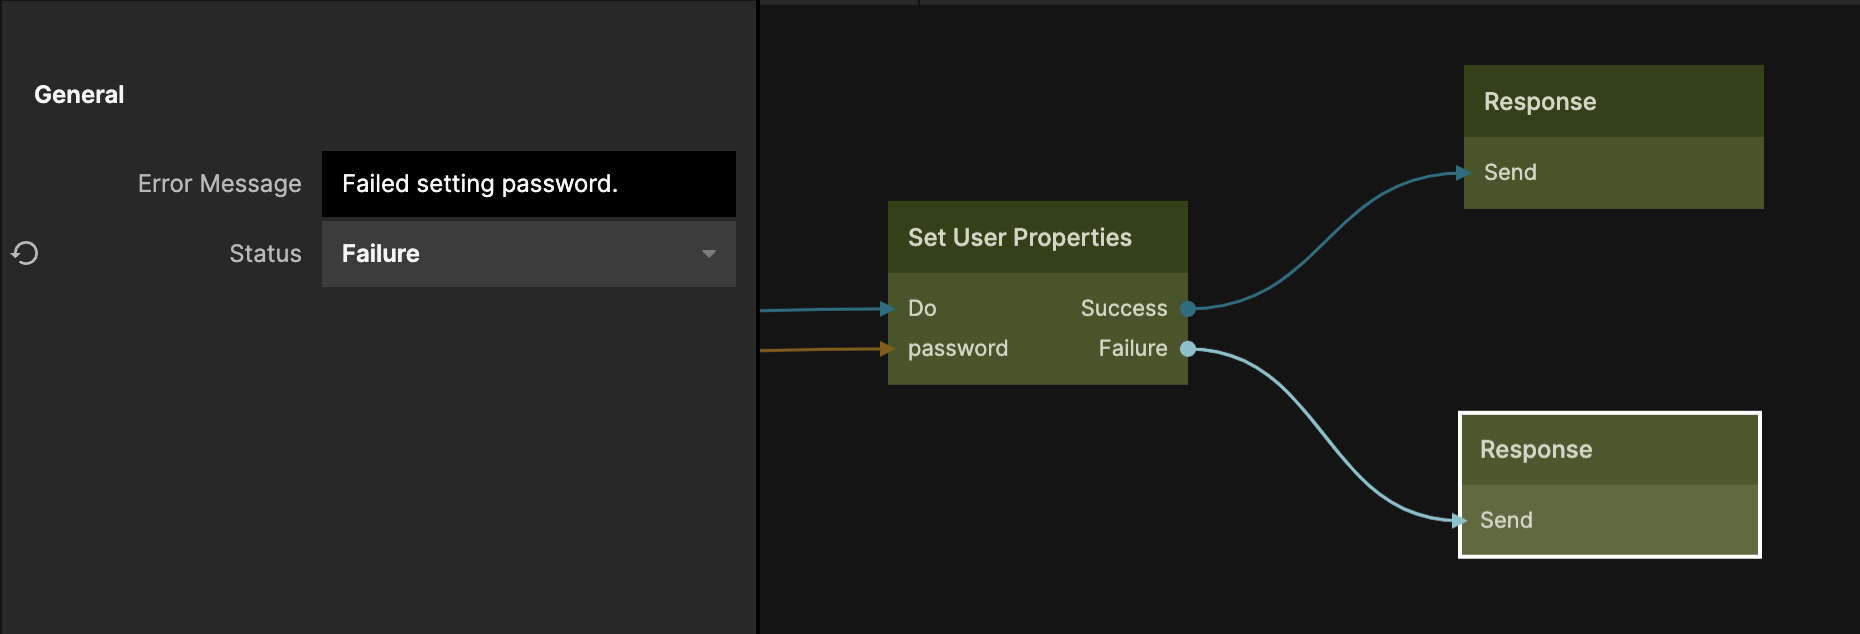
When the function completes you should send a Send signal on the Response node. By default this will result in a successful completion of the function with no result parameters. If you need to send a failure you can change the Status property to Failure and provide an error message.
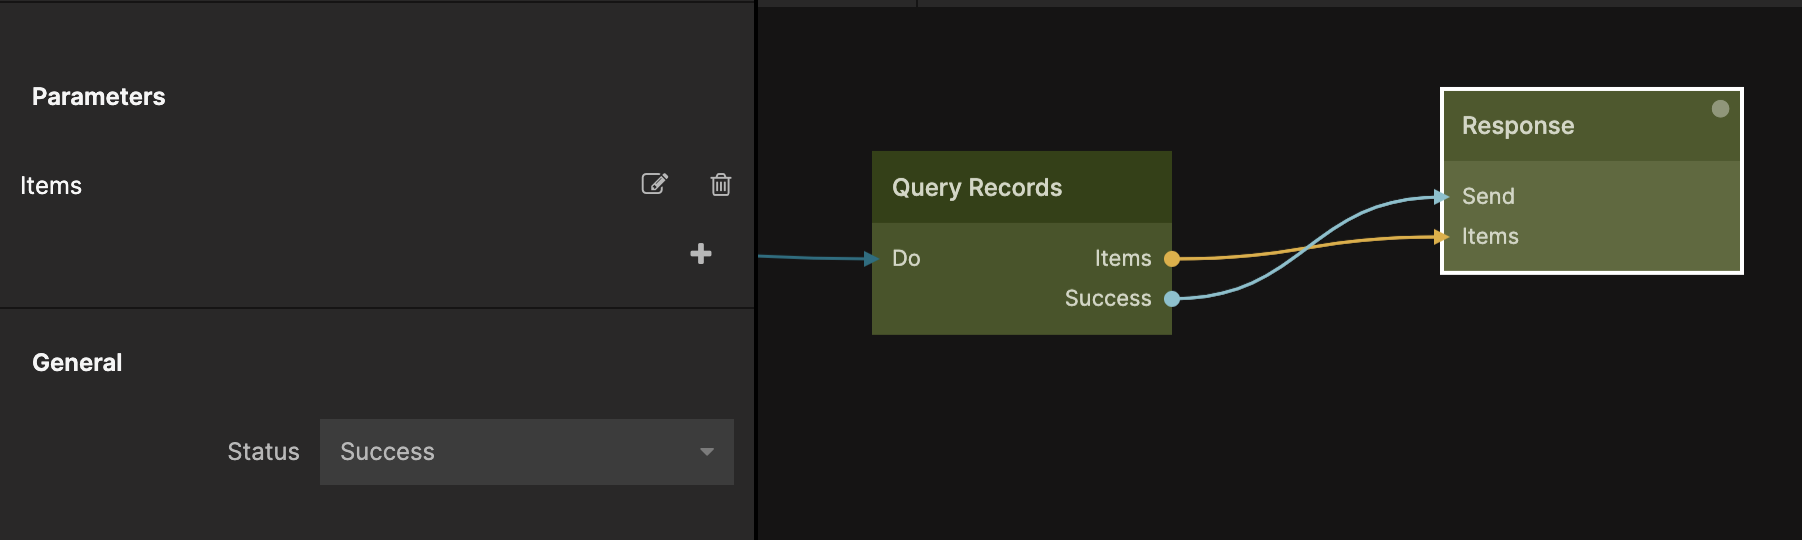
If you need to return a result to the client you specify result Parameters in the properties of the Response node and make appropriate connections.
Calling cloud functions
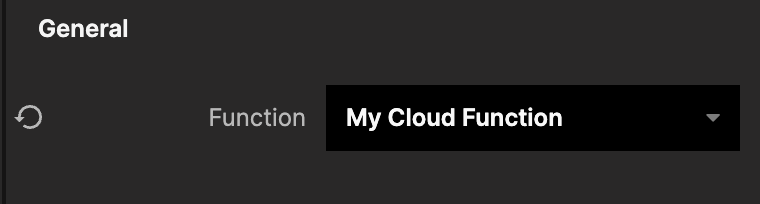
When your Cloud Function is in place you will need to call it from your frontend, this is done using the Cloud Function node. First you need to pick the cloud function that you want to call using the dropdown in the node properties.
Then you can hook up the node. You call the function by sending a signal to the Call signal input.
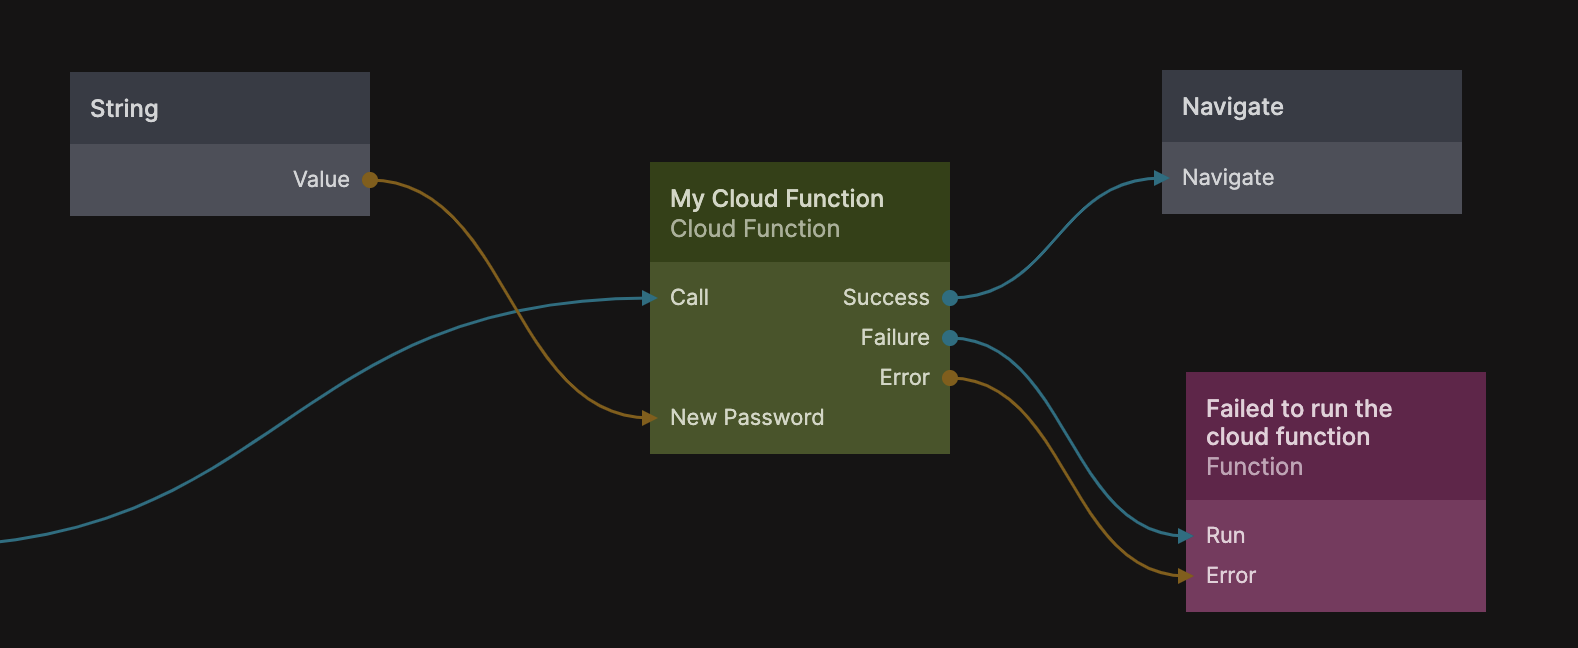
If you have any parameters in your Request node of the selected cloud function then they will show up on the Cloud Function node as inputs, same for result parameters in the Repsonse nodes.
When your cloud function has completed running it will result in either a Success or Failure signal.
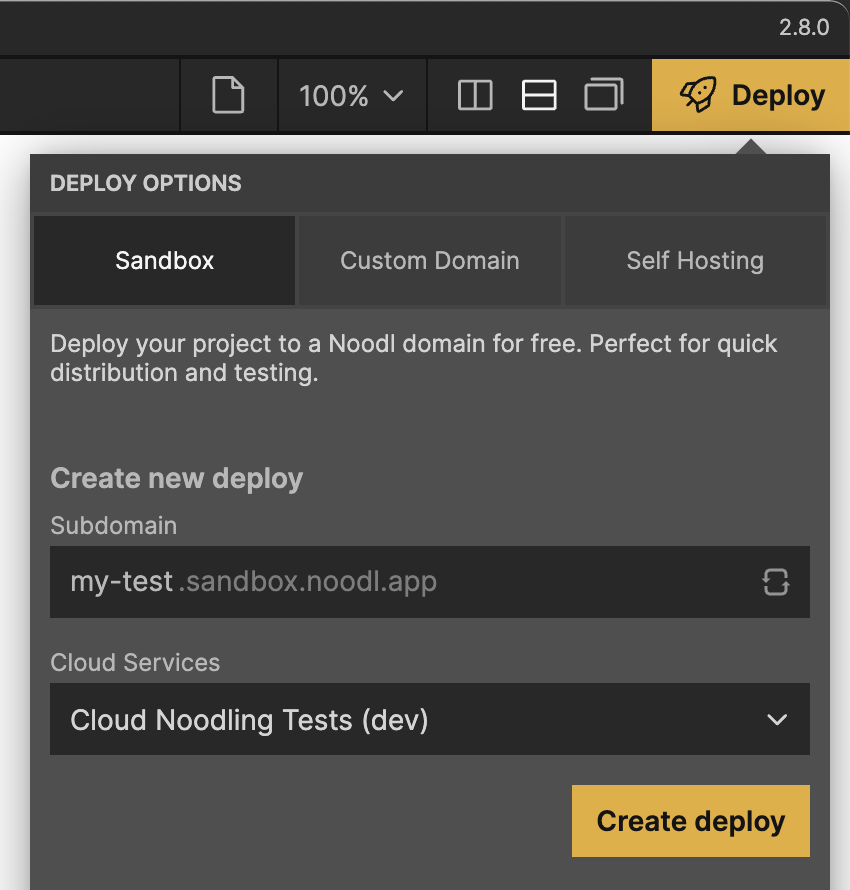
Deploying
This is the basics of cloud function, keep reading the guides in this section to learn more about the details and different use cases. Finally you will want to deploy your application, and for the cloud functions to work properly you need to make sure you have a cloud services selected when deploying.