Setting up the Mapbox Module
What you will learn in this guide
This guide will show you how to include the Mapbox module in a project and set up an Mapbox API key to use for your application.
Overview
We will go though the following steps:
- Install the Mapbox Module in a Noodl Project.
- Create an Access Token on the Mapbox account
- Create a minimal Mapbox App in Noodl
Install the Mapbox Module
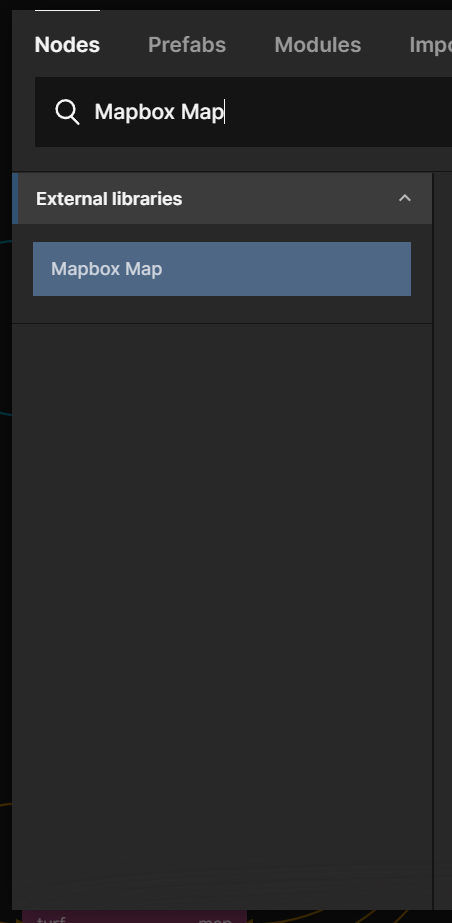
When in the project, open the "Module" tab in the Node Picker. Find the "Mapbox" module and click "Install".

After the module is imported, you should now be able to find the Mapbox Map node in the node picker. Right click in the node editor area to bring up the node picker. Look under "External libraries" to find the Mapbox Map node.
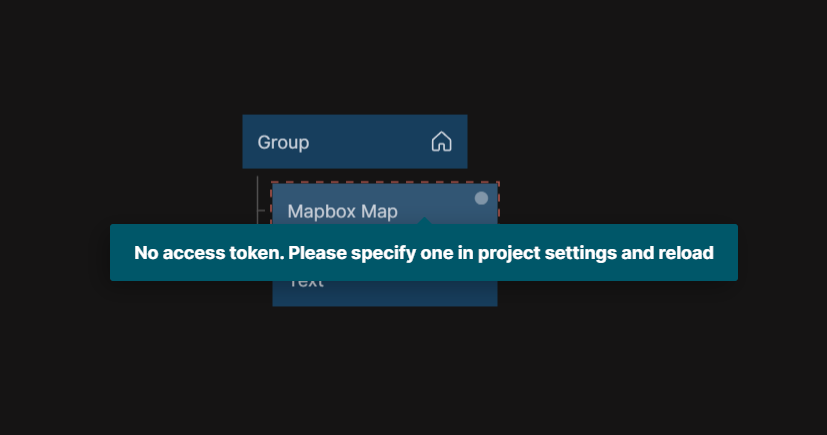
Add the node. Then put it as a child to your main App group. As you will see, you will immedieatly get a warning: "No access token. Please specify one in the Project Settings and reload".
So to use the Mapbox Module you need an access token from Mapbox. You can read more about Access tokens here and also follow instructions on how to create one. Among other things you will have to set up an account on Mapbox unless you already have one.
Entering the Mapbox Access Token
Once you got the token (which will look like a long password) you open up the "Project Settings" panel by clicking the cogwheel in the main panel to the left. Copy/Paste the token into the field called "Mapbox Access Token"

Once you've added in the token, reload the viewer, and you should now have a Mapbox map showing in your App, something like below.
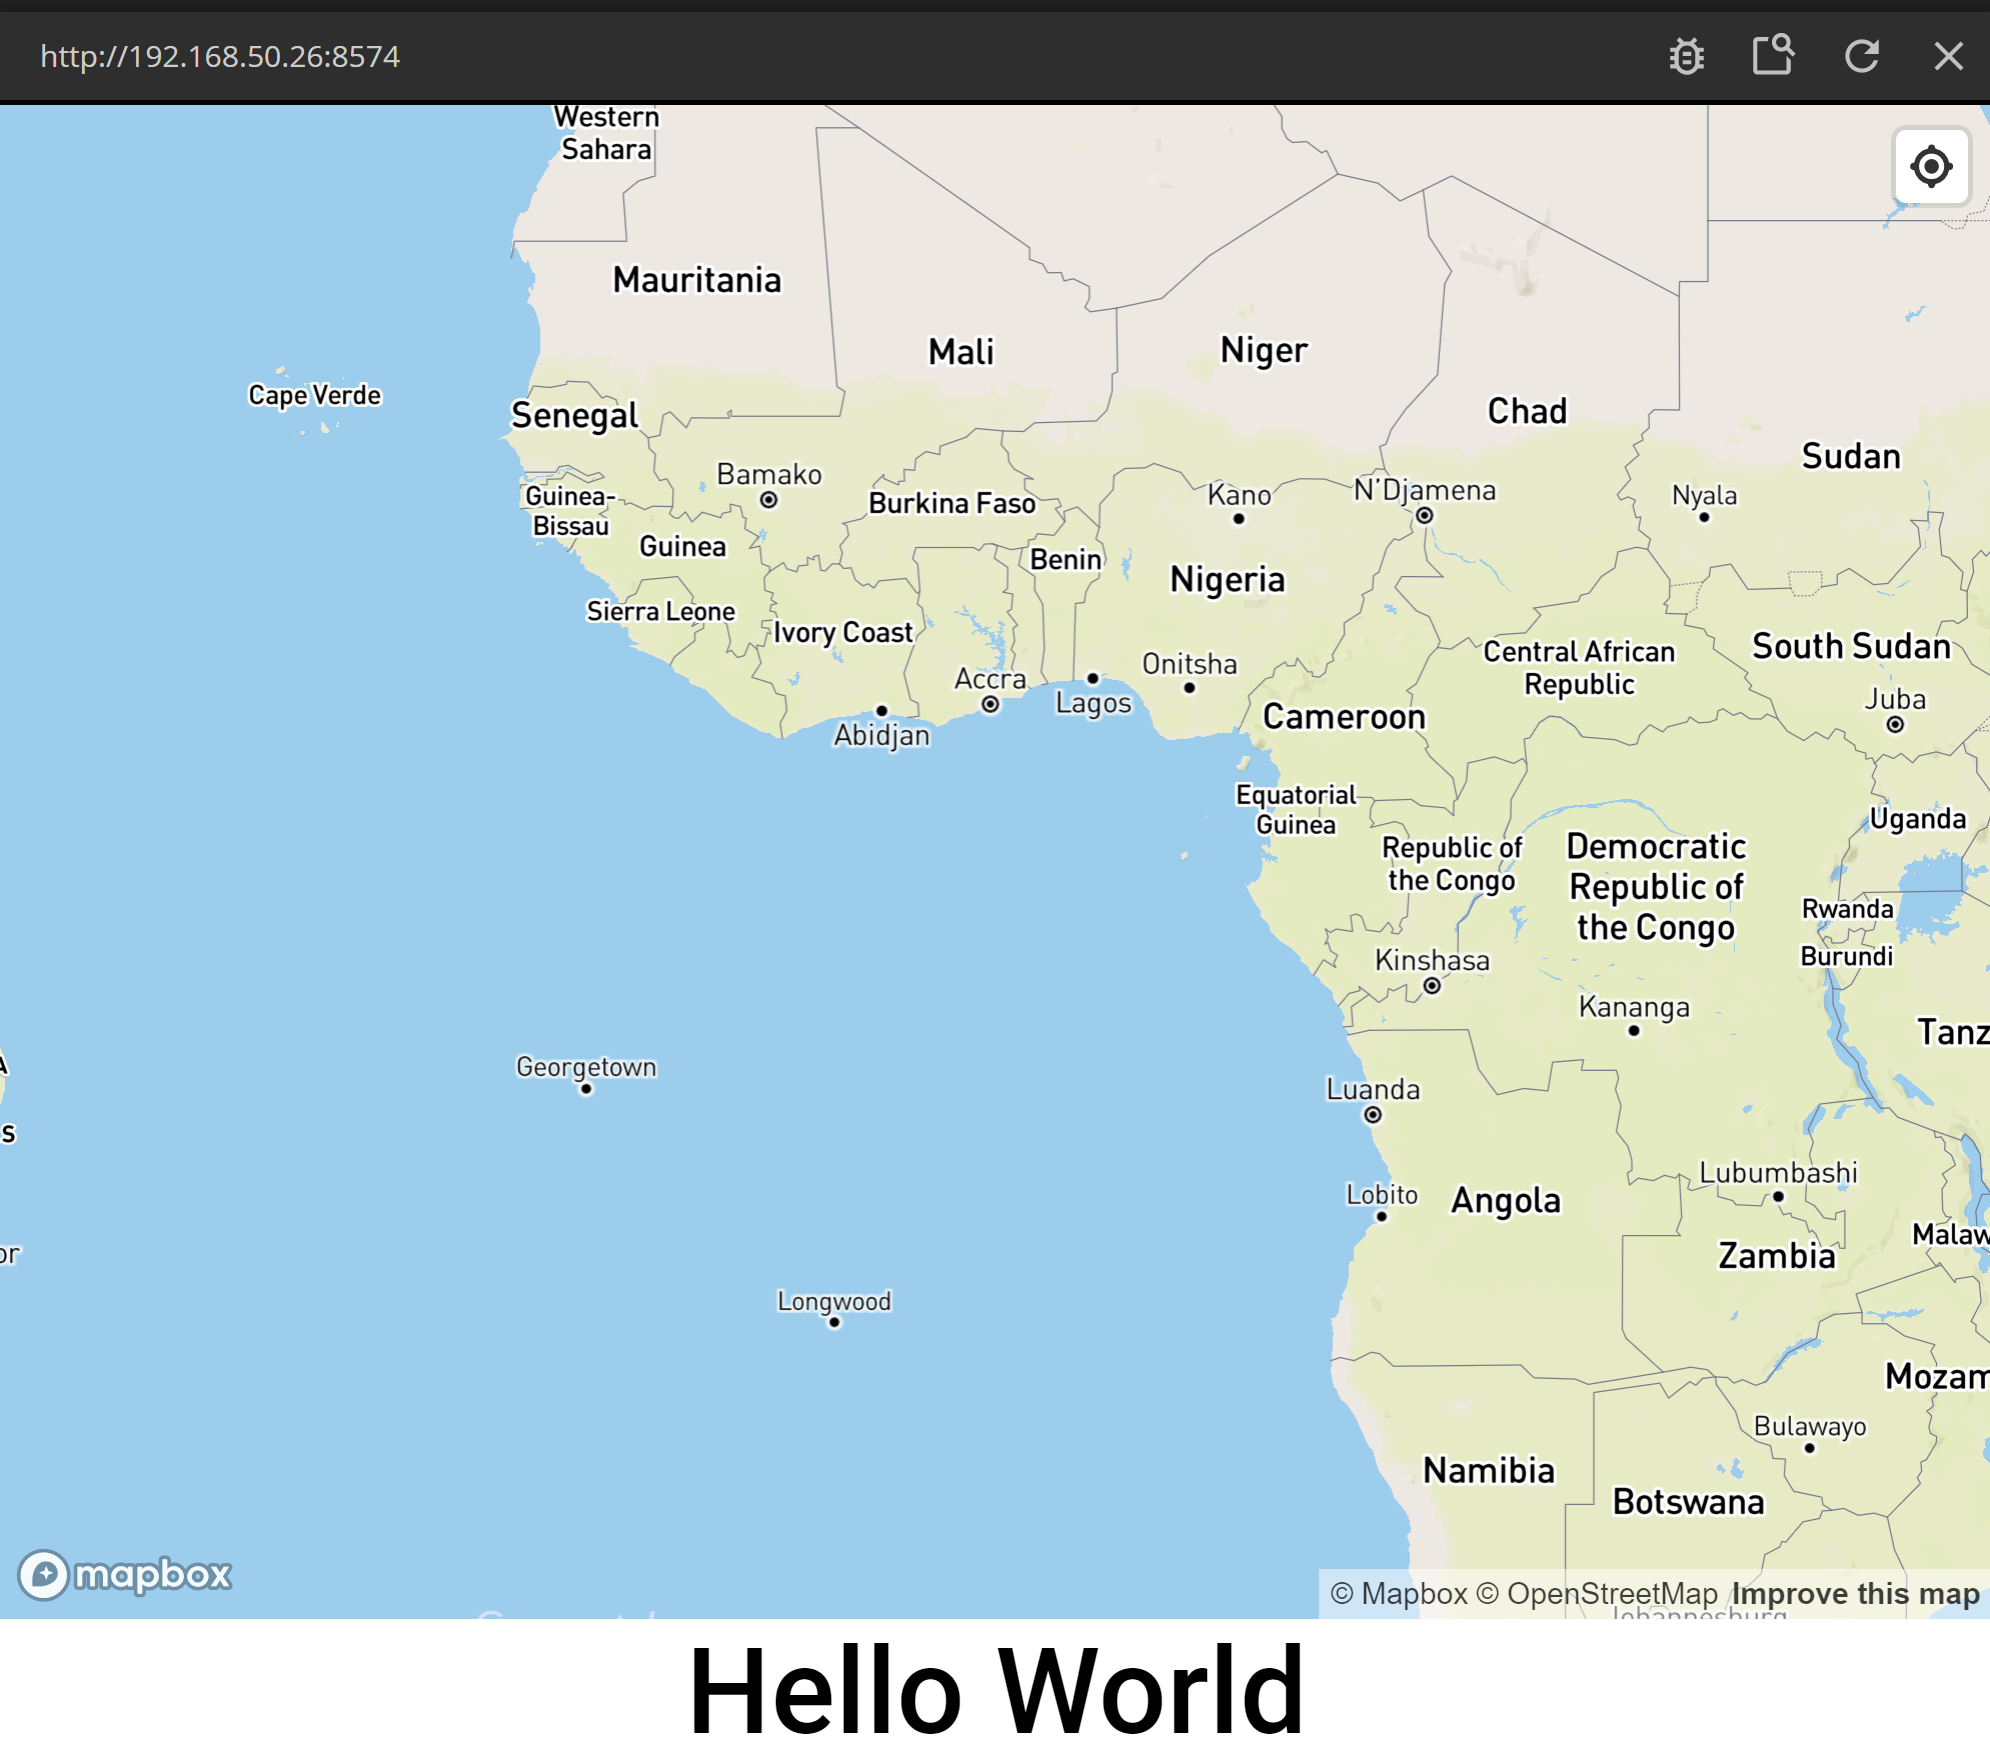
You can play a little with the map. Pan and zoom.