Take a screenshot
Taking a screenshot of the map can be useful in many different scenarios, for example saving navigation, directions, planning, record-keeping, and research purposes. It can help visualize routes, distances, specific locations, and patterns in data.
info
This will not include Markers, to include Markers we have to take the screenshot in a different way.
Results
When taking the screenshot we will get an image the same size as the Mapbox element.
The output will be an image blob which can be passed into an Image node, upload as a file, or saved in the database.
Example of the screenshot/image data format:
data:image/png;base64,iVBORw0KGgoA...
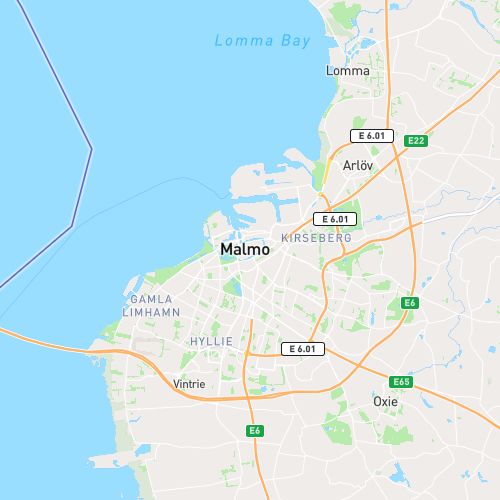
This is what the image looks like:
Steps
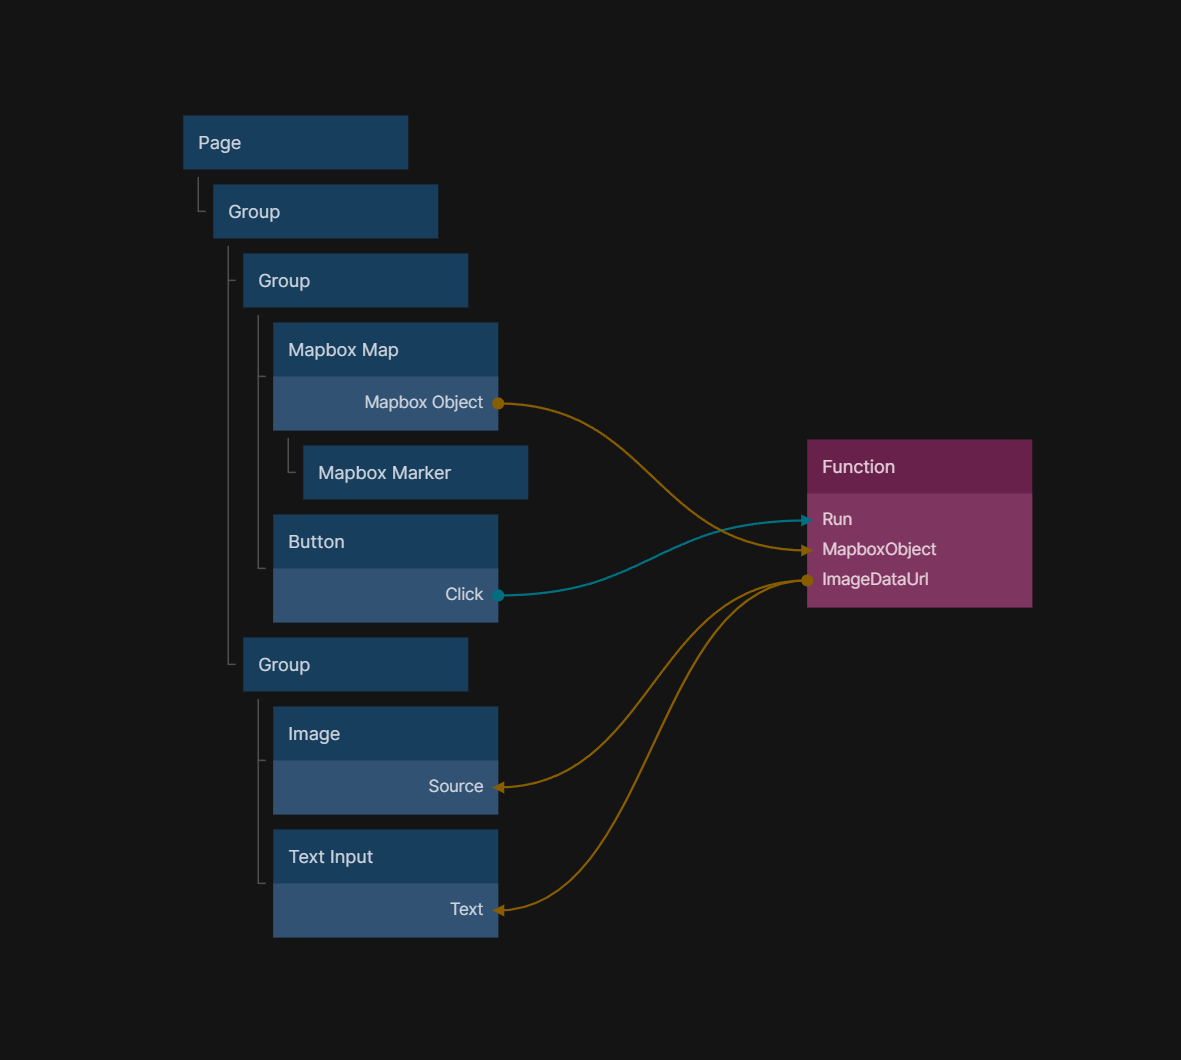
- Create a Function node, with this code:
const mapboxObject = Inputs.MapboxObject;
if (!mapboxObject) return;

Outputs.ImageDataUrl = mapboxObject.getCanvas().toDataURL();
Connect the Mapbox Output,
Mapbox Objectto the Function node.Connect the
ImageDataUrloutput on the Function node to either an image or where you want to save it. This image can be saved in the database too, but keep in mind that it is not recommended to save a lot of data in a column.
Here is an example of how it might look in the end: