Basic Navigation
What you will learn in this guide
In this guide you will be introduced to the Page Router, the Page and the Navigate node to create a simple UI where you can navigate between pages. You will learn how to navigate both by interacting with the UI or by entering URLs directly in the browser.
Overview
We will go through the following steps in the tutorial
- Set up a Page Router with three Pages
- Configure the URL for the pages
- Implement navigation in the App
What is Web Style Navigation?
Noodl supports two types of navigations: App style navigation and Web style navigation. This guide covers the Web style navigation using the Page Router and Pages.
On a high level the main differences are
Web Style:
- Each Page has a distinct URL and by typing that URL in a browser window you will be routed to that page.
- You can encode data in the URL that can be extracted in the Page.
- The browser keeps track of your navigation stack, i.e. back history. The user can click back/forward in the browser window to navigate.
- Generally there are no transitions when moving between pages.
App Style:
- The browser is unaware of the navigation - there is no change in URL when navigating.
- Noodl keeps track of the navigation stack.
- You can use different transitions when navigating.
You can mix the two navigation styles. For example a web page could have URLs leading in to the main section of the web site and within each section you use App style navigation.
When to use which style depends what the user expects from your app. Should it work like classic web-site or more like an app.
This guide will focus on Web Style navigation.
The Page Router
The first node to look at in this guide is the Page Router. This node mainly keeps track of two things:
- Provide space for the Page that is currently showing
- Keep track of the other Pages you can navigate to
The Page Router node is a visual node meaning it takes up space on the screen. Any Page you navigate to will become child of the Page Router and use its space. So when designing your navigation flow, you typically create a bunch of Page components holding the content for each page and navigate between them. They will be put in the space that the Page Router takes up. All nodes in the visual hierarchy that are not in the Pages will stay on screen no matter how you navigate. So title and footer would normally not be part of the Page but lie next to the Page Router in the hierarchy.
Let's begin by creating a new project based on the "Hello World" Template. Delete the existing Text node and add in a Page Router using the Node Picker.

Click on the Page Router to review its settings.
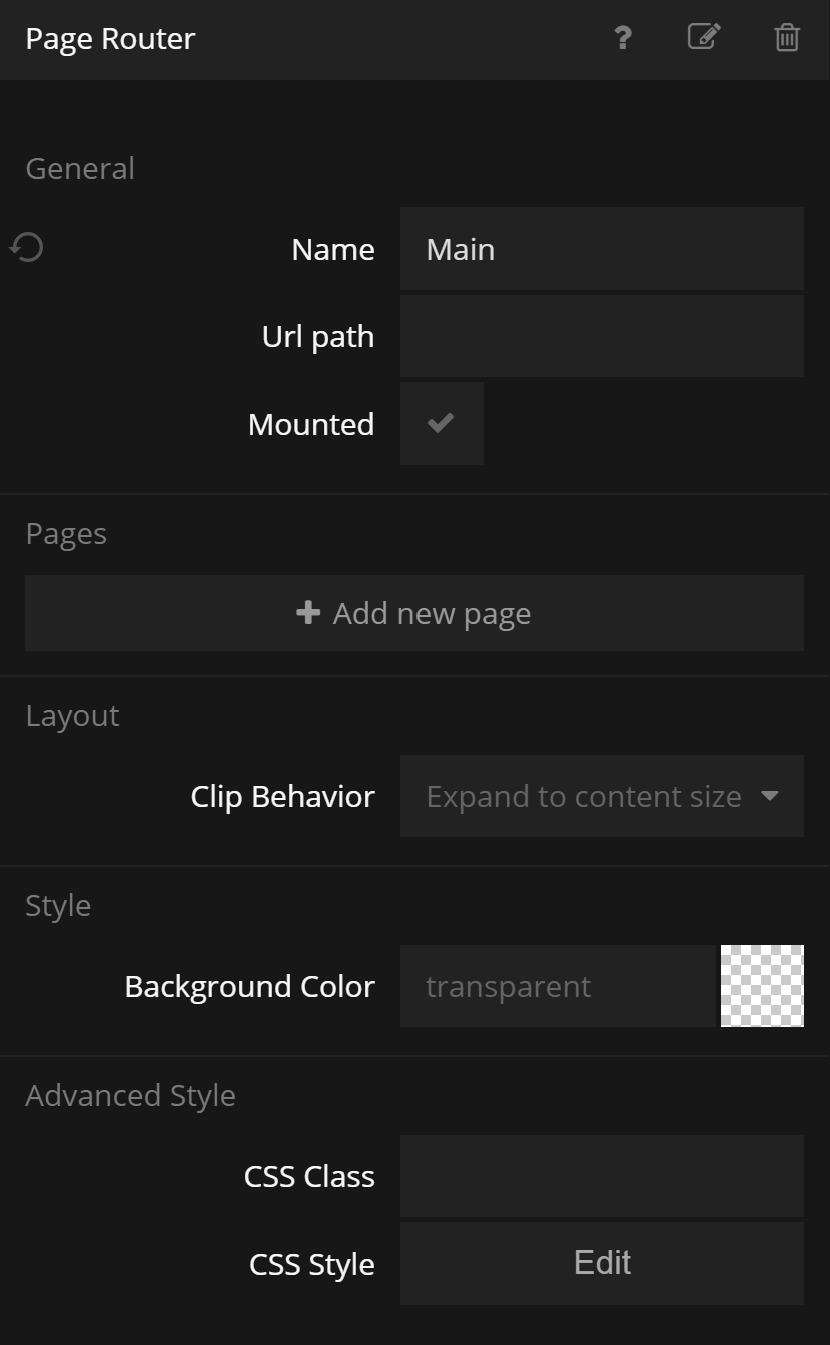
For now - lets only change one thing: The background color to more clearly see the area on the screen that the page router takes up. Change it to a nice grey color.
As you can see, the whole screen changes color. It's because the Page Router by default takes up as much screen as it can on the screen.
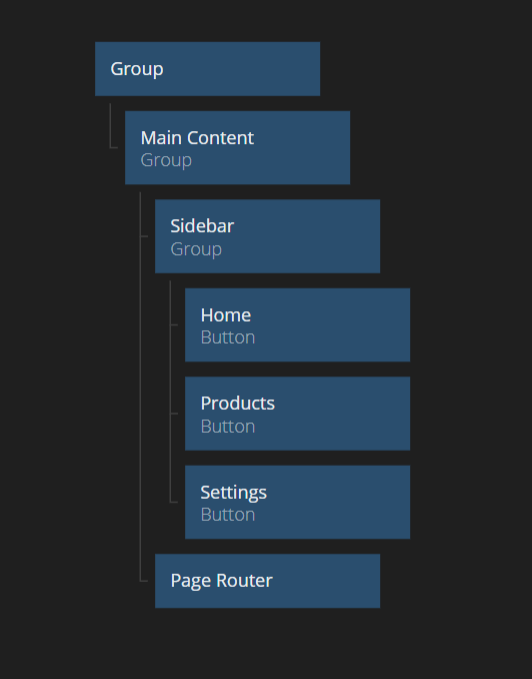
Lets create a simple sidebar and add to the App. Since this sidebar is lying next to the Page Router in the hierarchy it will be a consistent component in the App no matter where you navigate. Navigation can only change what's in the Page Router.
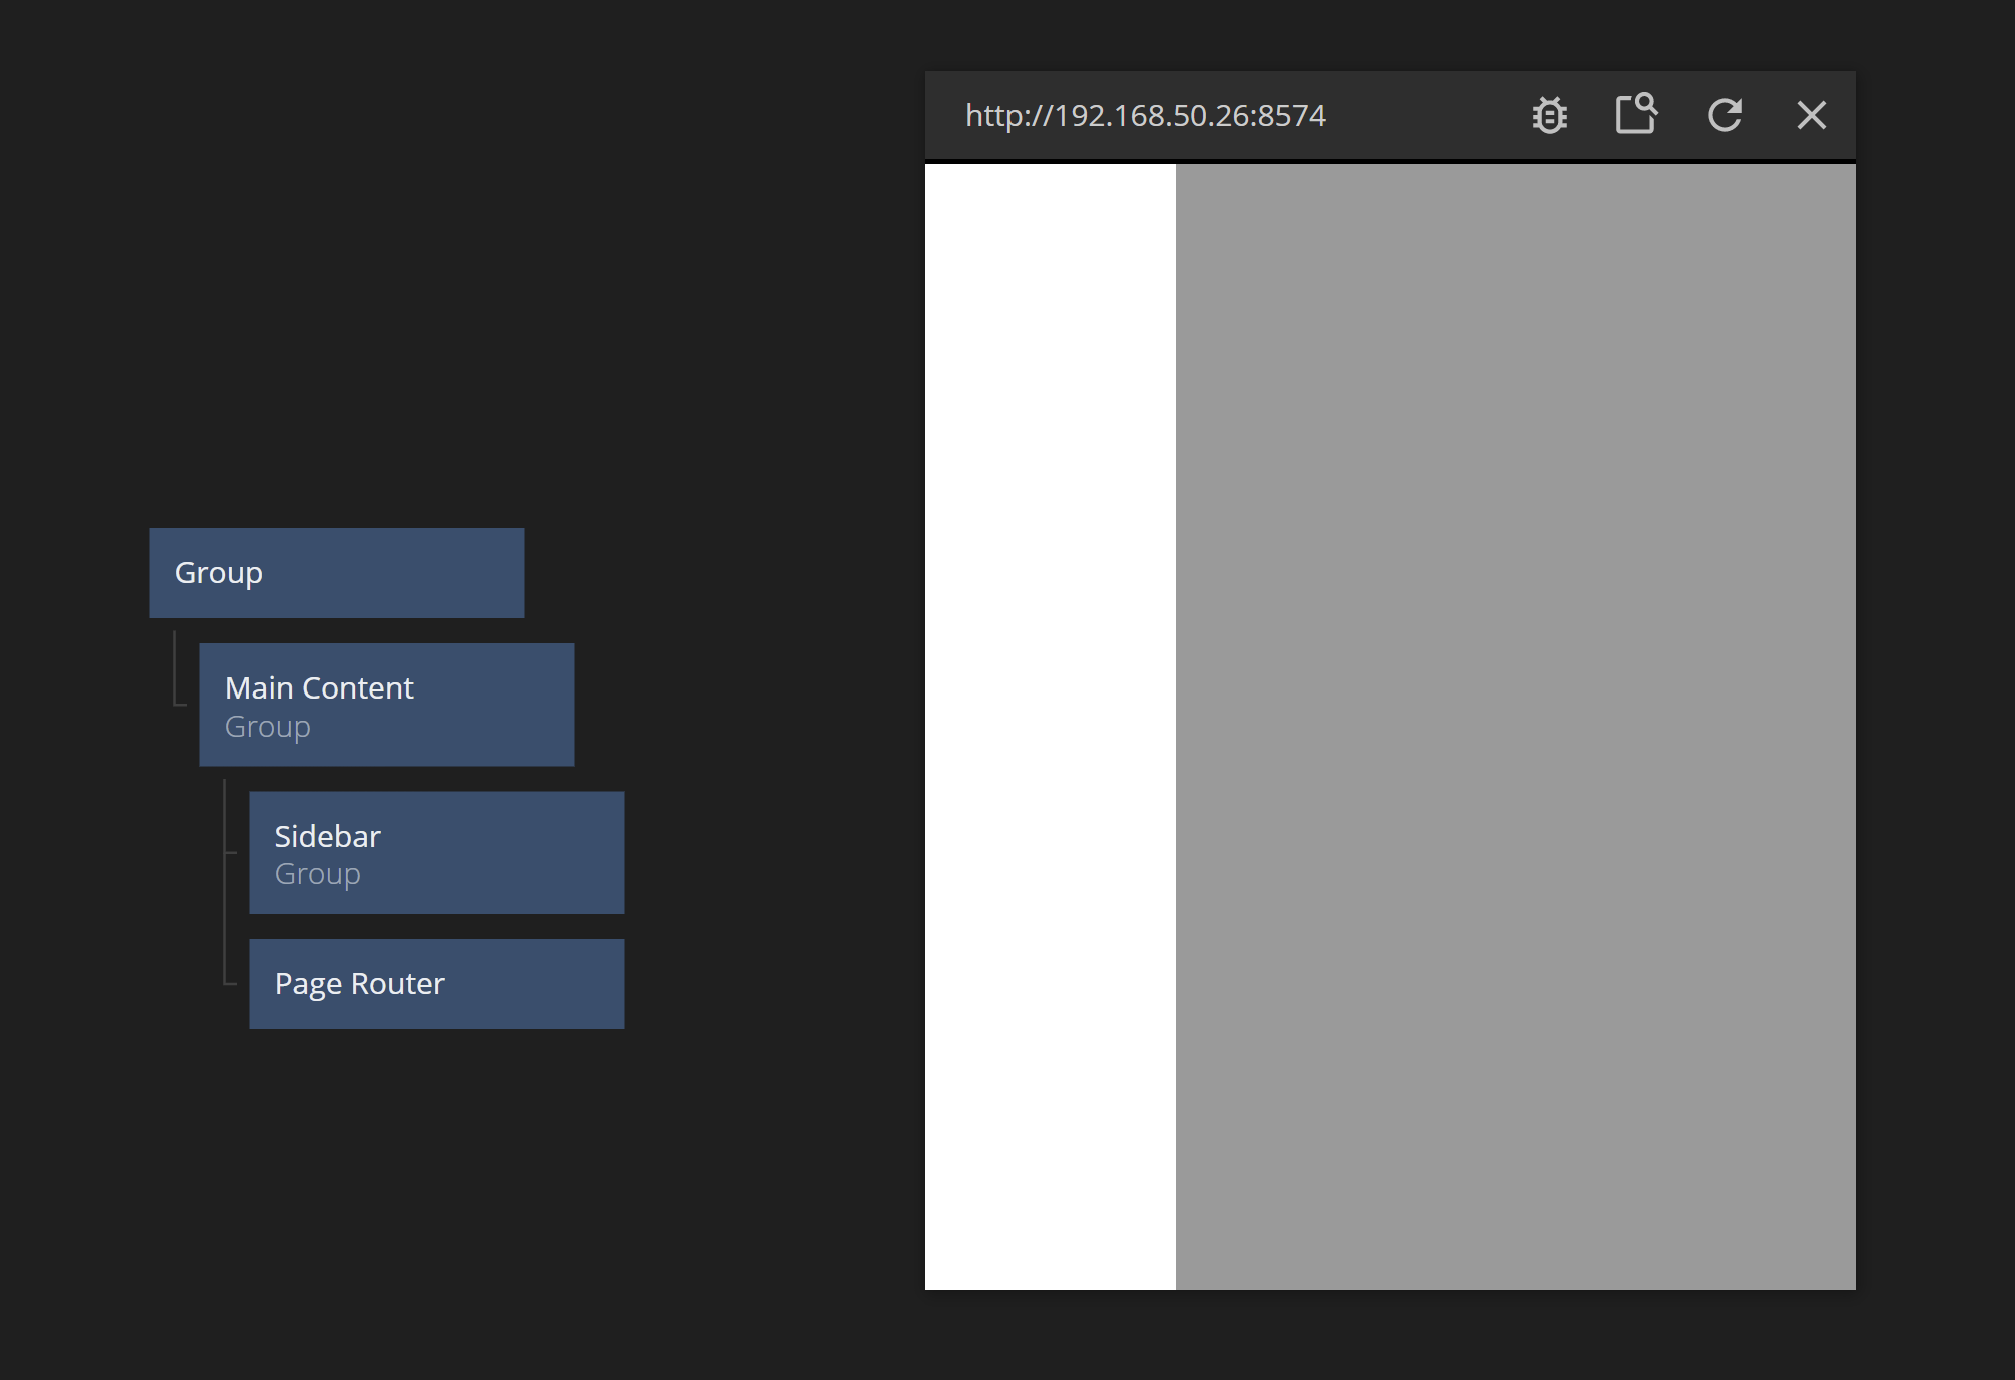
The sidebar is 100 px wide and white. It's placed together with the Page Router in a Group node with a horizontal layout.
Pages
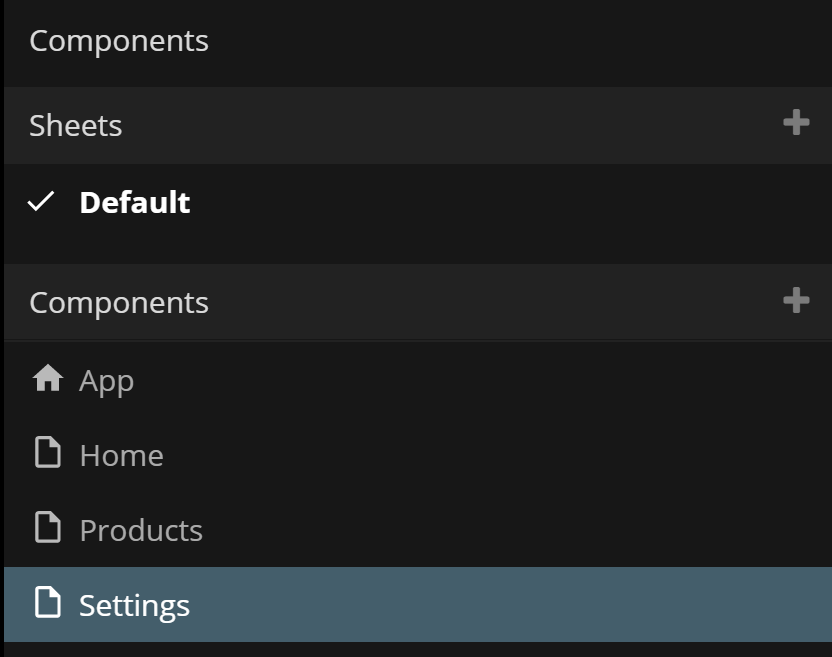
The next step is to add a few pages. The Page node is a bit special in the way that you cannot create it using the Node Picker. Instead you add it from the components sidebar as part of a component. Click "+" and the "Page Component". Call the page "Home".
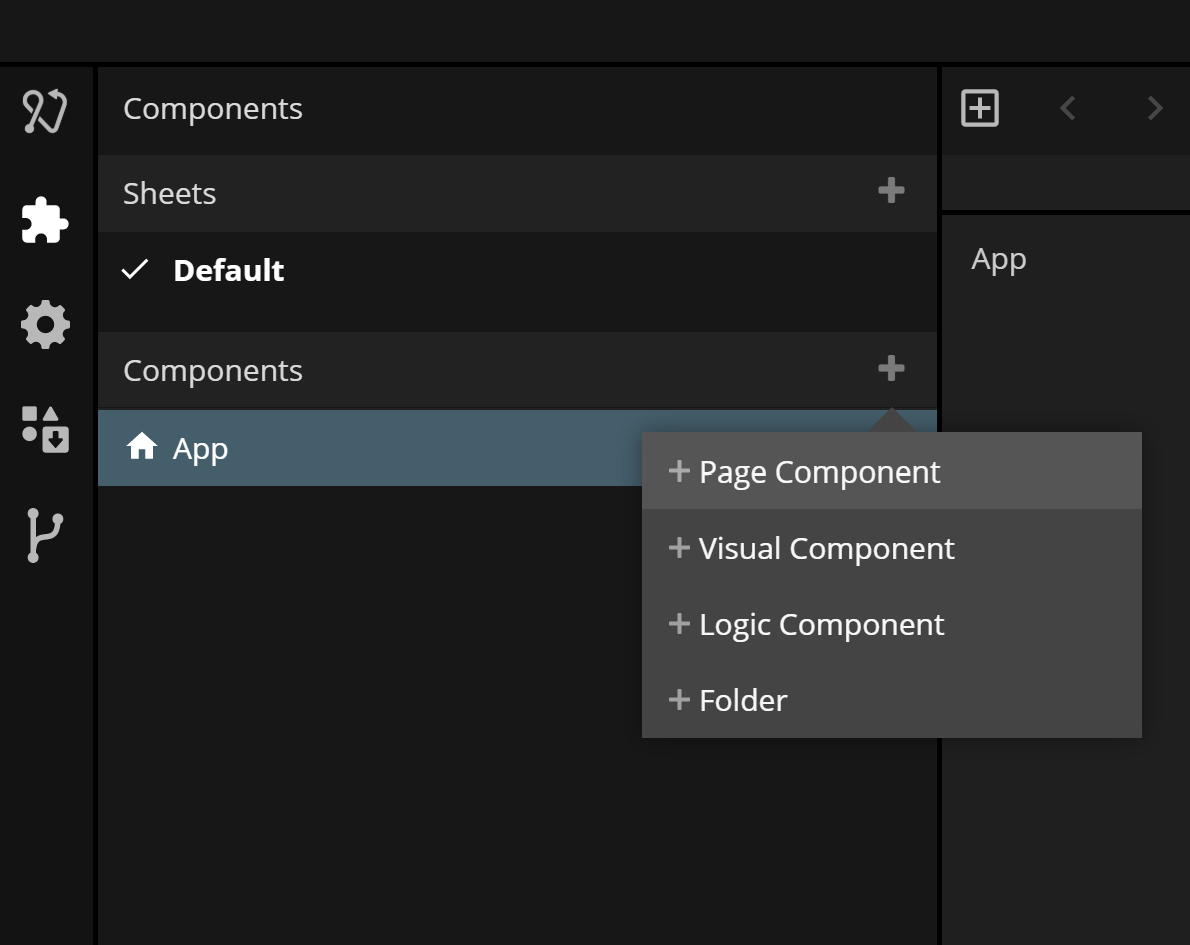
Then add two more pages, "Products" and "Settings". Your component list should look as the image below.
If you click one of the Page components you will se that it has two nodes by default. A Page node and a Page Inputs node.
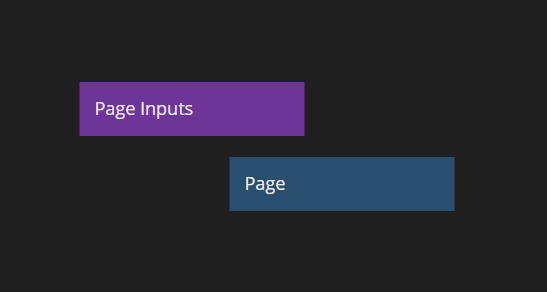
Let's ignore the Page Inputs node for now. We will use it in later guides to send parameters to the Pages. The Page node is a container that will hold the content you want to show. Let's add some content to it. Add a Group node and then a Text node as a child node. The Text will become the title of the page, so give it the name "Title" and center it. Also change the text so it matches the page you are changing, for example "Home" if you are in the Home page.
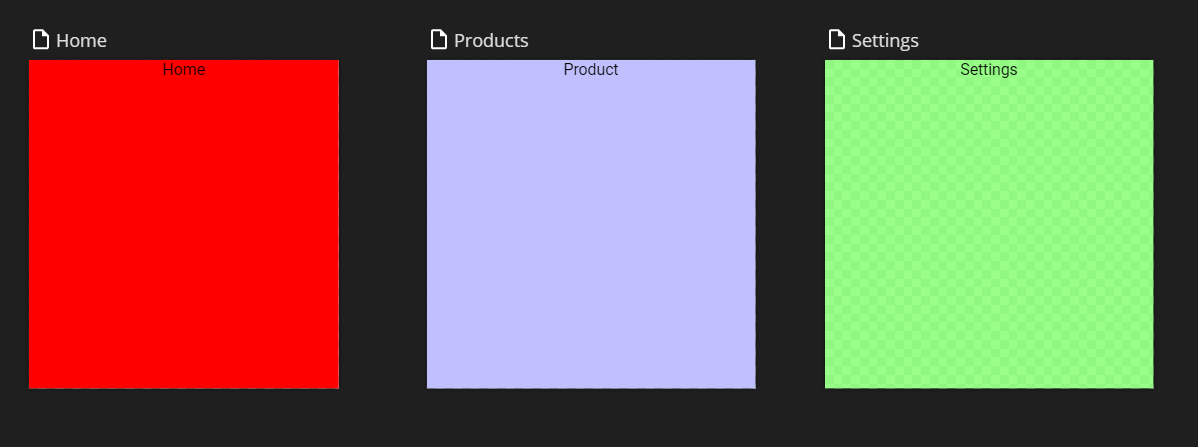
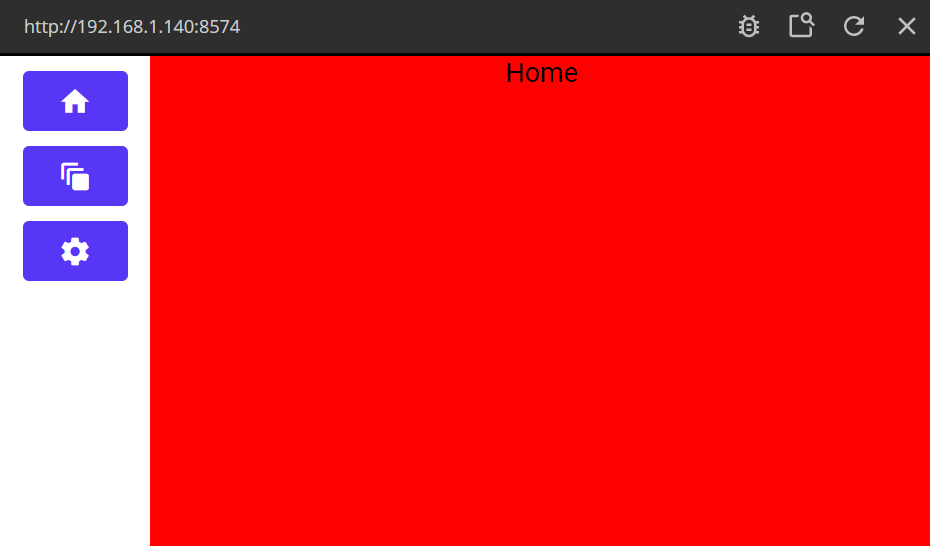
To more easily differentiate the pages from each other we will change the color of the Group to something that stands out, for example red.
Now change the other two pages, i.e. add the nodes, update the text title and change the color to a new color. You can select the two nodes and then copy the them using (Ctrl+C/Cmd+C) and paste them (Ctrl+P/Cmd+P) into the other pages.

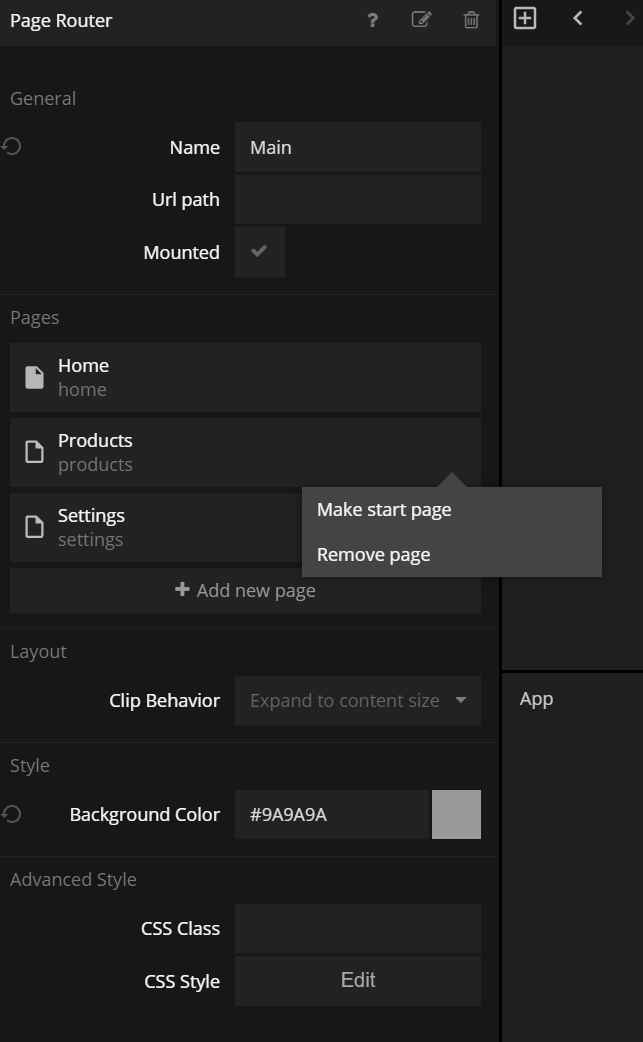
As you change the pages you will see that one of them is already shown in the Page Router, the one that you added first. It has become the Starting Page of the Page Router. If you want to change that, you can go back to the Main App and click the Page Router. You will now see that there are two Pages added to your list of available Pages in the Page Router. You can hover over the Pages and a edit icon appears. It will open a menu where you can remove the page or make it the starting page. Try changing the starting page. You need to refresh the viewer for the changes to take place.
Page paths
Now, lets look at the paths to the pages. Go back to one of the Page components and click the Page node. You will se that it has a Title and a path that's based on the name of the component.
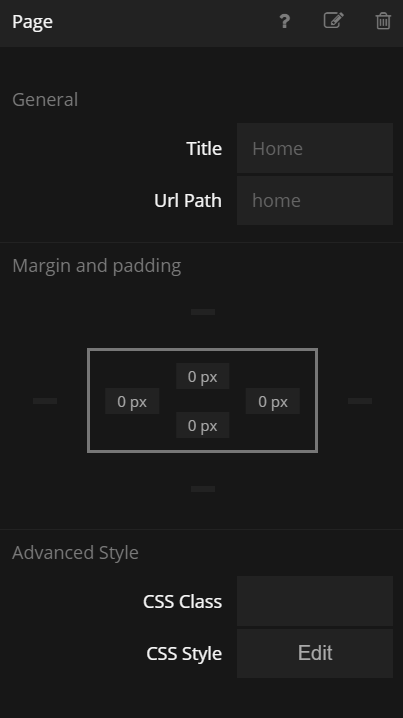
For the case of the "Home" Page Component, it's path is "home". This means that the url to that page is <your deployed domain>/home. Let's try it with our viewer running on localhost.
Open a window in your favourite browser. Enter the URL http://localhost:8574#/home. Then try the paths to the other pages, for example http://localhost:8574#/products, http://localhost:8574#/settings. The URLs should lead you to the different pages.
Navigating in the app
Finally lets add some navigation within the app. First step is to add buttons to the empty sidebar.
Change the buttons slightly to fit with the sidebar design, for example enabling the icon, removing the label and adding some padding and margins.
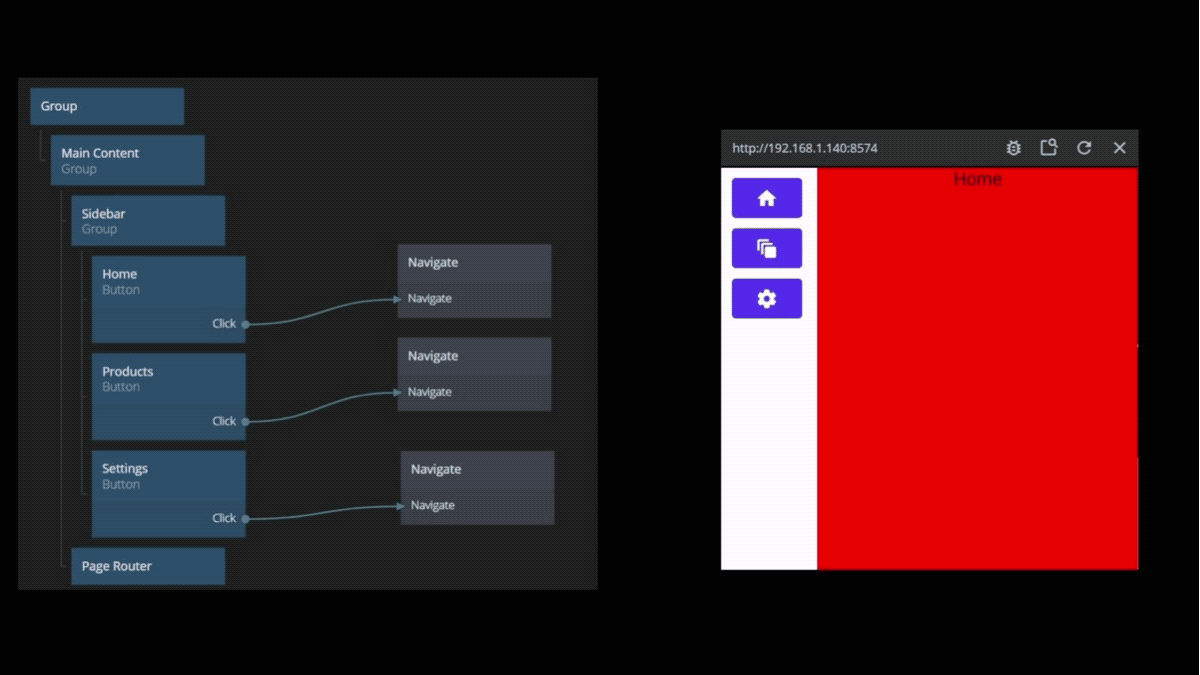
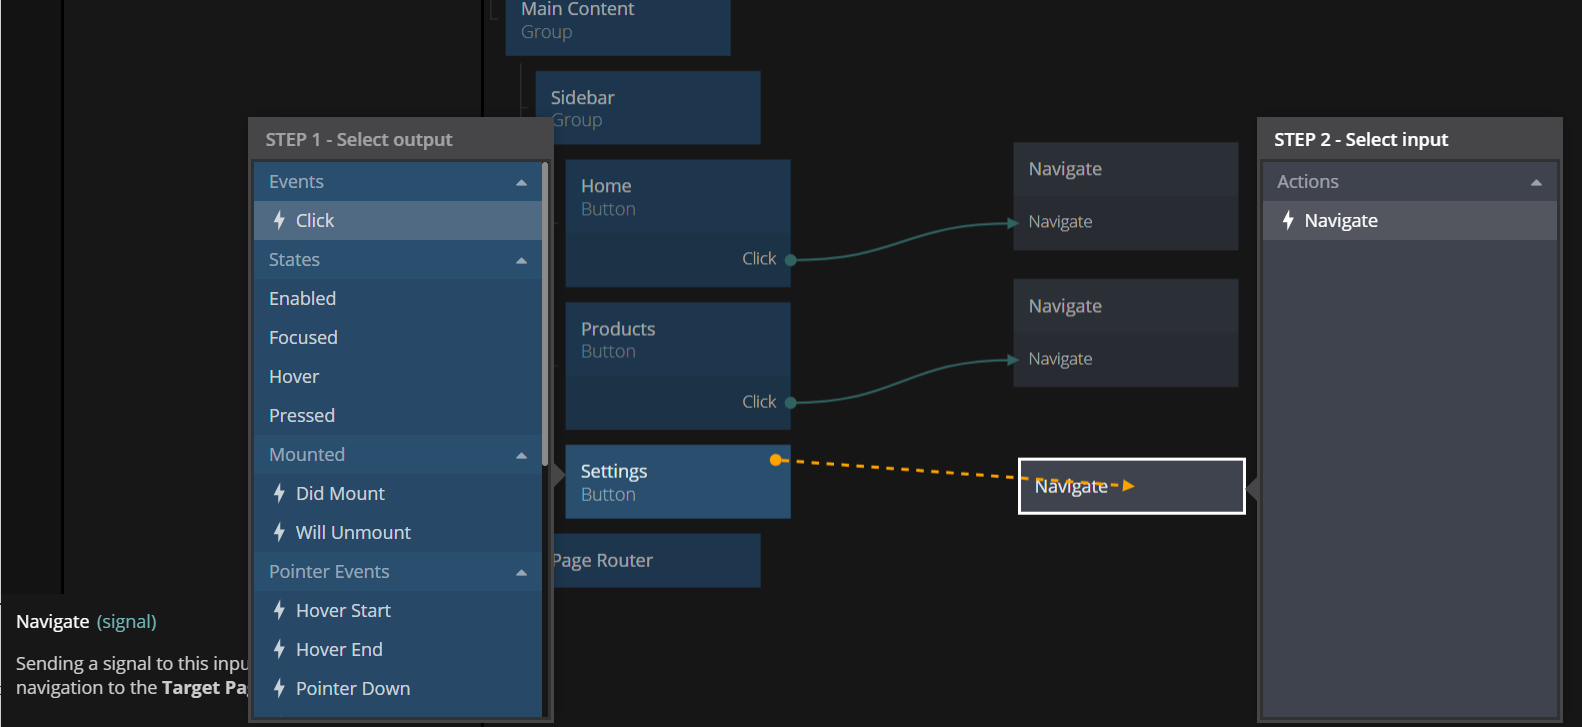
Finally we are going to connect this buttons to a Navigate node, that will trigger the page navigation. So create three Navigation nodes. When you click them, you will see that you can change their target page to either one of the Page Components that are available in the Page Router.
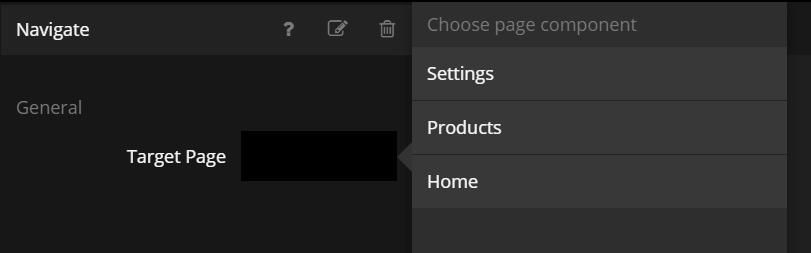
Make sure the three Navigate nodes points to the right target, and then connect the Click signal from the button to the Navigate signal on the Navigate nodes. Make sure the the correct button is connected to the correct Navigate node.
Now try clicking the buttons. If everything was set up correctly you should see the Page Component changing on the screen. Also try it in the browser and see how the URL changes. Try pressing the "Back"/"Forward" button in the browser and see how you move back and forth in the browser history.
If you want import the full project in Noodl click the "Import" button below and follow the instructions below.