Park Details View
What you will learn in this guide
This guide will continue to explore how we can build front ends to data from Google Sheets.
Overview
If you haven't already looked at the guide for setting up the Google Sheets Module, it's recommended to do that before starting this guide. You can find it here.
We will go though the following steps:
- Using the Sheet Row node.
- Building a simple details view for data from a Google Sheet
Creating the Park Details component
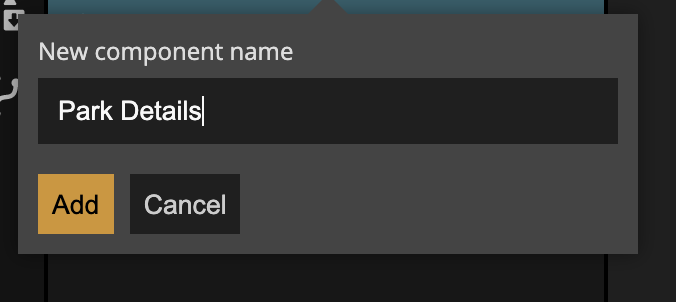
First let's create a new visual component that we will call Park Details.
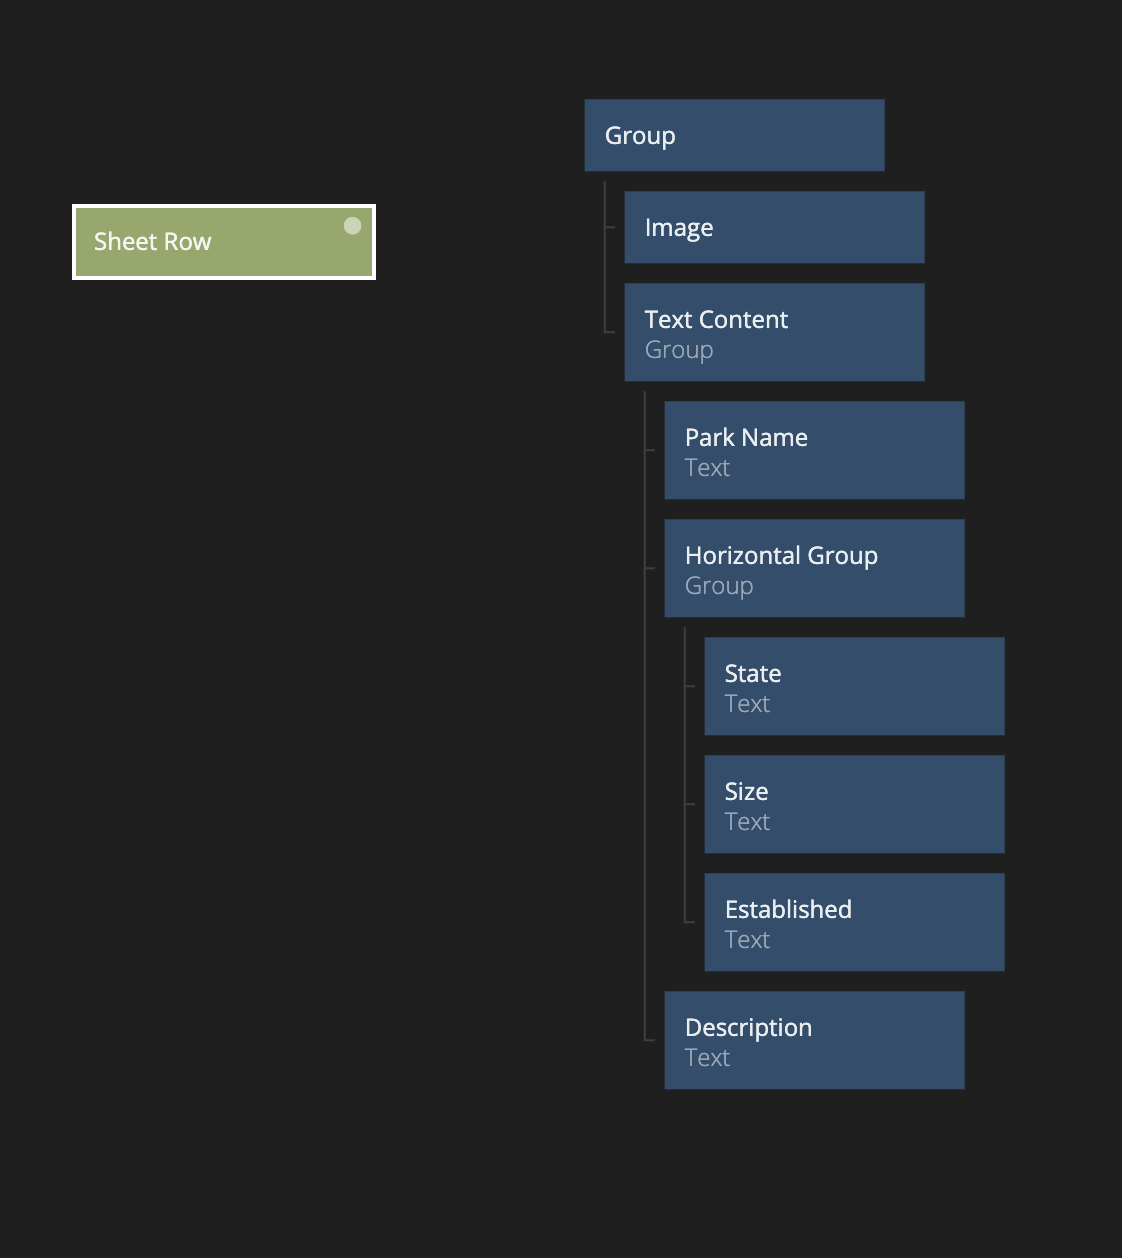
Then, build out the following visual tree and then we will look at the properties for each node.
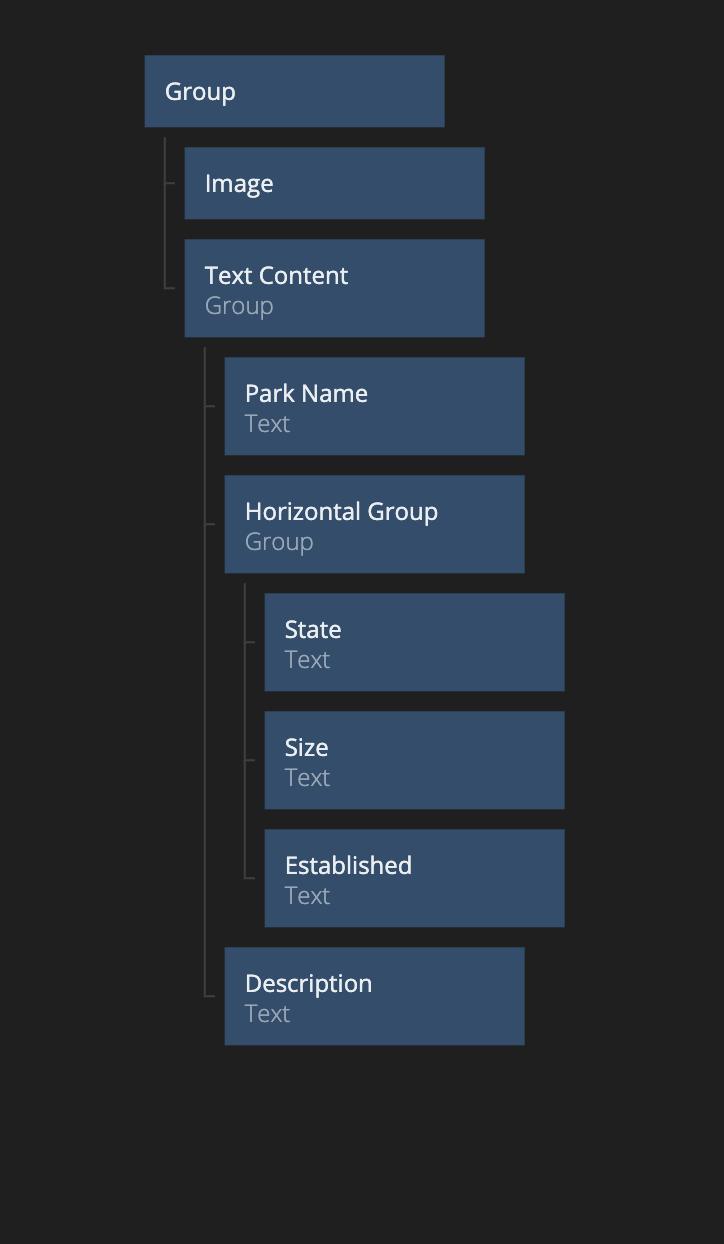
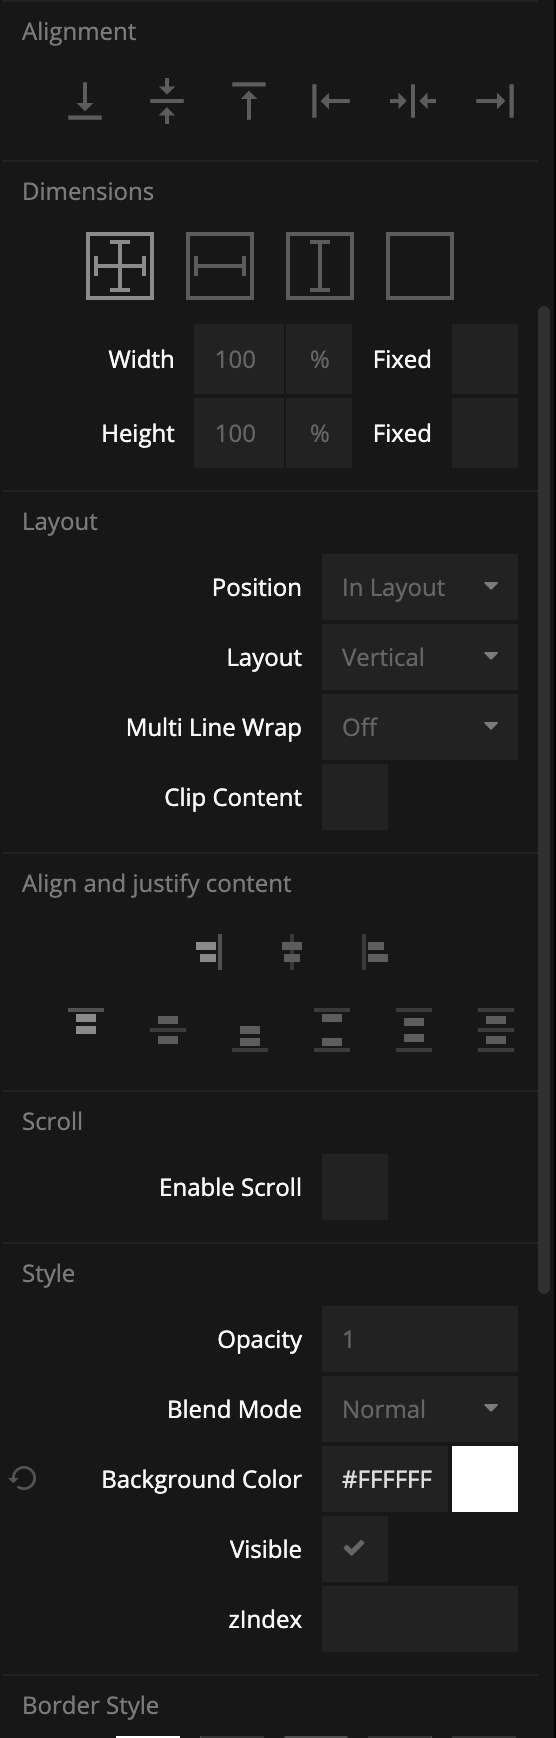
First the properties for the top group, and the only thing that is different from the defaults is the white background:
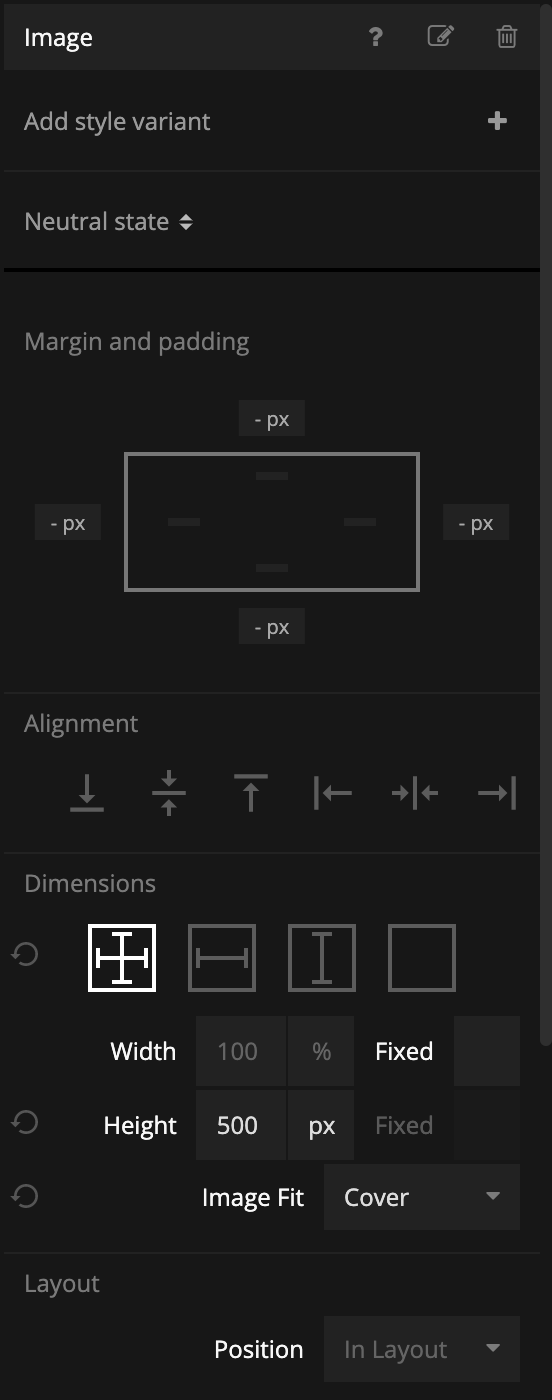
Next we have the Image node which is setup like this:
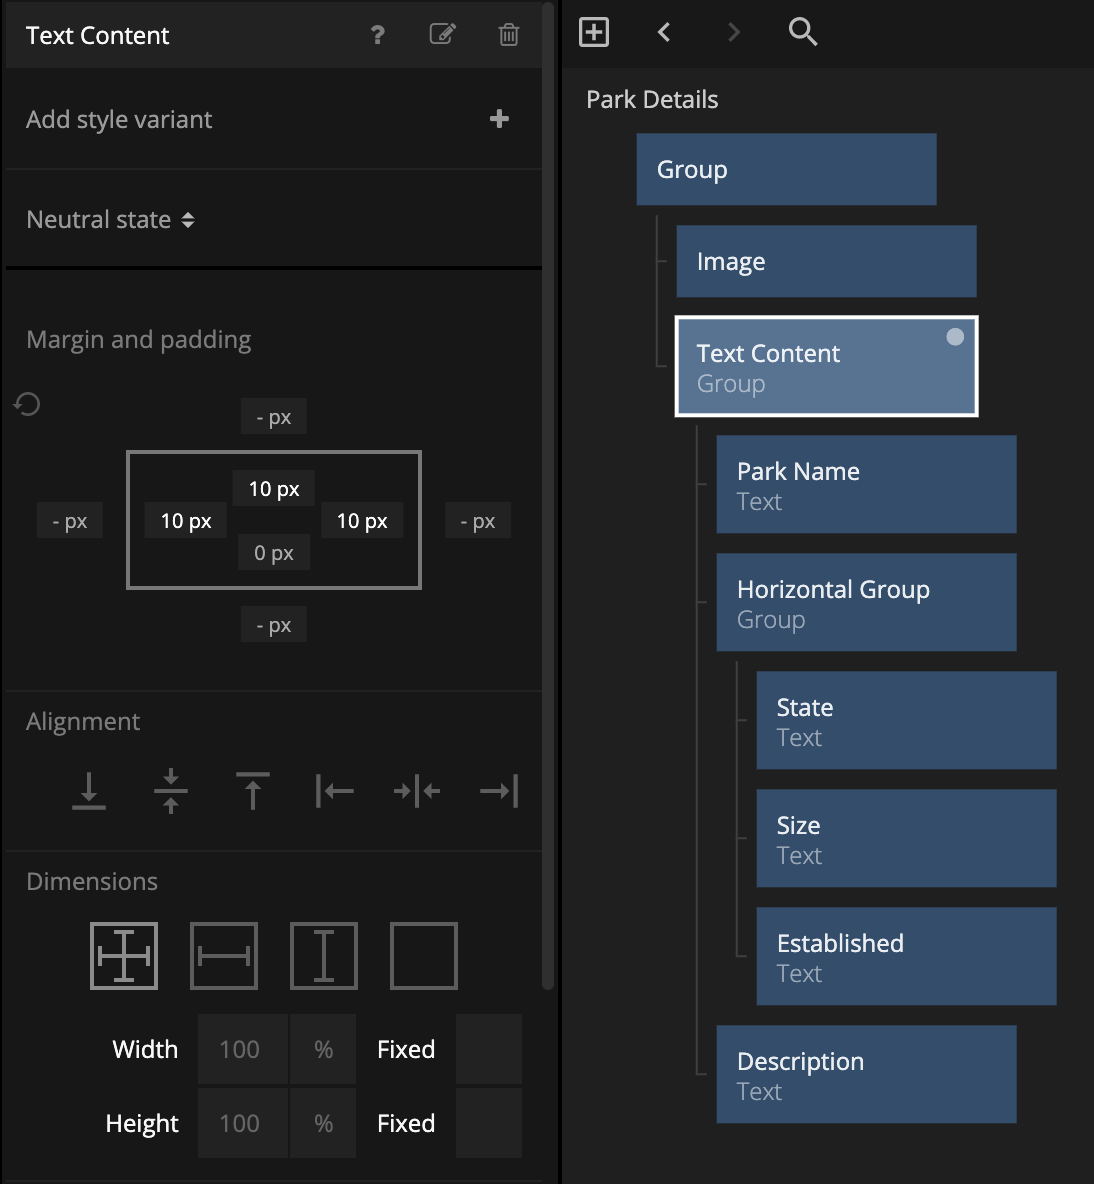
The Group that we have called Text Content, only has some padding set:
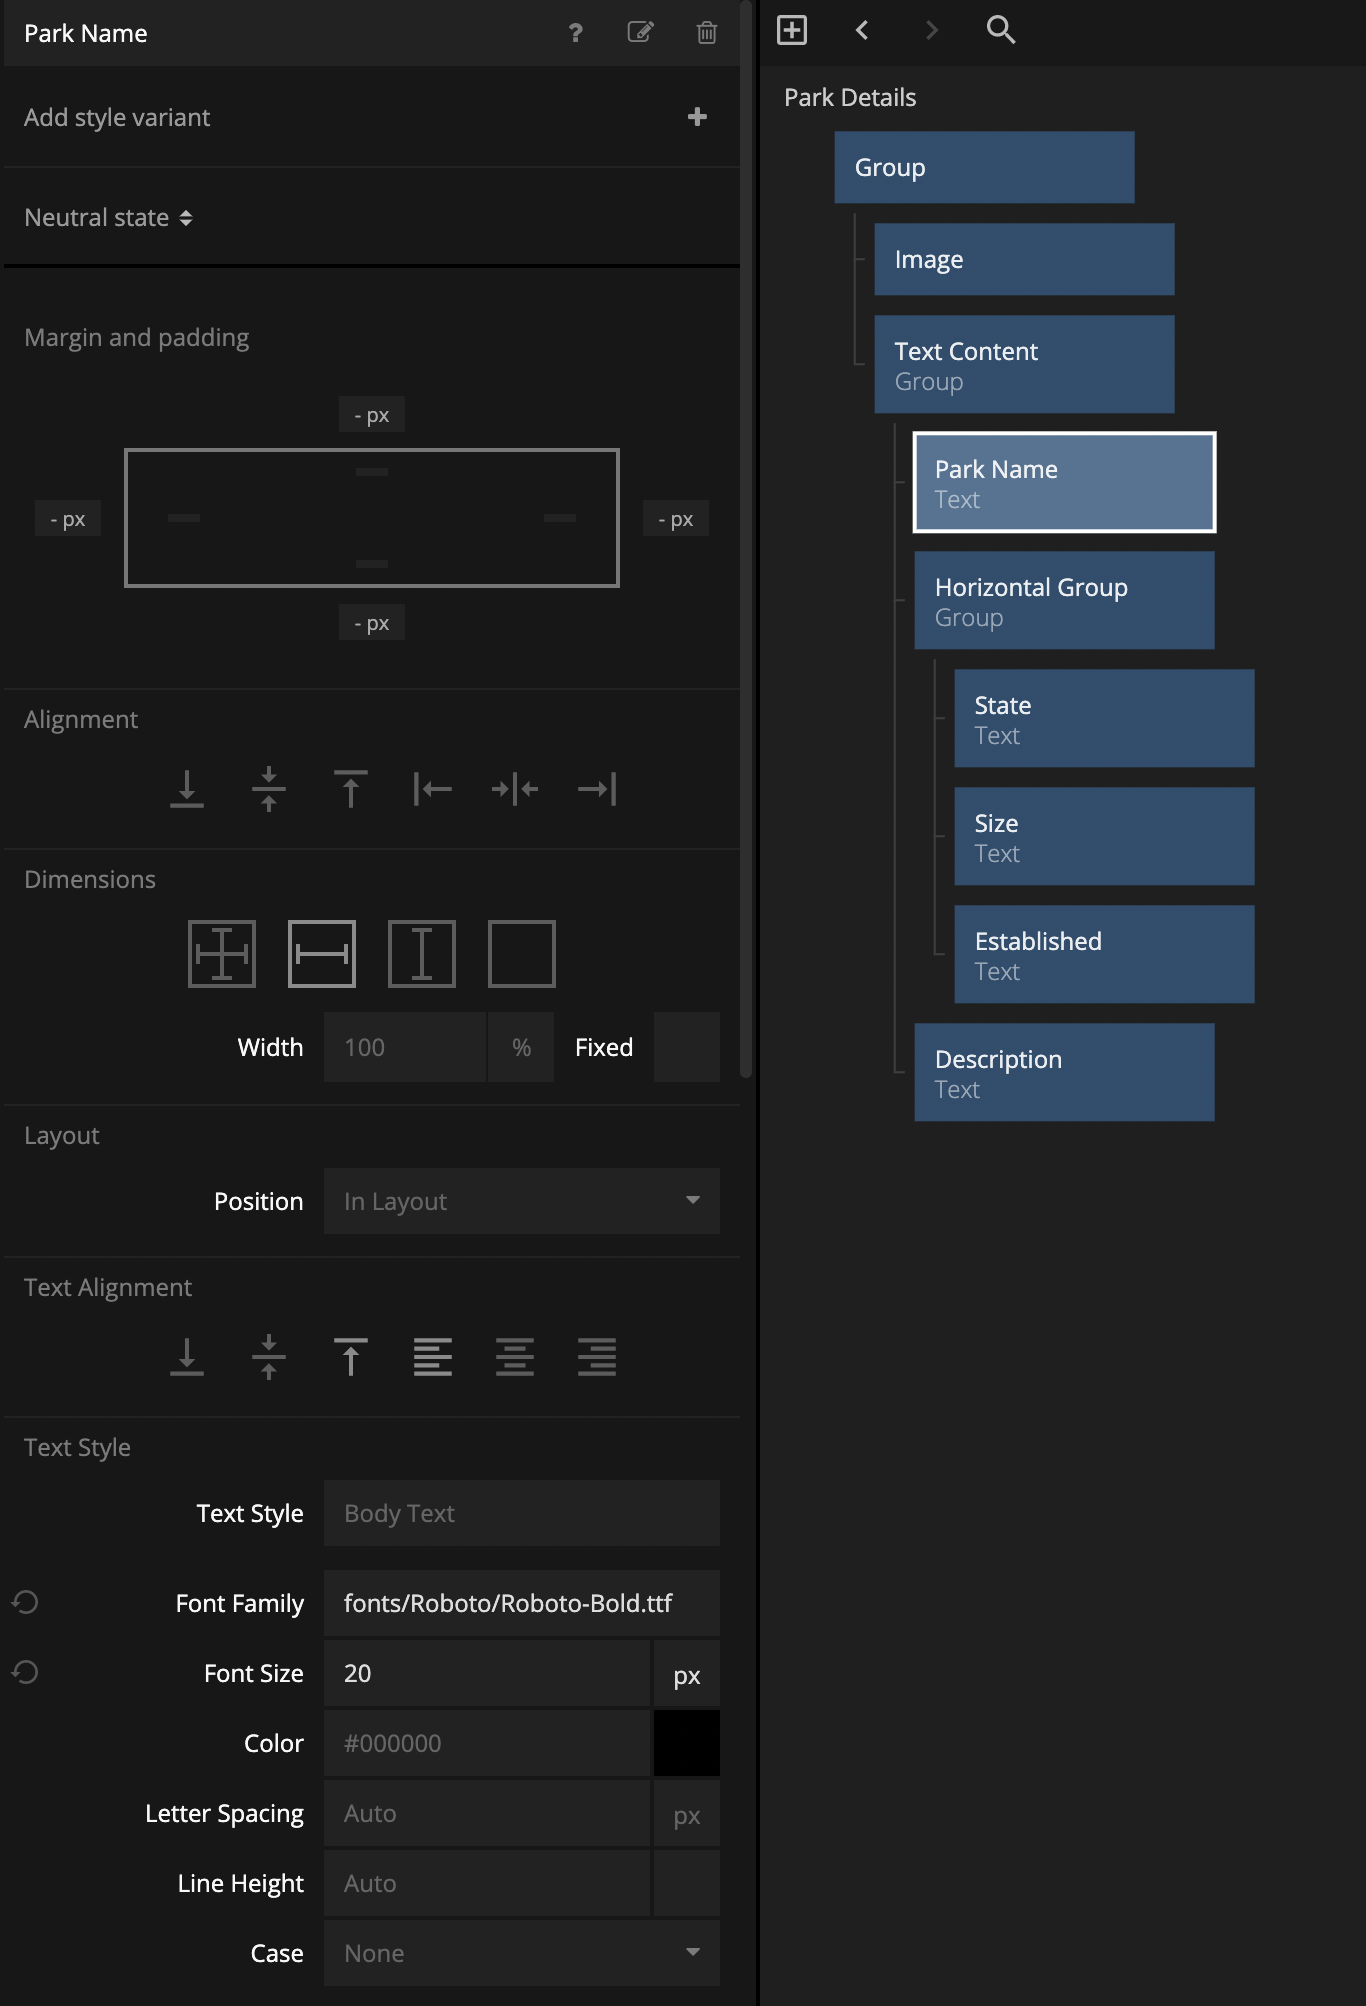
We will be displaying the park name in the Text node that we call just Park Name, and the properties for that node are as follows:
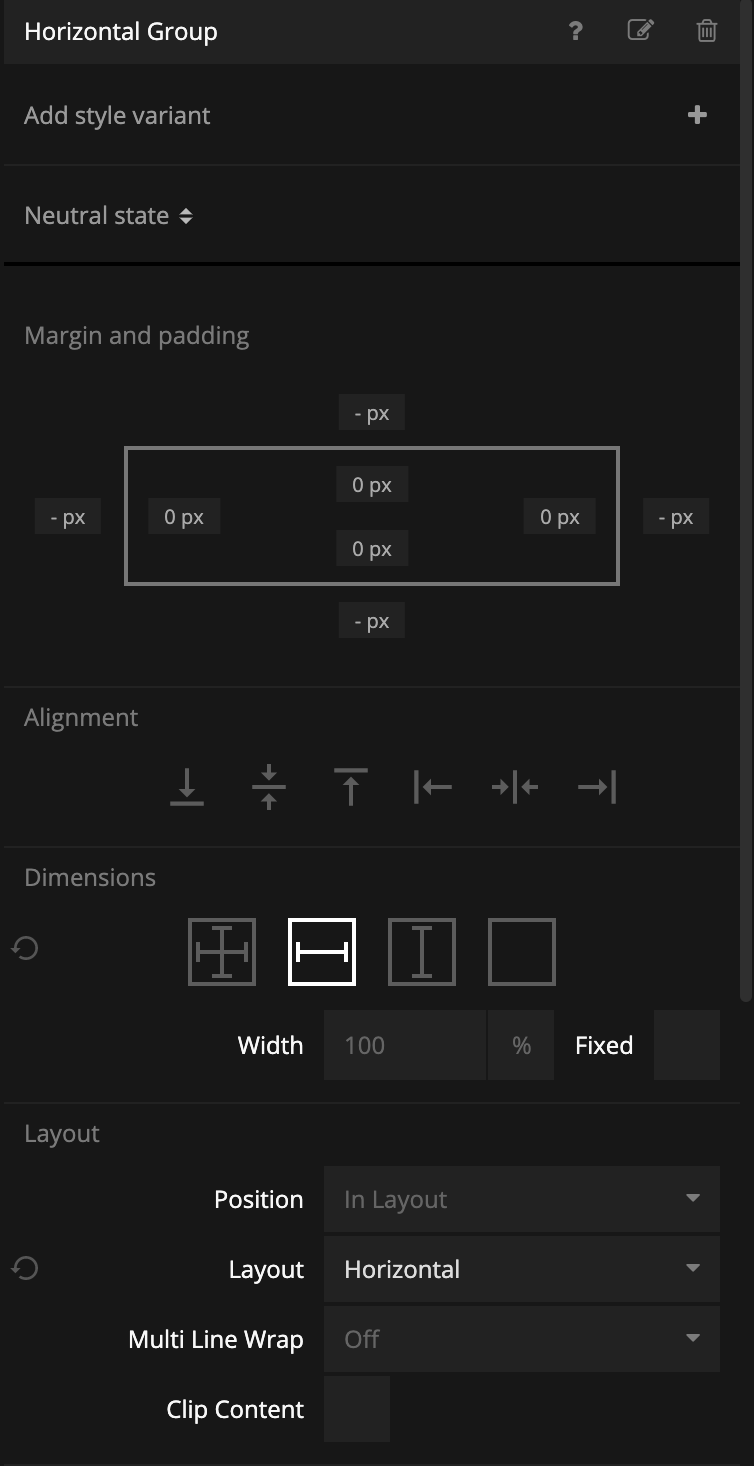
There is another group in our tree, the Horizontal Group, that we use to lay out some of the other information, and the properties for this group are:
All three of the Text nodes that are inside of the Horizontal Group have the same styling which is the default styling of a Text node so there is no need to change any properties for these nodes.
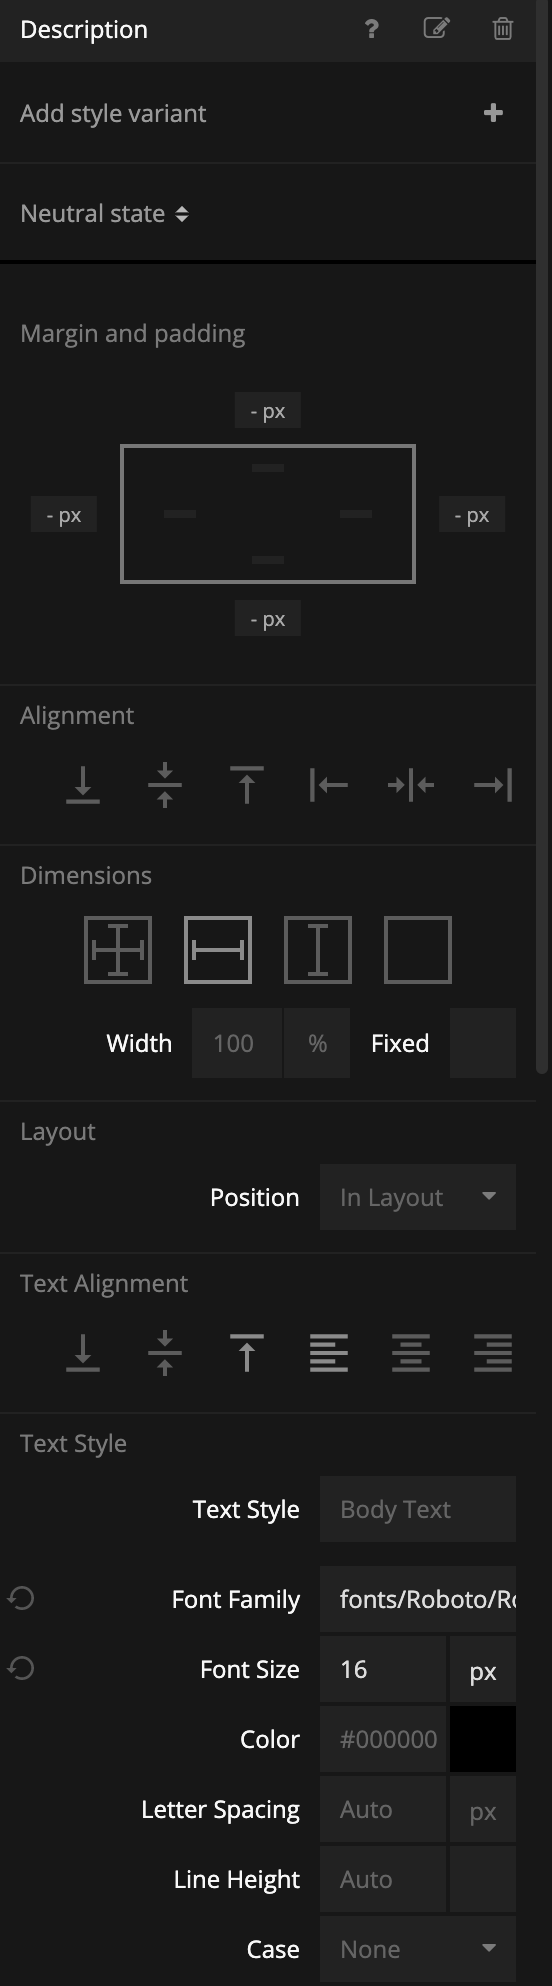
Finally the Text node that we have named Description has the following styling:
Adding the Park Details to the App component
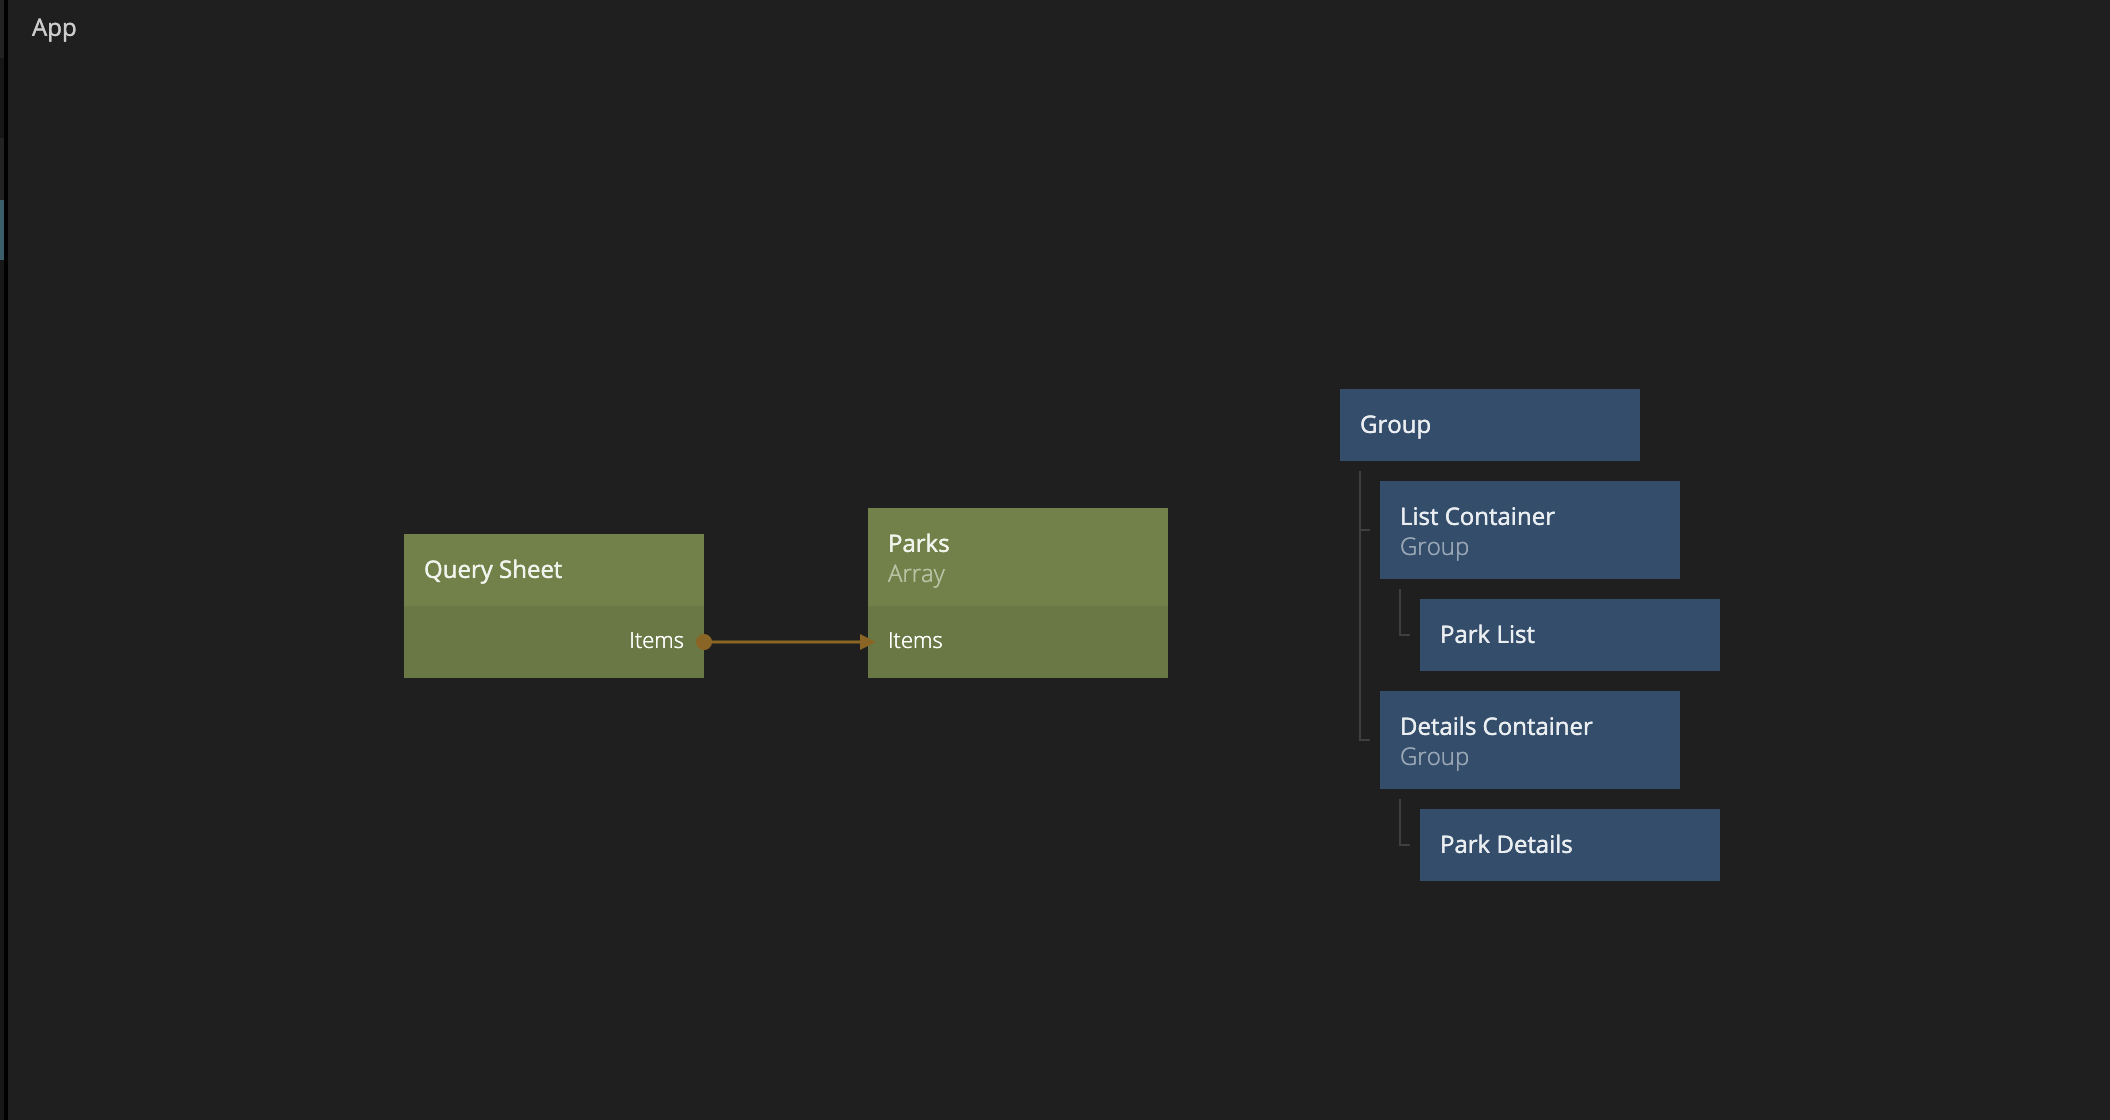
Now that we have built out and styled the visuals for our Park Details, let's add them to our App component. In the App component we will first add another group that we can call Details Container and then we add the Park Details as a child to that Group. It should look like this:
You should also see something like this in the preview window:
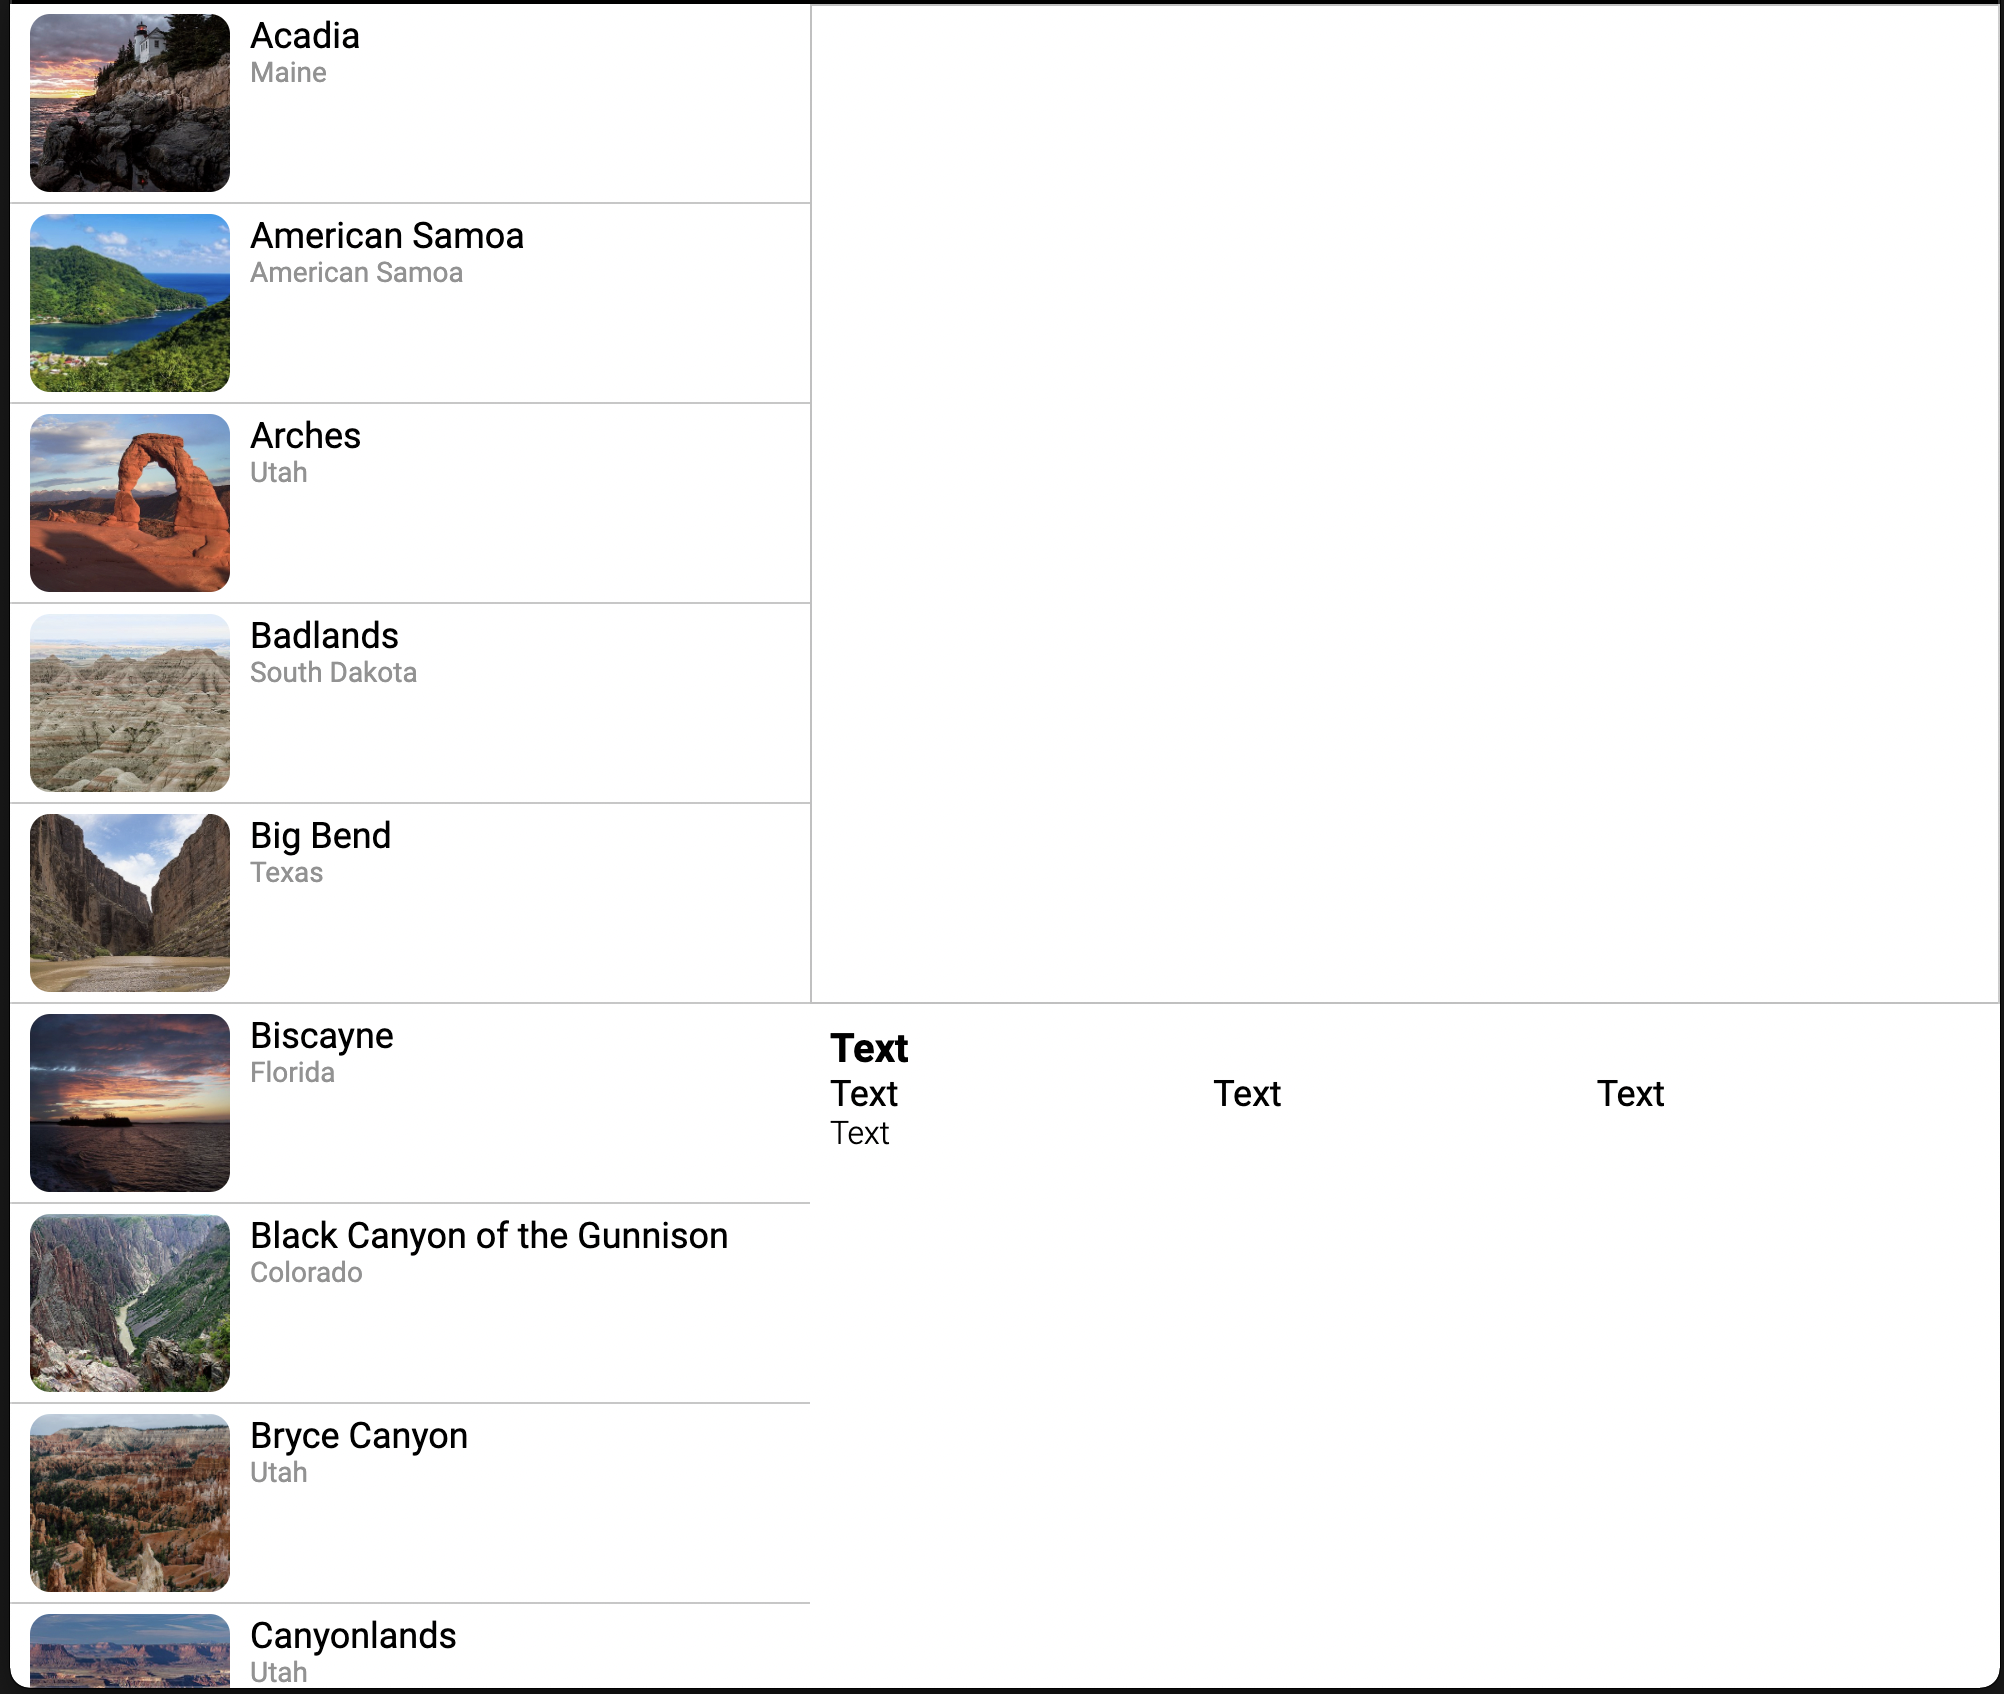
This is great, but it would be even nicer with some actual content!
Using the Sheet Row node to get the correct details data
To get the correct content in the Park Details component, we will again use a Sheet Row node, so let's place it next to our visual tree.
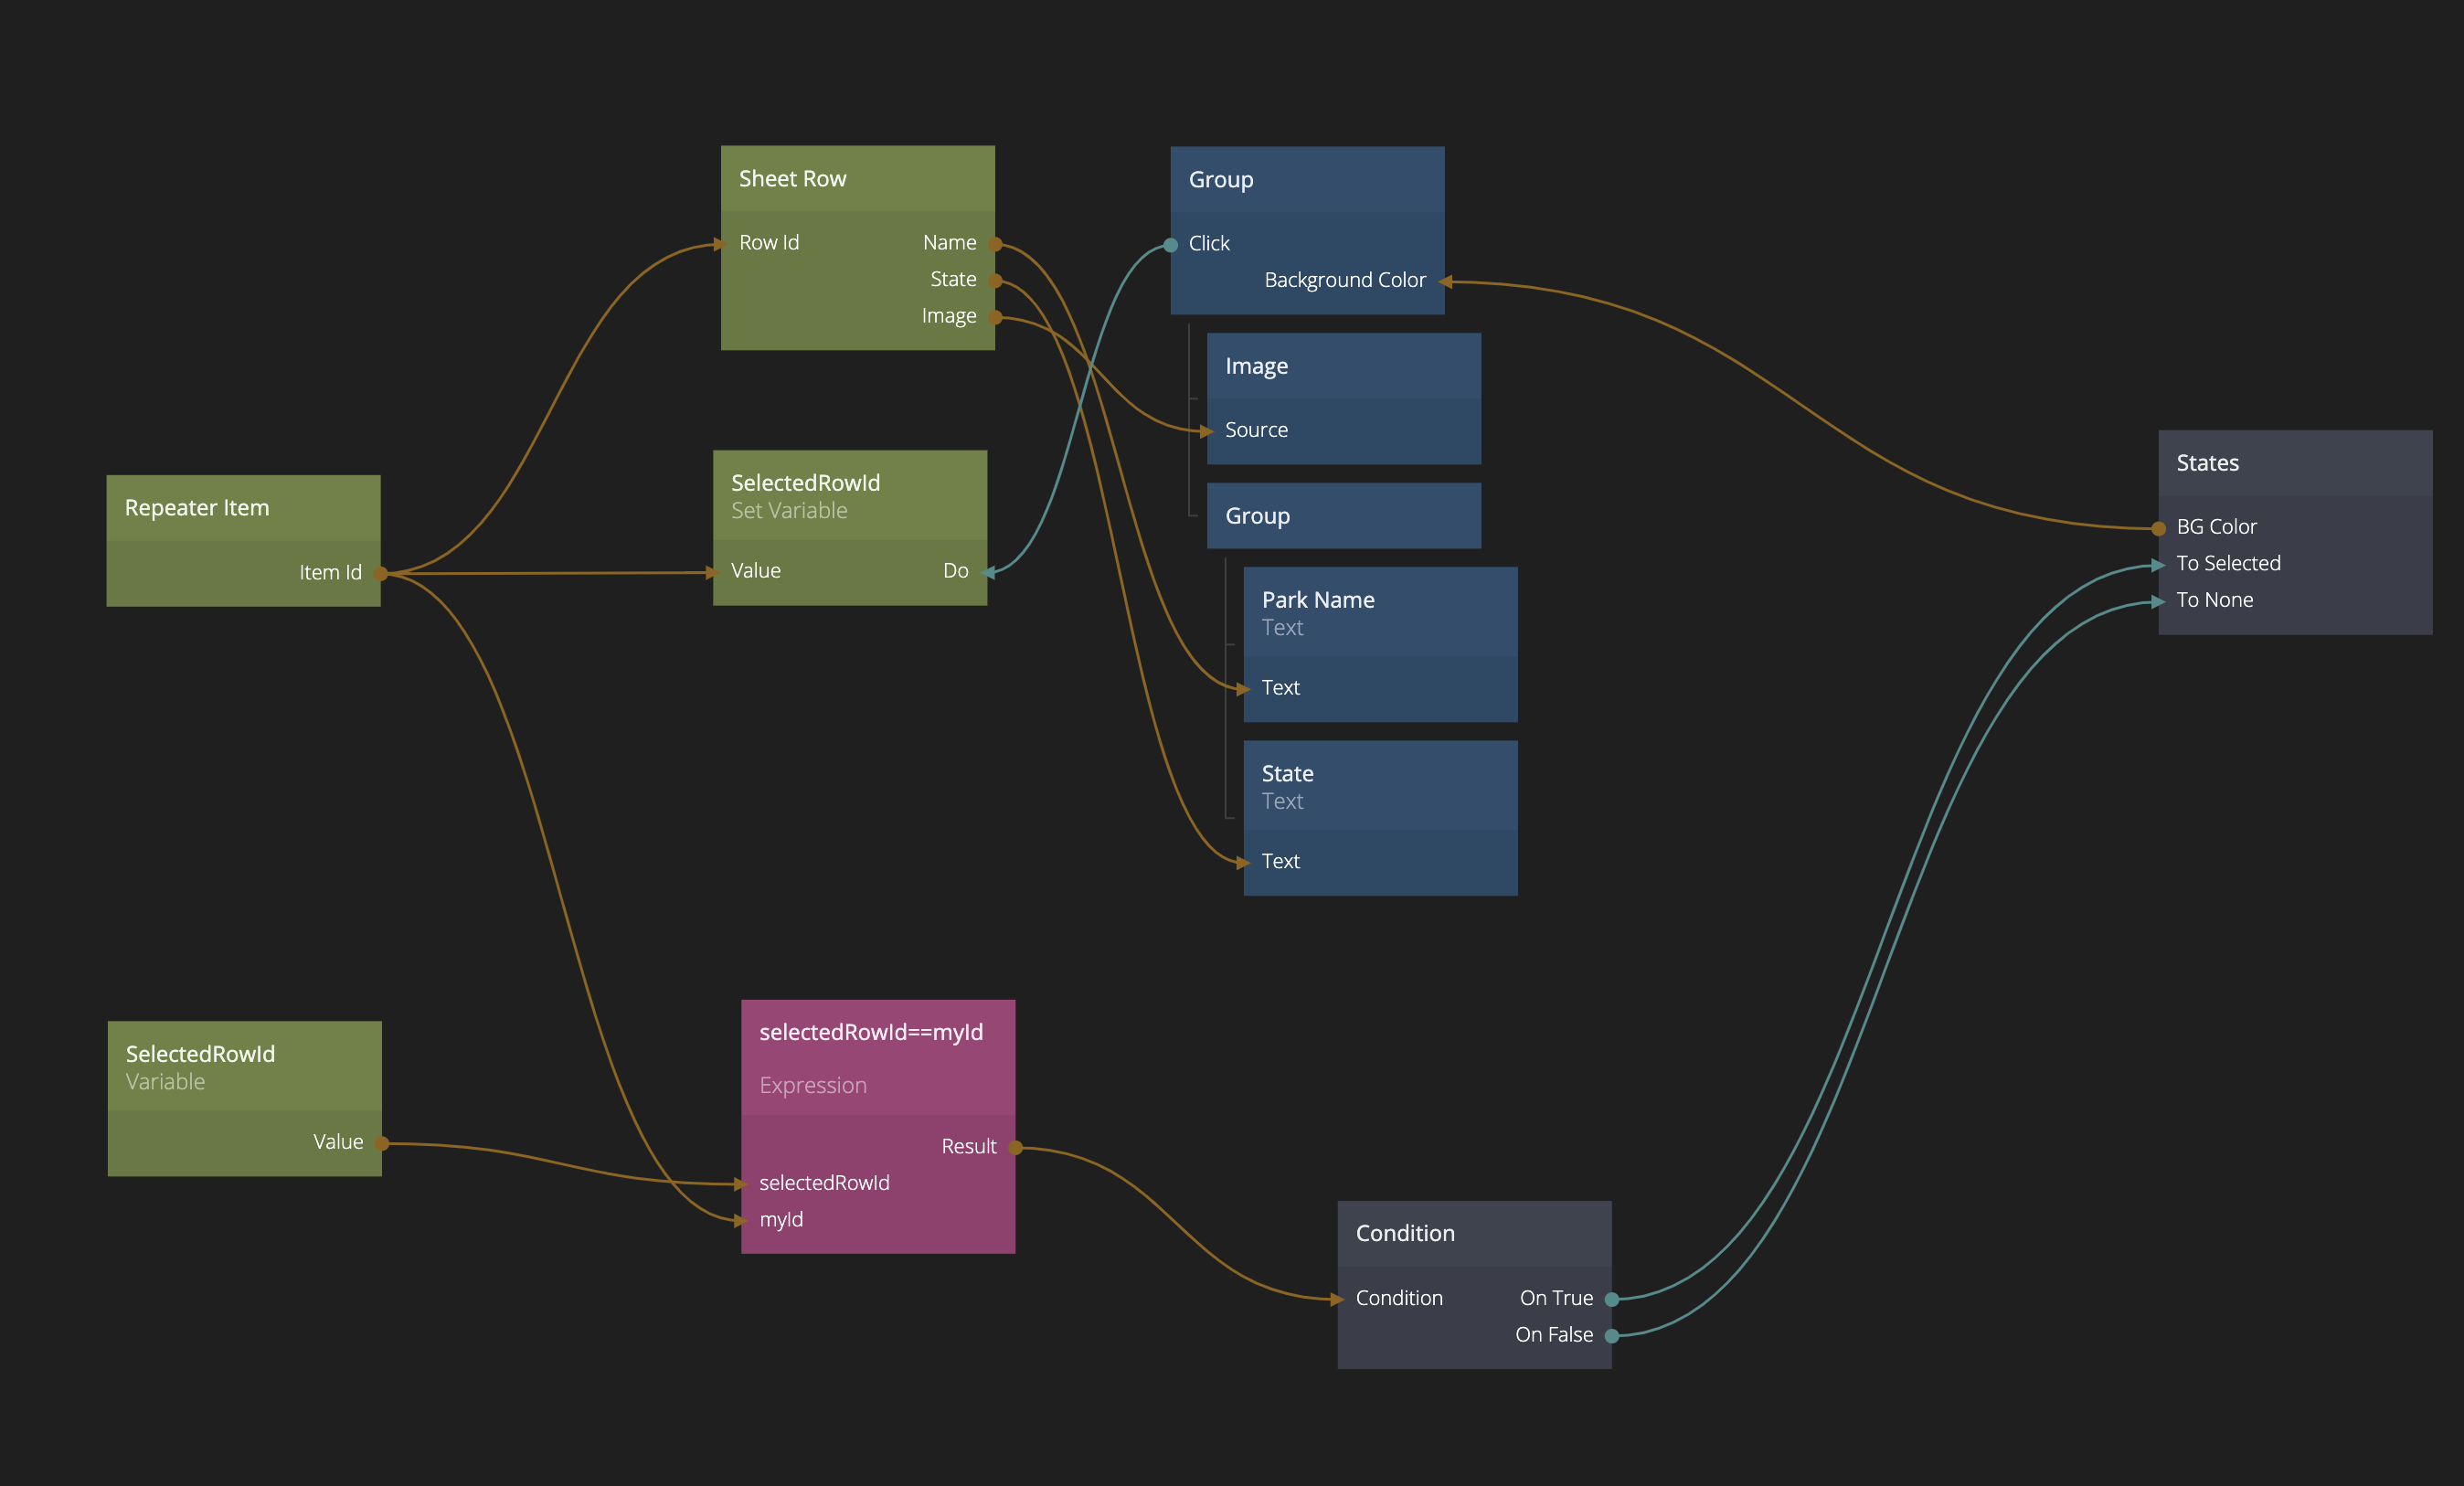
We need to tell the Sheet Row node which row we want to look at, and if you remember from the previous guide, we already have a Variable named SelectedRowId. We set this everytime we click on an item in the list. Below you can see where in the List Item component the Variable is being set.
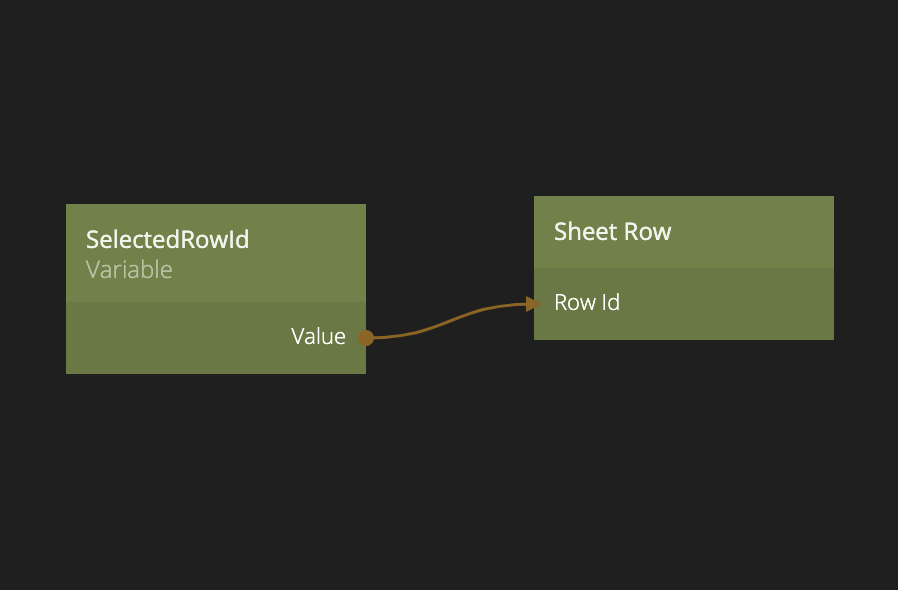
Since Variables are global we can use that same Variable in our Park Details component and connect it to the Row Id input of the Sheet Row node.
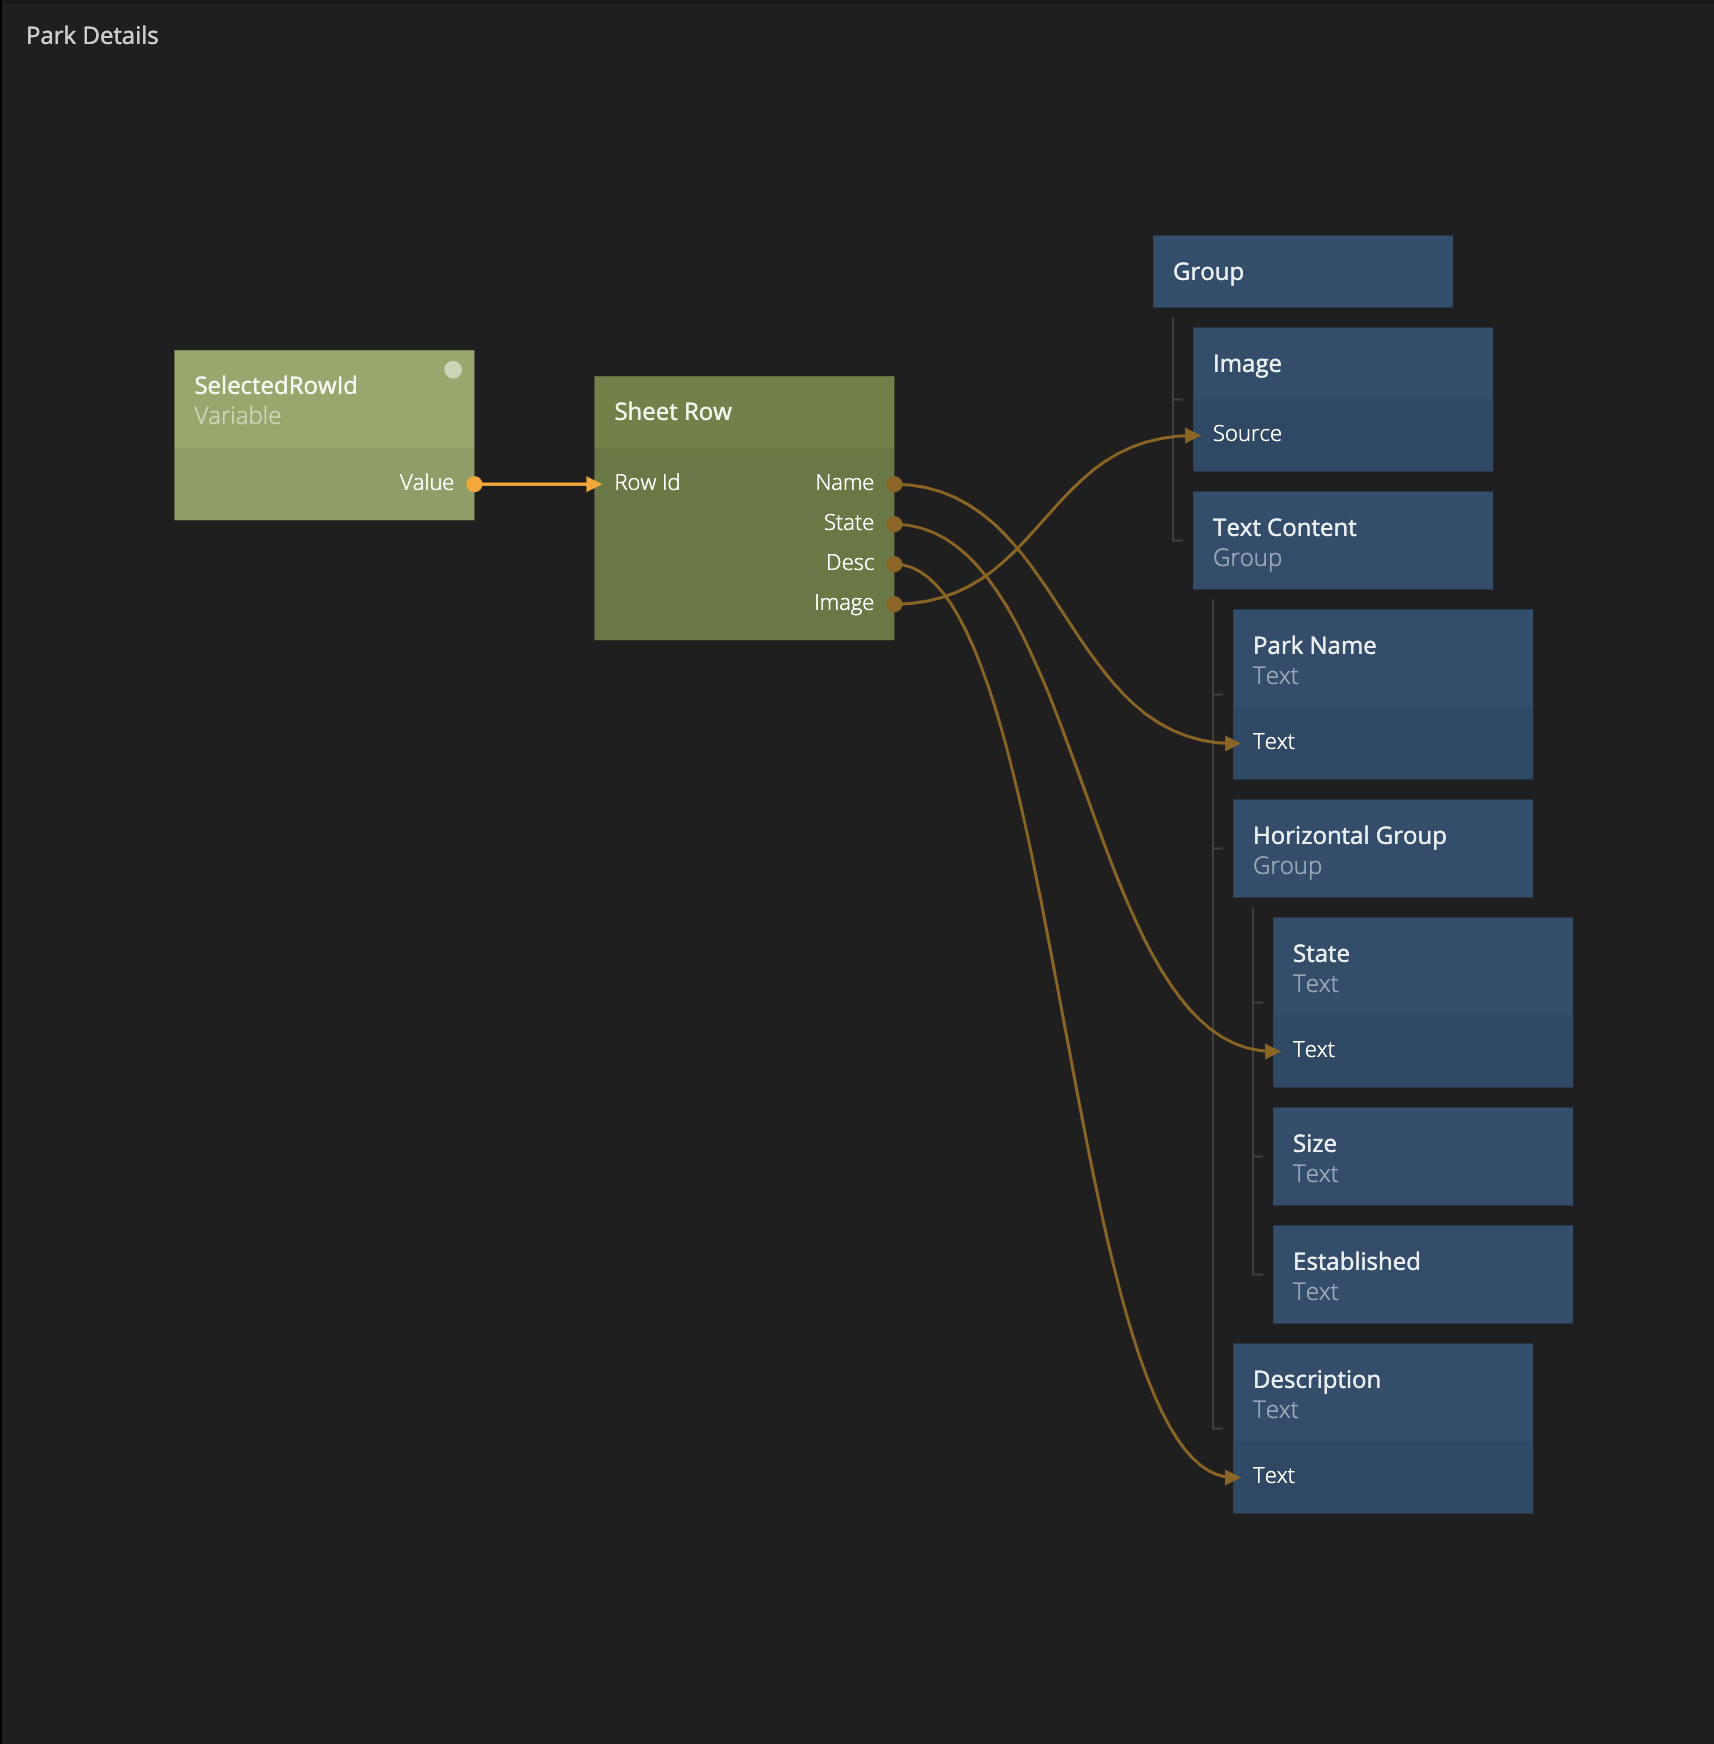
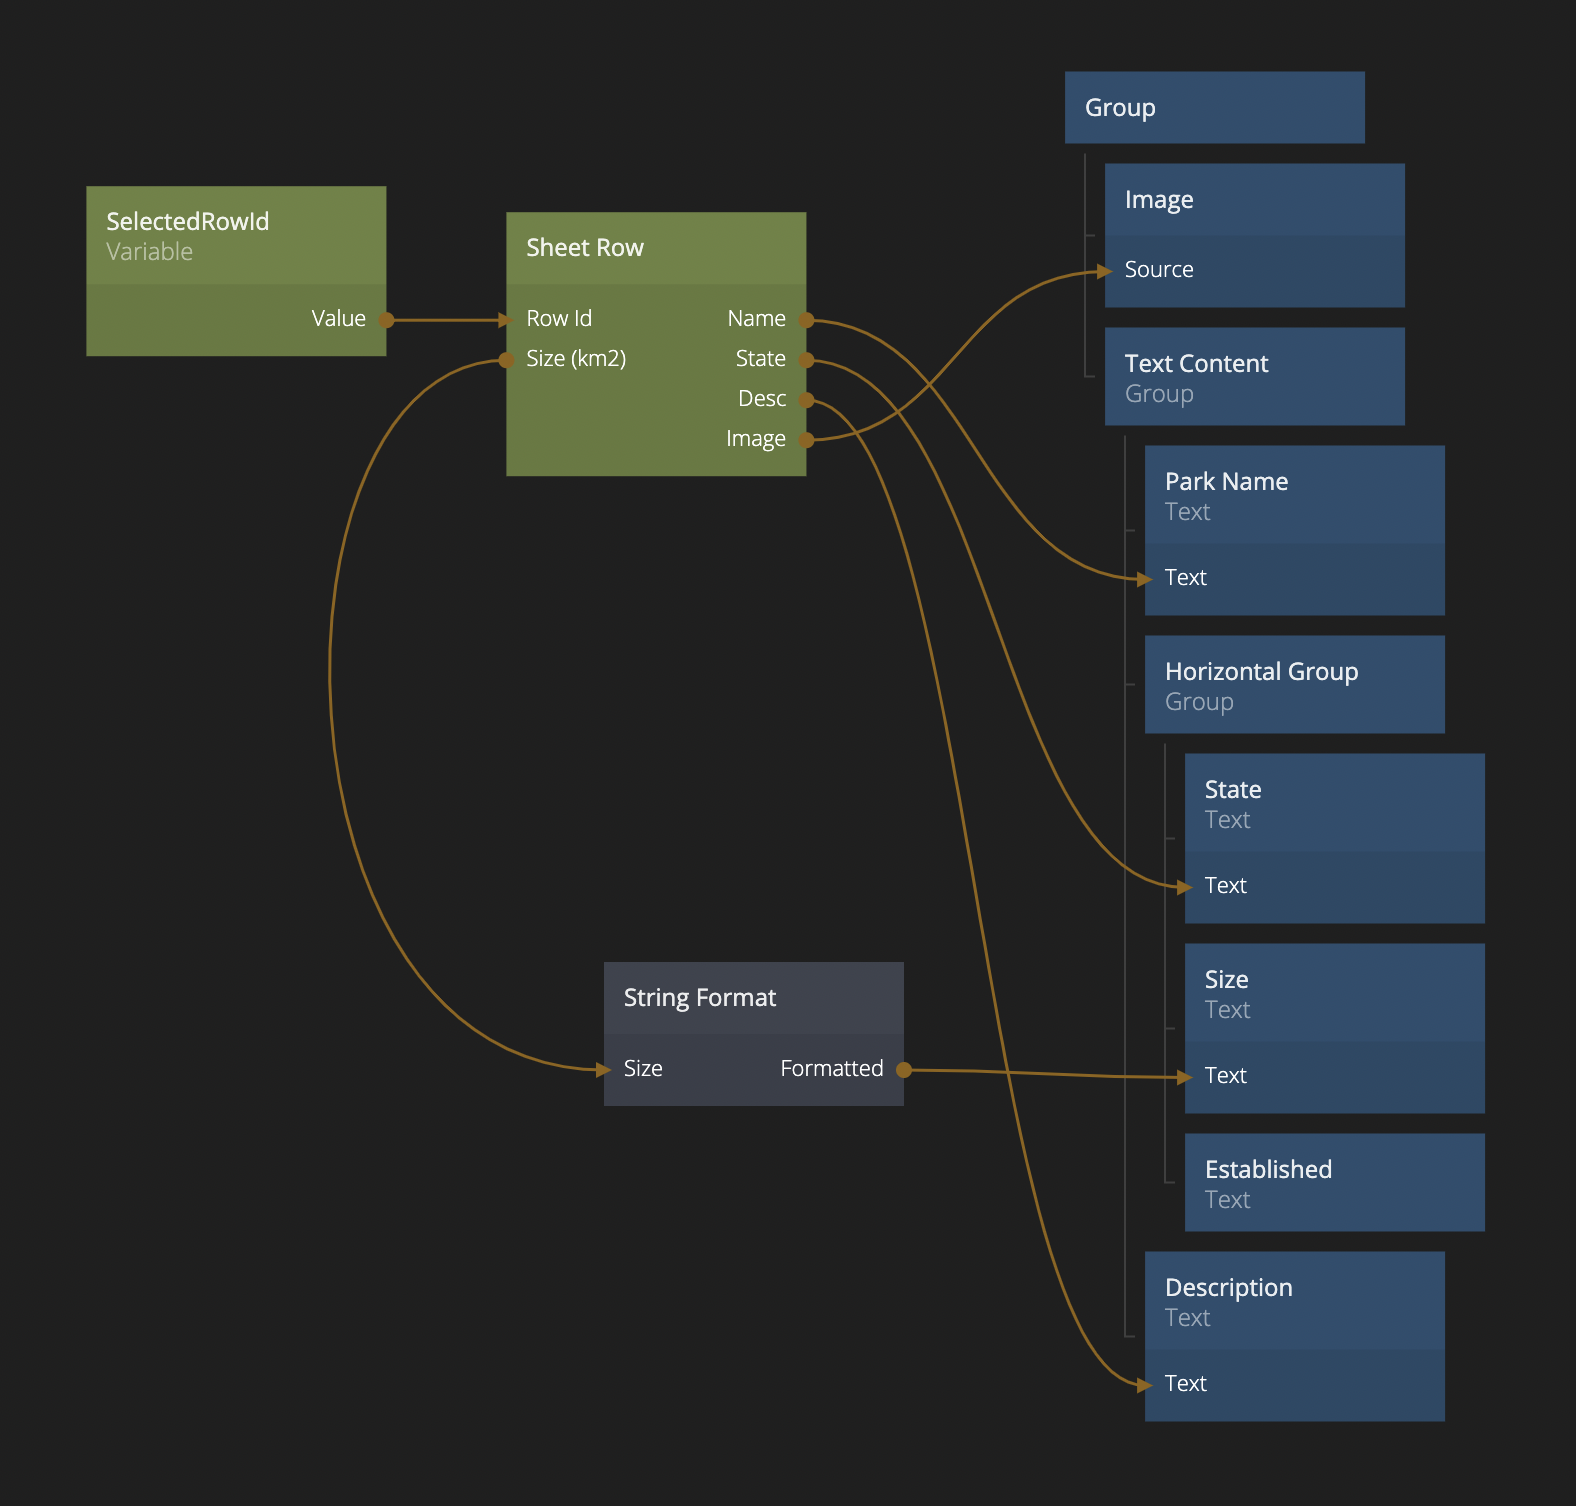
Now we can start to connect all the outputs from the Sheet Row node to our visual tree. Go ahead and make the following connections first, and then we will handle the remaining two.
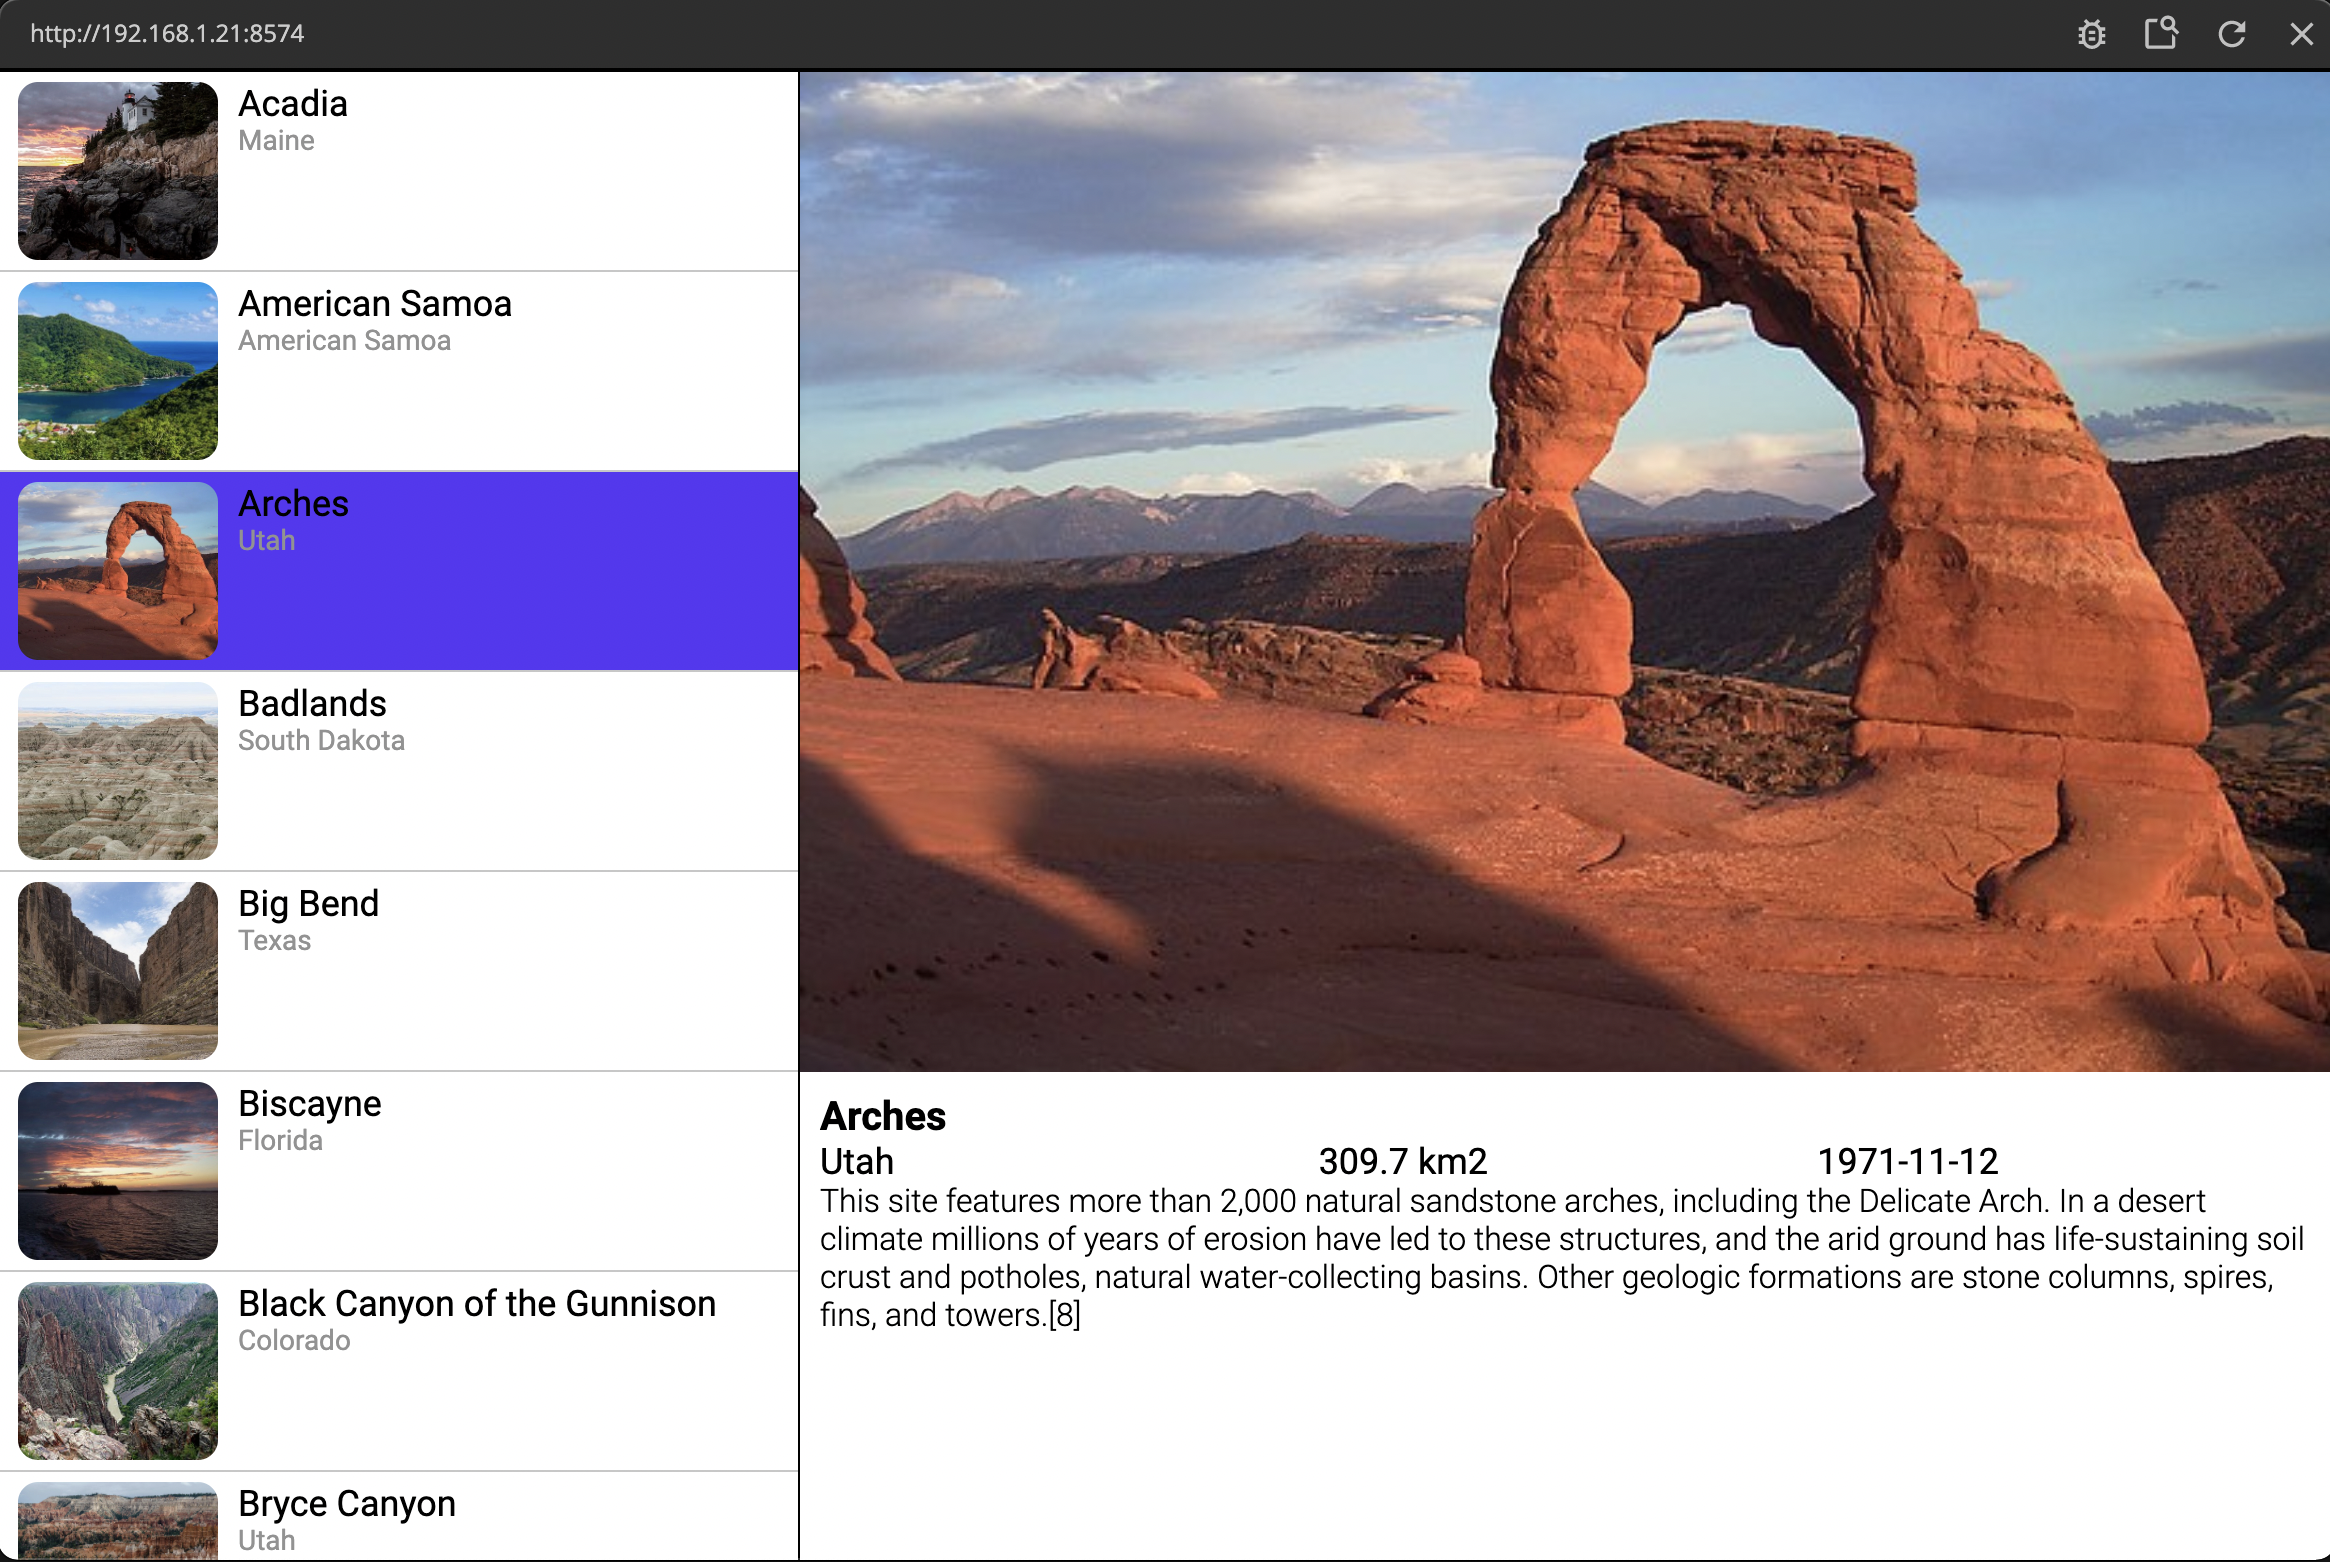
You still don't see anything in the preview window, unless you go ahead and click on an item in the list. In the image below I clicked on the Arches park.
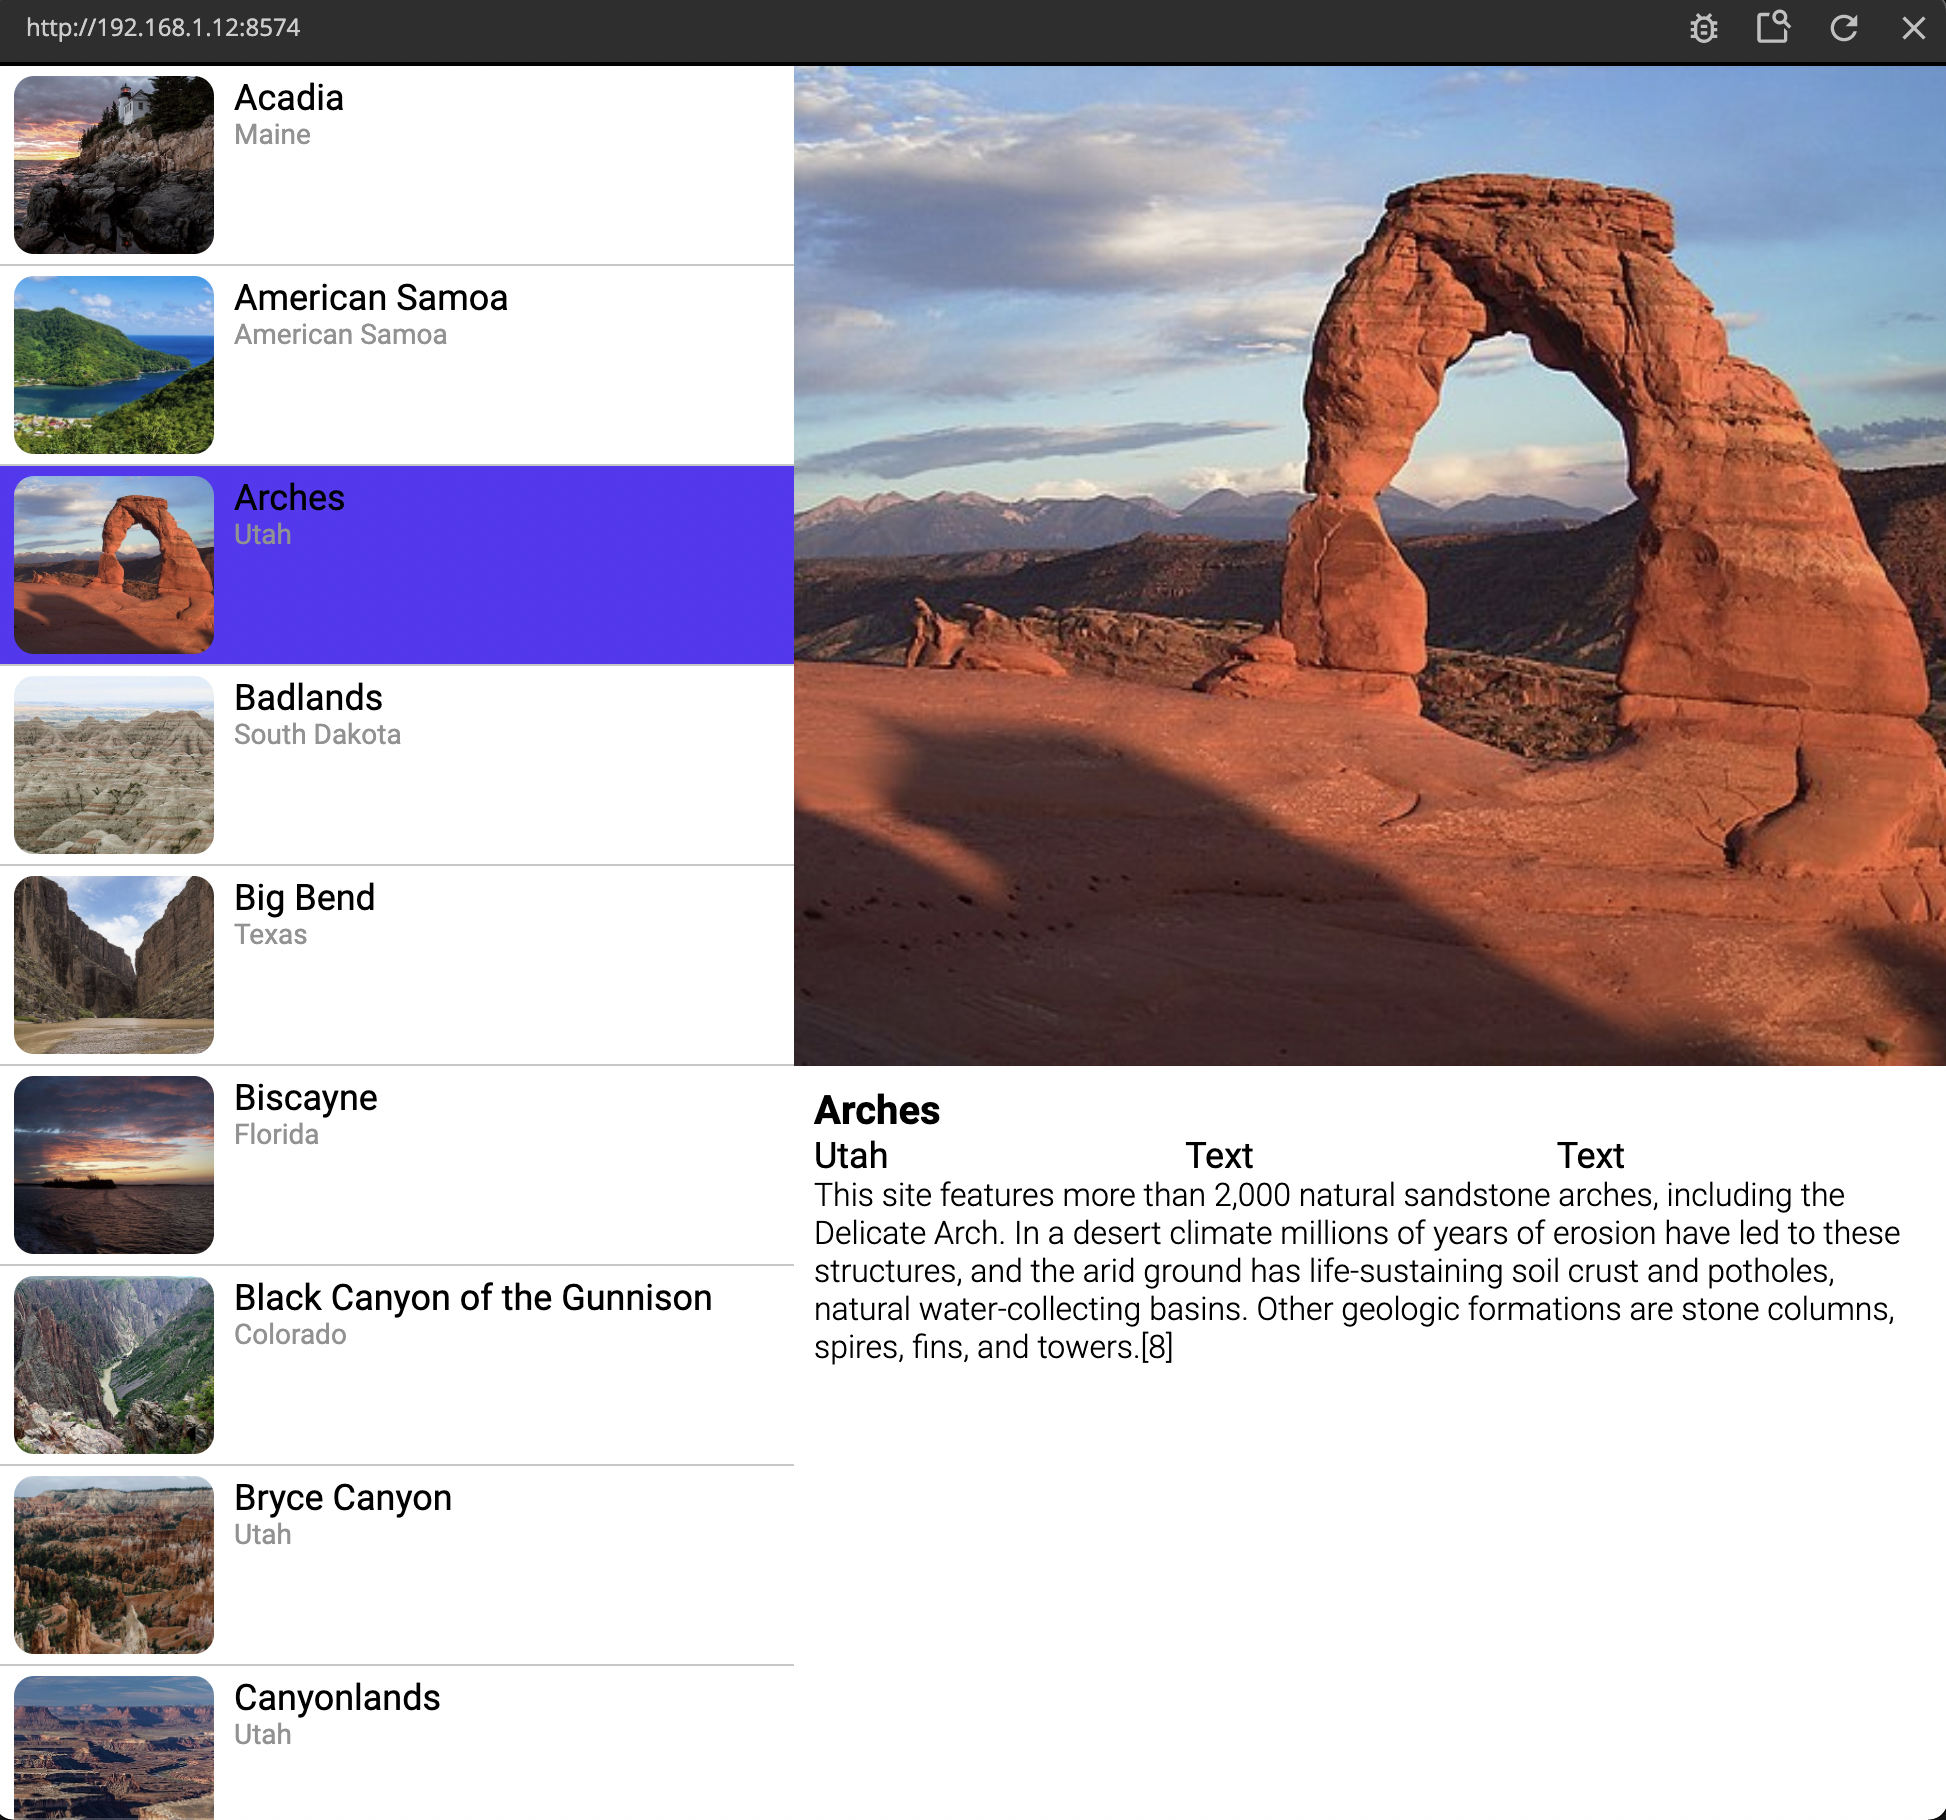
As you can see we haven't filled in the size information or the date for when the park was established so let's tackle that now.
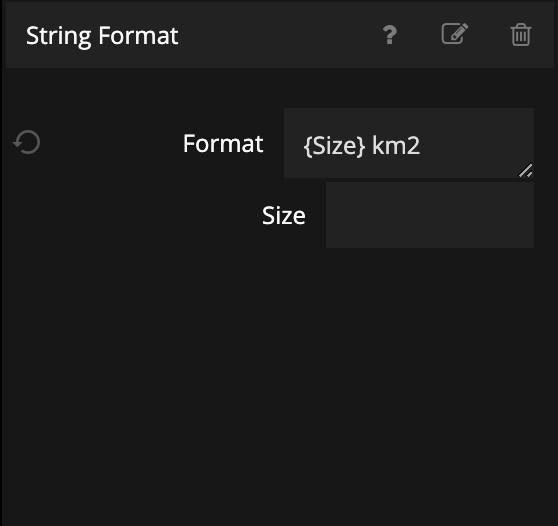
The size that we are getting out from the Sheet Row is in km2, so it would be nice to add that at the end of the number. To do that we will use a String Format node, with the following set up, and then connected like in the second image.
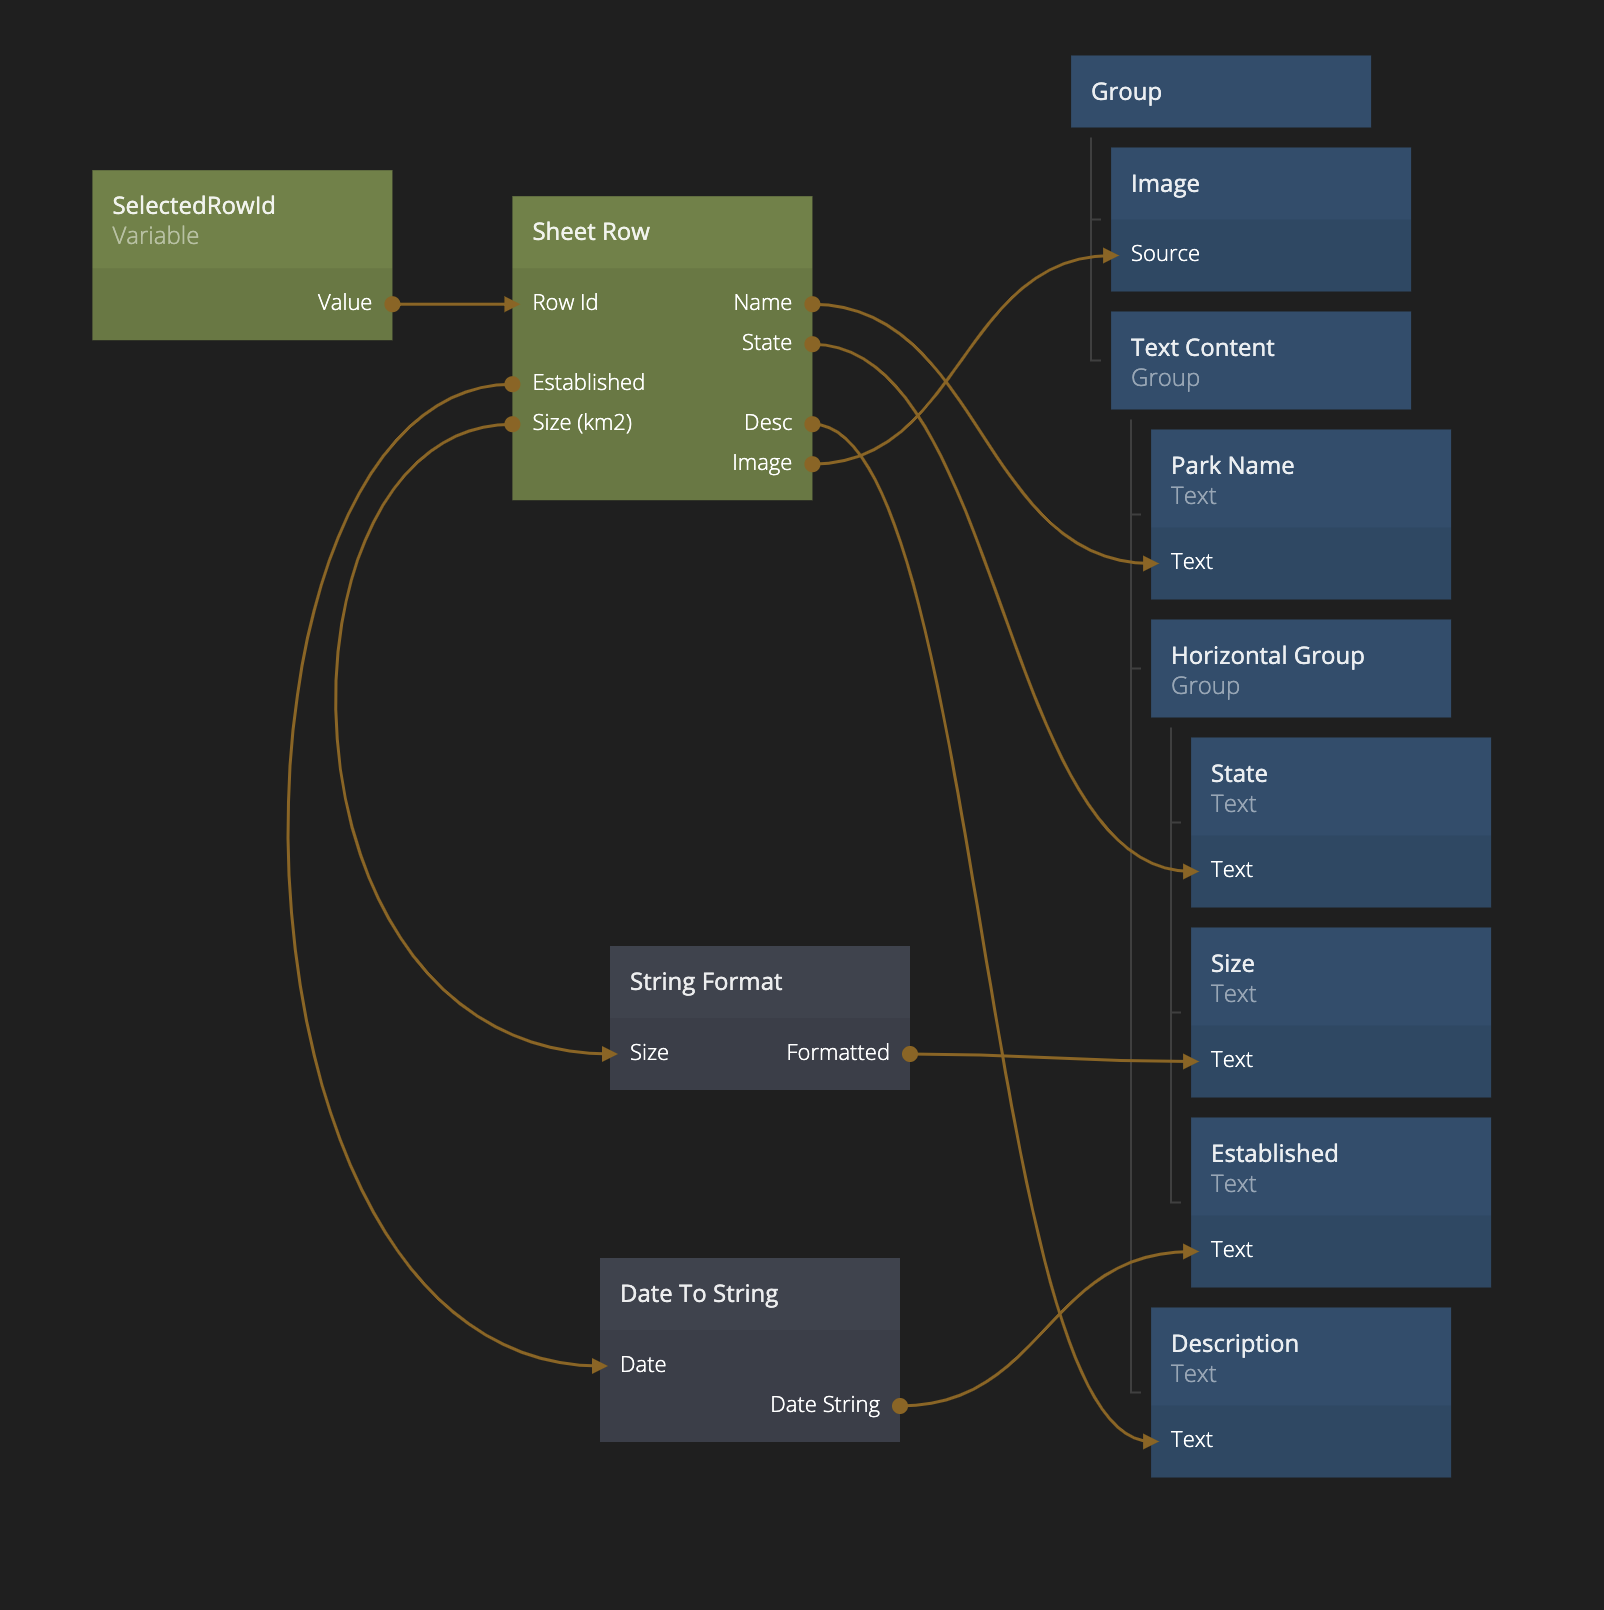
The Established date that we get from the Sheet Row is a Date type and it looks a bit strange if we connect it directly to our text node, so let's put a Date To String node in between. After it's connected it will look like the image below.
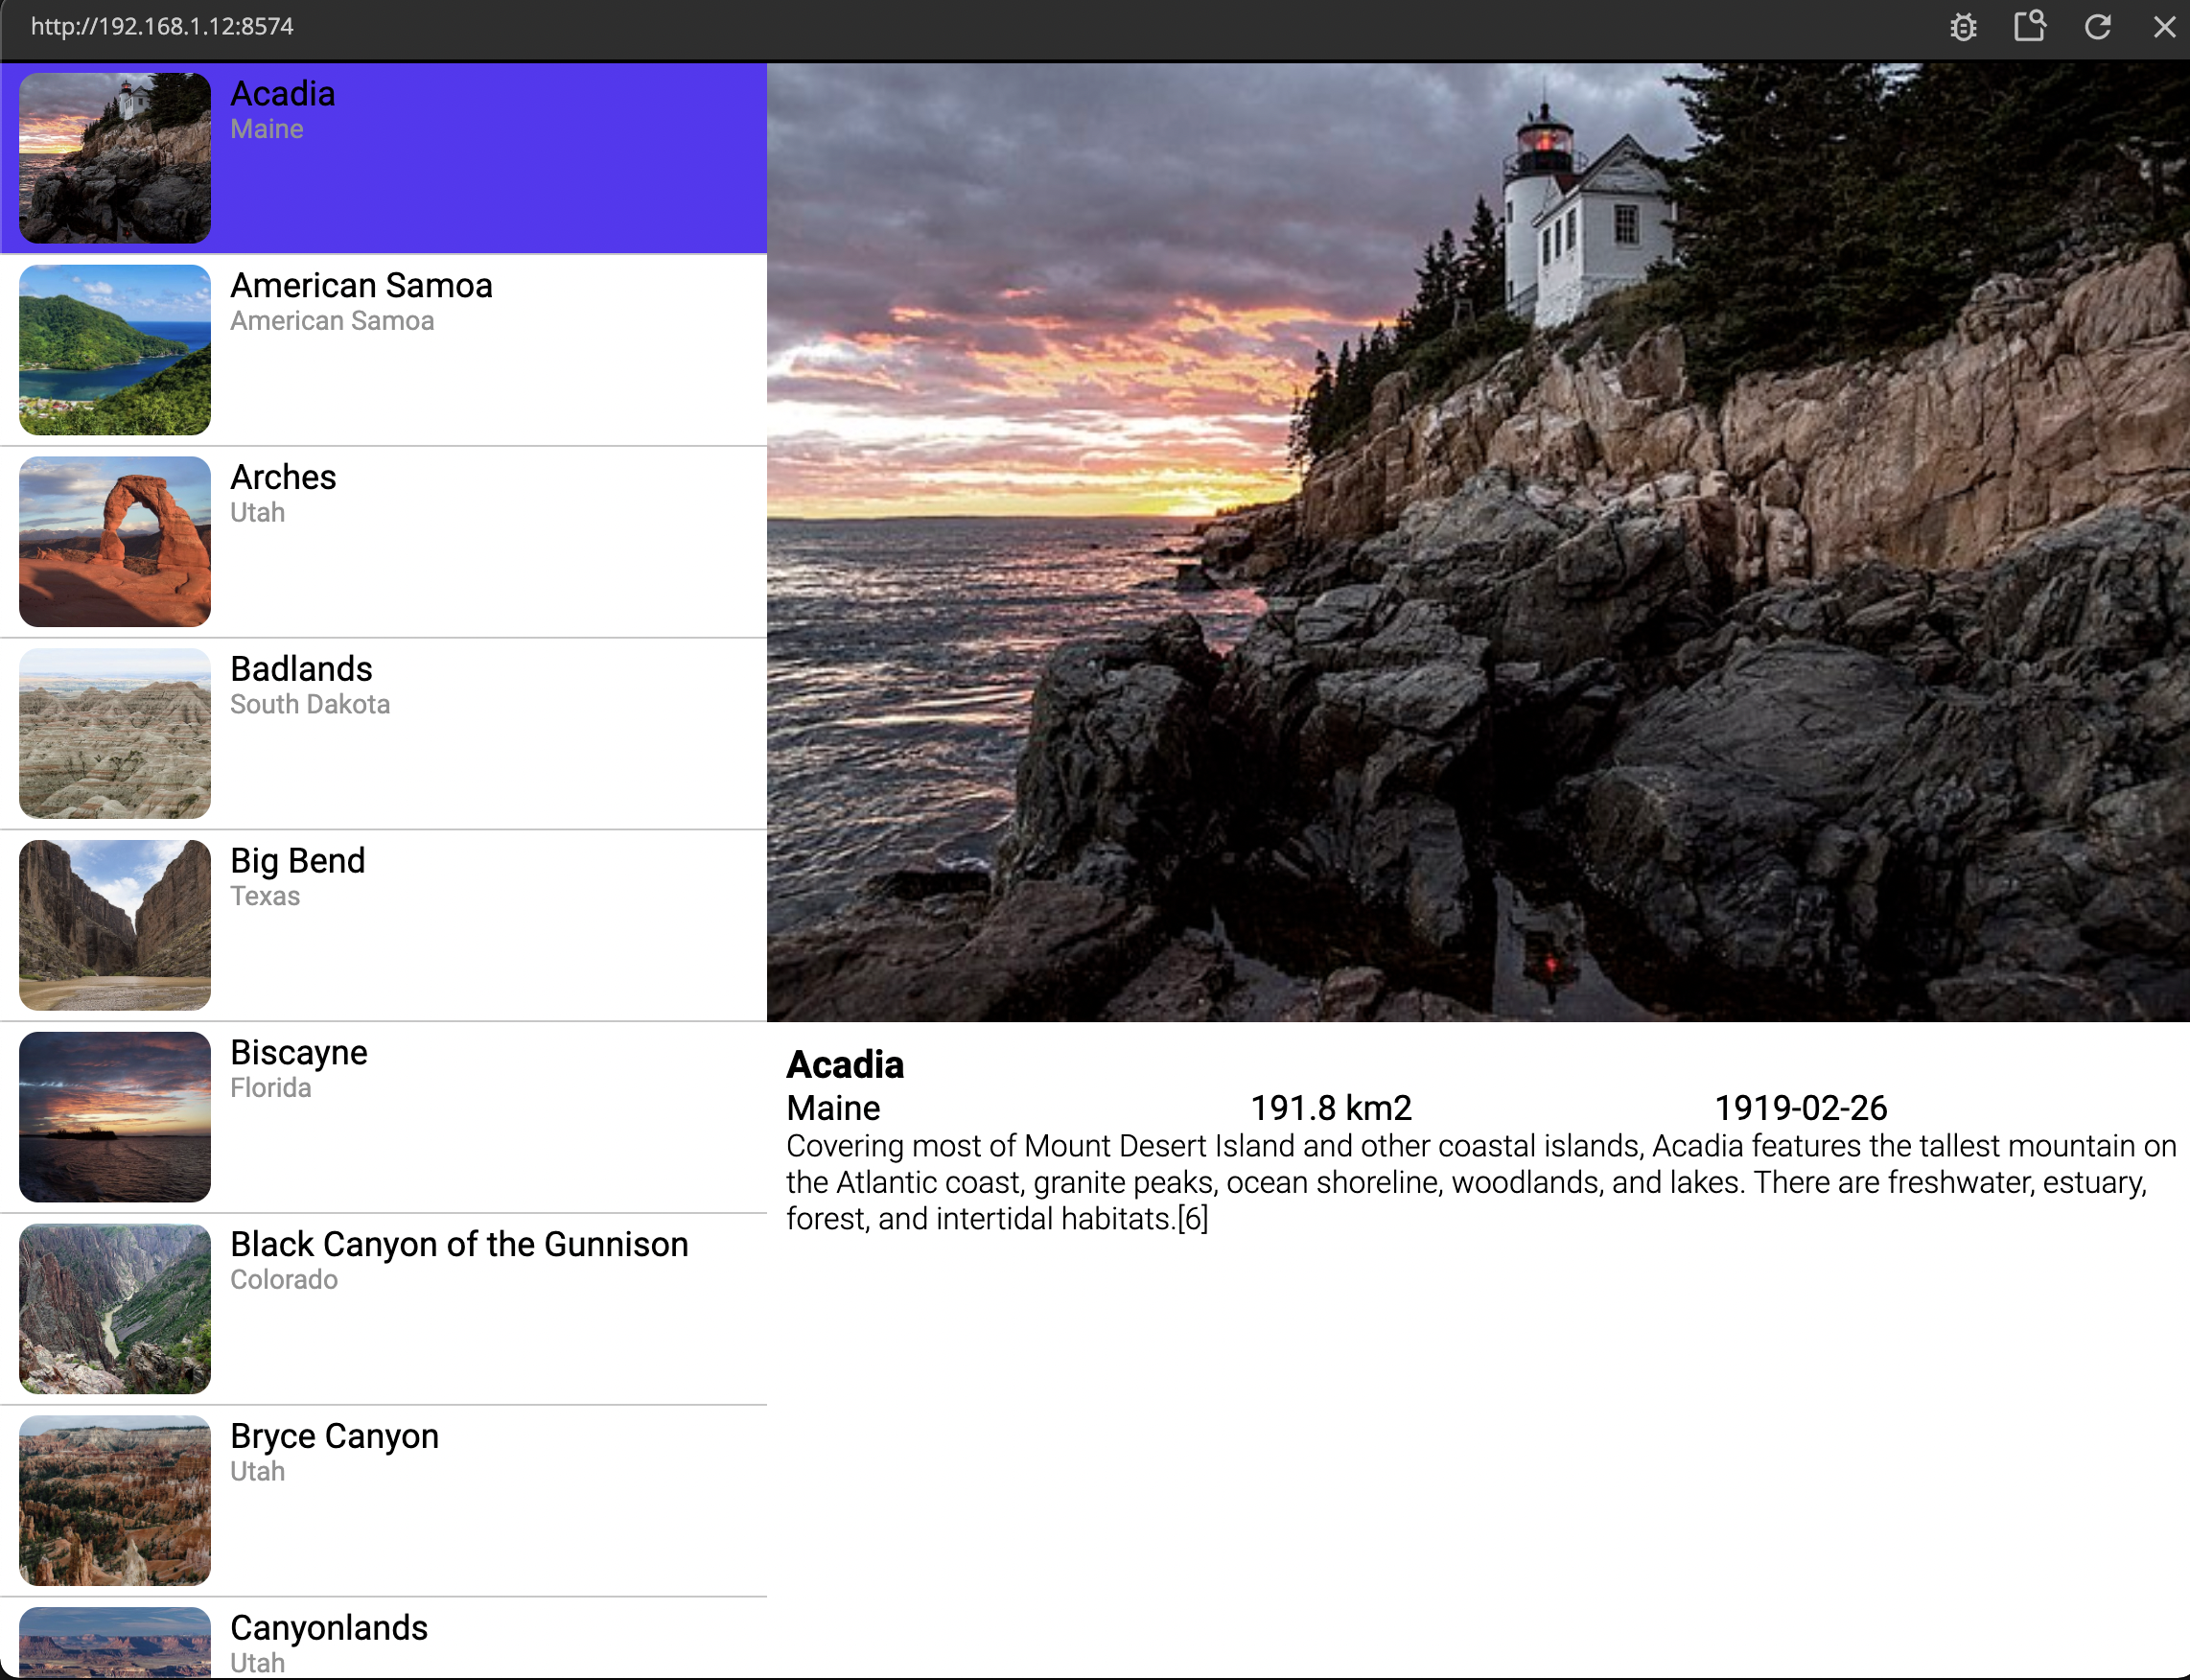
The last thing we will do in this guide is to make sure we set the SelectedRowId Variable to the first item in the list. We can do that in the App component like this:
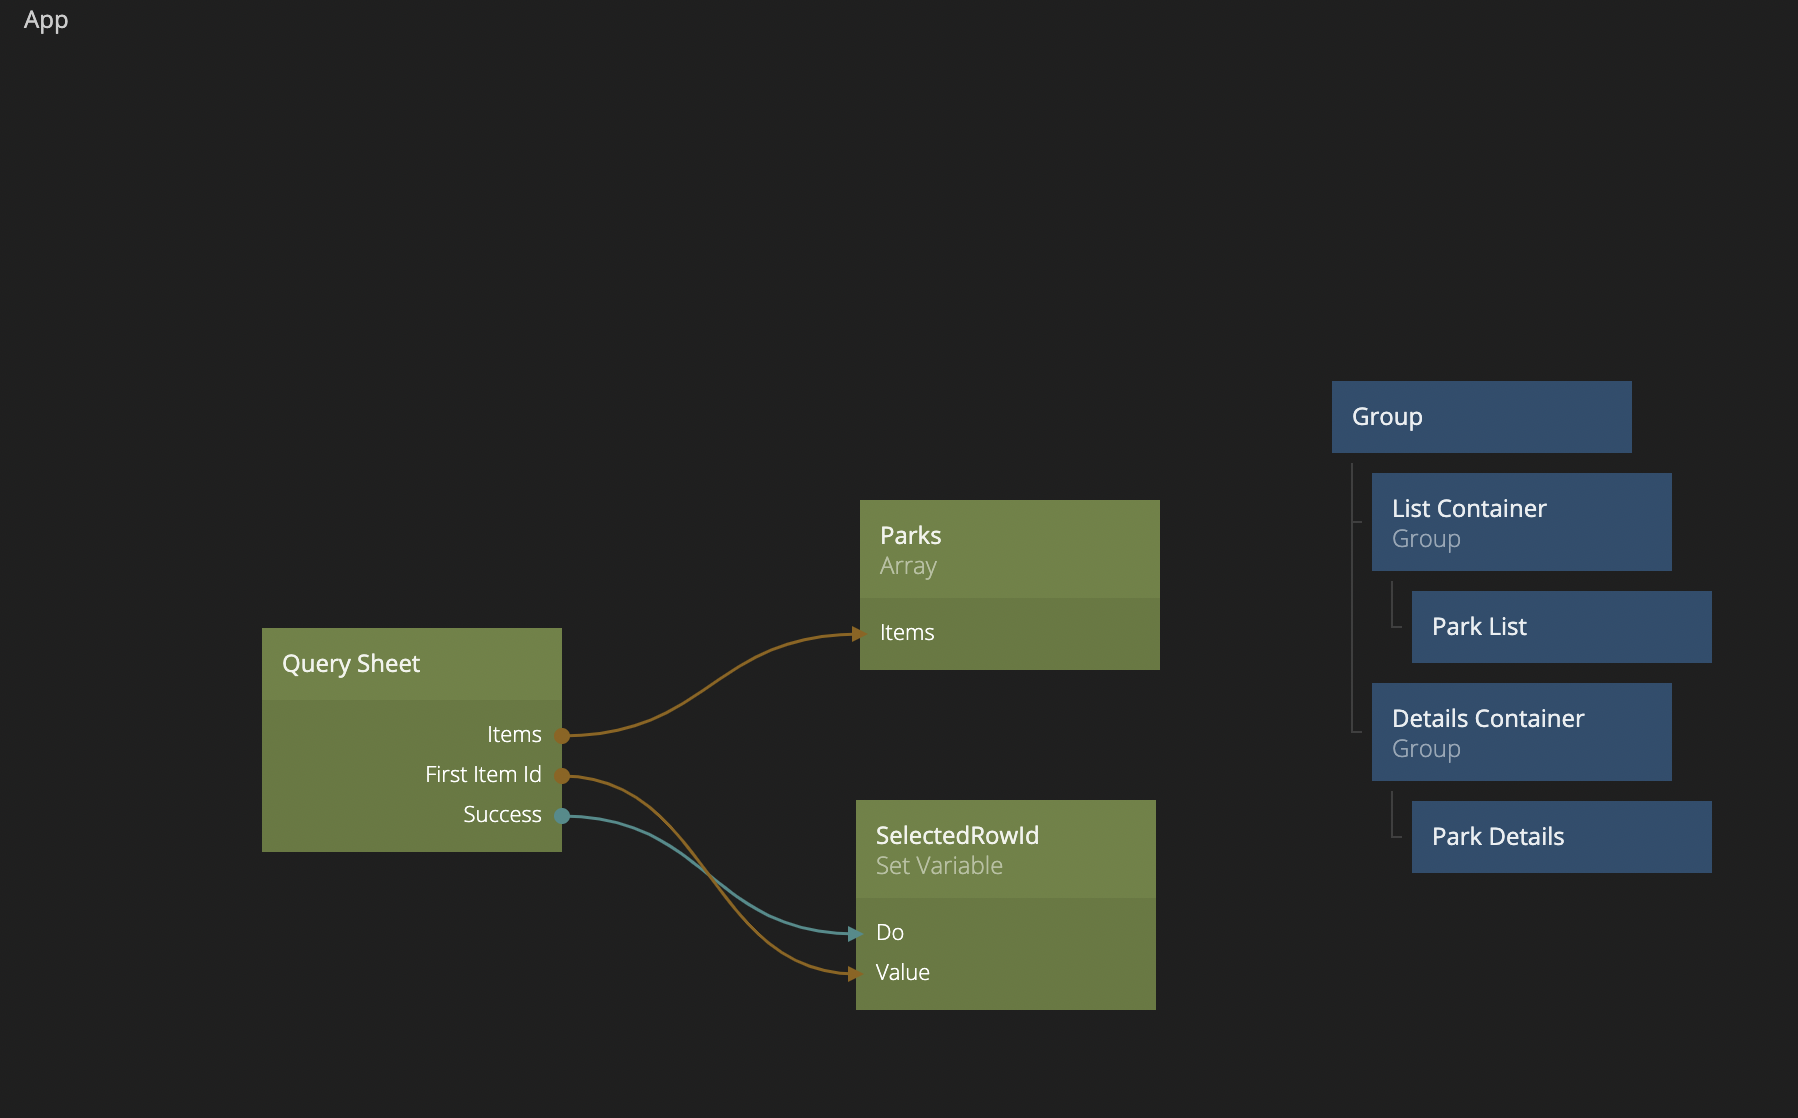
Now everytime we reload the first item in the list will always be selected and we will always show something in the Park Details section.

Summary
In this guide we added a details view to our National Parks example using data from a Google Sheet. If you want to import the final project, click the "Import" button below and follow the instructions.
In the next guide we will look at how we can apply filters to our Google Sheet data.