OAuth2
OAuth2 is a standard that allows, among other things, web applications to authorize (log in) users from external services like Facebook, Twitter, Microsoft or Google. This can make the sign up flow faster and you don't have to create a new user by signing up with your email and password. It can also be considered more secure as you as the application developer don't need to manage your users password.
This prefab provide a few simple cloud functions to get started, they will enable you to sign in users from other services that provide OAuth2 support, more specifically using something called Authorization Code Flow. It's done in a few steps and we will try to cover these steps below.
Registering your app
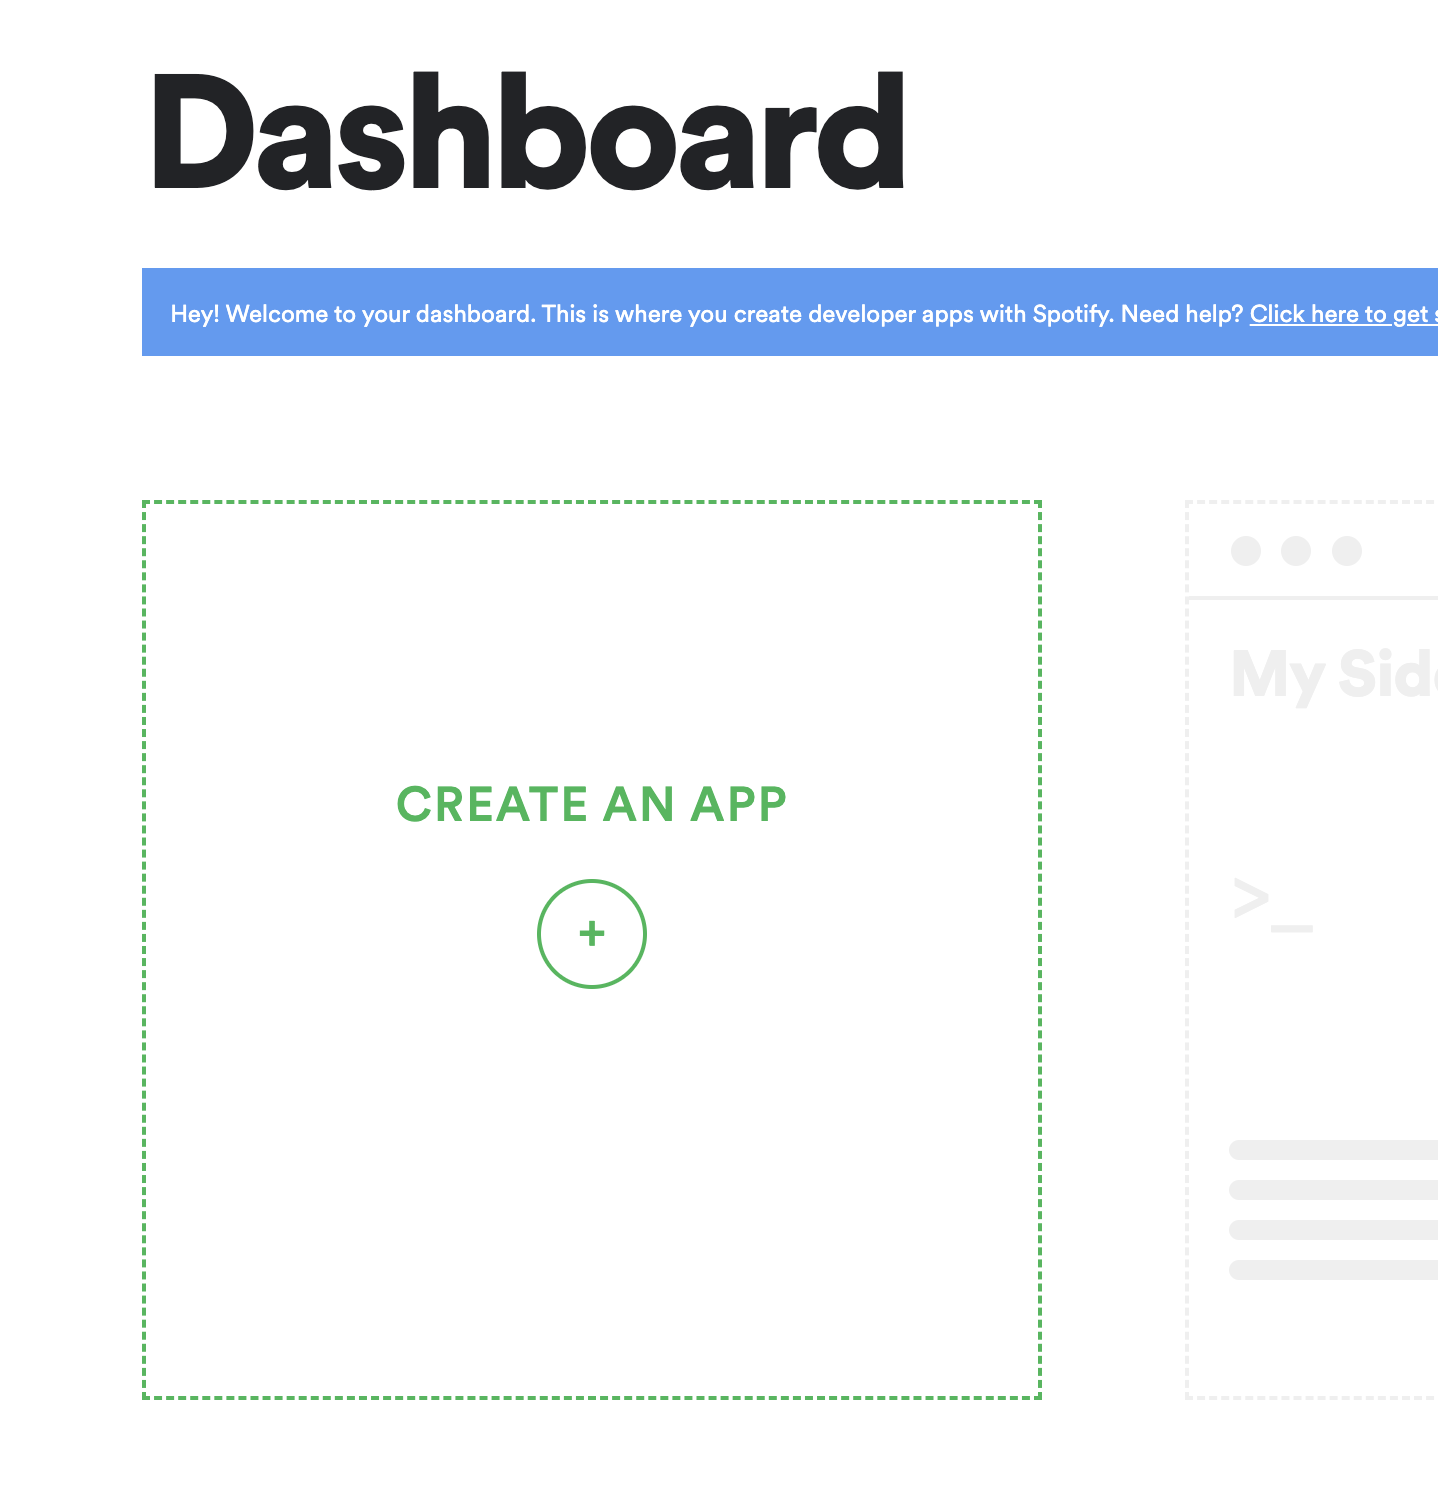
The first step in this process is to register your application with the external auth service provider, this works slighly different but should give the same result in the end. In this guide we will use Spotify as an example, you can review the details of how the flow works here. To follow along, first sign in to the developer dashboard and register your application.
When you get to the dashboard of your application your should first look for the Client ID and Client Secret.
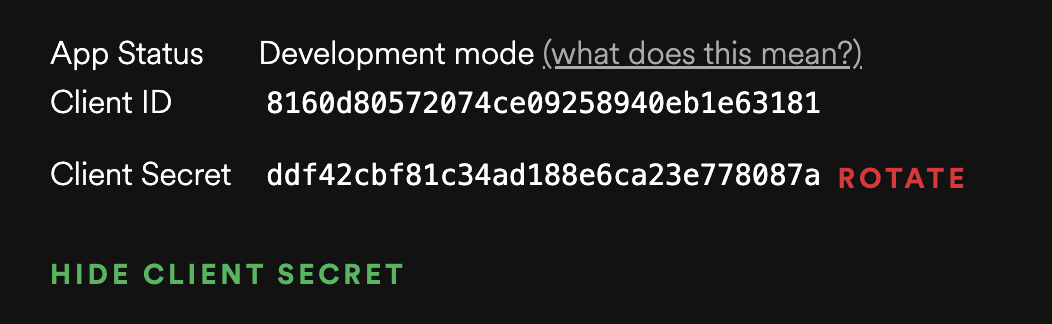
Client ID This is an identifier of your application towards the auhtorization provider.
Client Secret This is a secret token that you should not share with your users, it must be kept on the backend, only use it in cloud functions.
With these to in hand you need to register a redirect url for your application this, for your spotify app this is done in the settings popup, click Edit Settings.
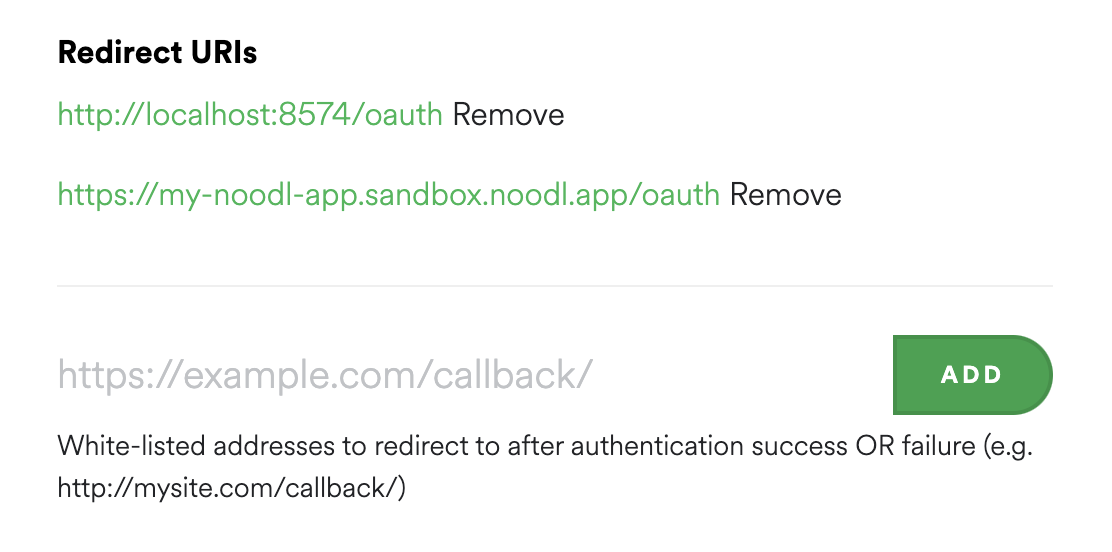
- Redirect Uri This is URI to your application that the authorization provider will send the user to when the authorization (log in) is complete. So this needs to be a page in your application that will receive a special authorization code that is needed to complete the flow. For testing it's generally a good idea to user
http://localhost:8574/oauthbut once you deploy your application you need to use the domain you deploy to. Often you can whitelist many callbacks in your app.
You also need to retrieve three important HTTP endpoints from the authorization provider. An example of how to find the for Microsoft Azure is here.
Authorization
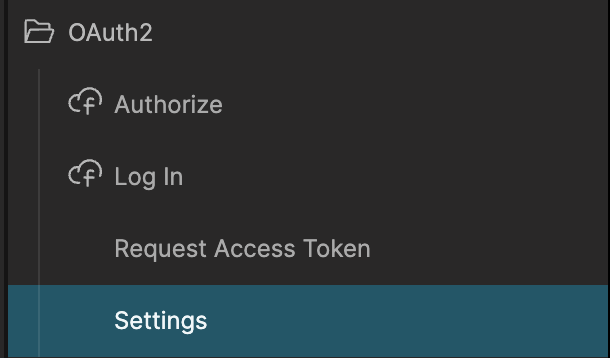
The first step is to perform the user authorization, for this we need to update the settings of the prefab you just cloned. When added to the project you will have two new cloud functions and some logic components. You should start by opening the Settings component.
In the Settings component first update these settings with the values you retrieved when registering the app. Use the testing http://localhost:8574/oauth redirect uri for now.
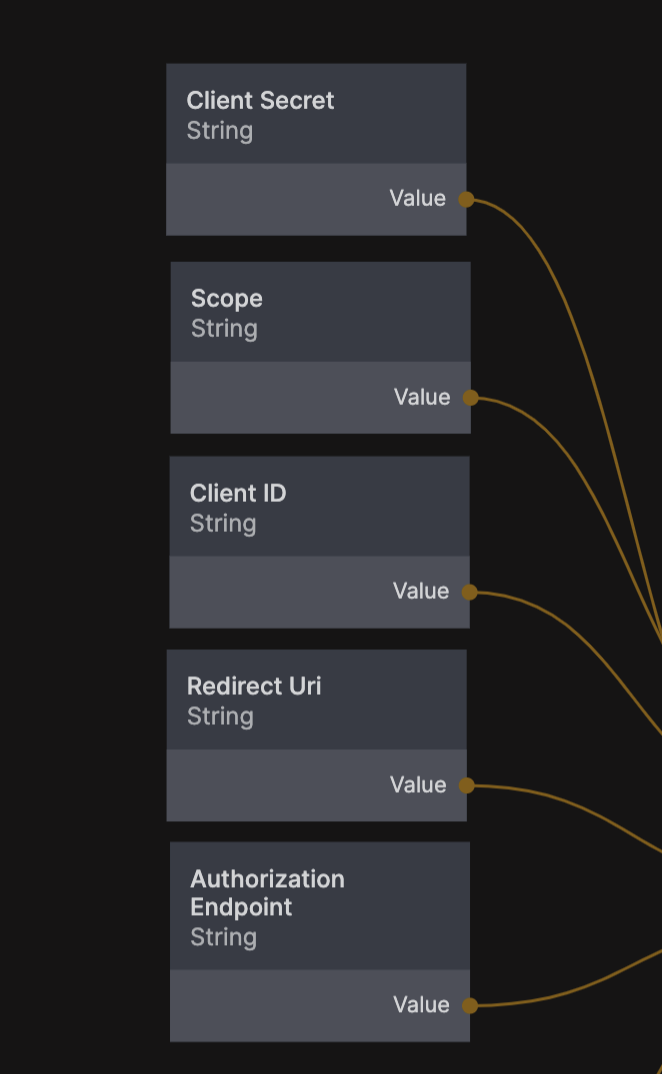
There are two more things we need as you can see and that is the authorization endpoint and scope.
Auhtorization Endpoint This is where your application will redirect the user to sign in, they will click a button in your application and then be sent to e.g. Microsoft, Google or Spotify (or whichever auth provider you use) to sign in.
Scope This tells the auth provider what functions and data our applications needs access to so the user can give their permission. It's different for each auth provider so you need to refer to the documentation for the provider you are using, for the sign in to work we only need access to the user profile. For spotify the scope is
user-read-email.
These can sometimes be tricky to find for your service, looking at the guide here for instance we can find the authorization endpoint for the spotify auth service.
https://accounts.spotify.com/authorize
This is what you need to put in that last settings String node. Now we can start the log in process from the UI of our application. Let's say that we have a button called Log In With Spotify, when that button is clicked we should call the OAuth2/Authorize cloud function, it will return a URI that we should redirect the user to. We can do this with the External Link node.
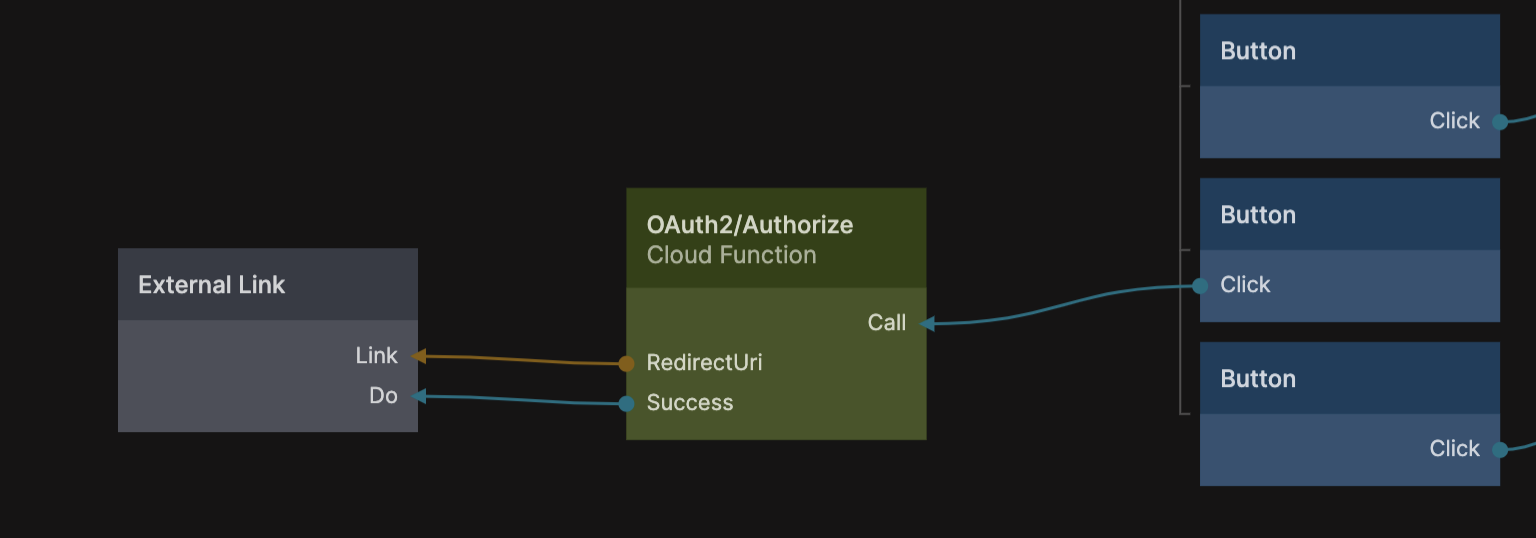
This will take the user to the log in screen of the auth provider, and when the user have signed in successfully the auth provider will redirect back to our application using the specified redirect uri that we put in the Settings component.
Signing in
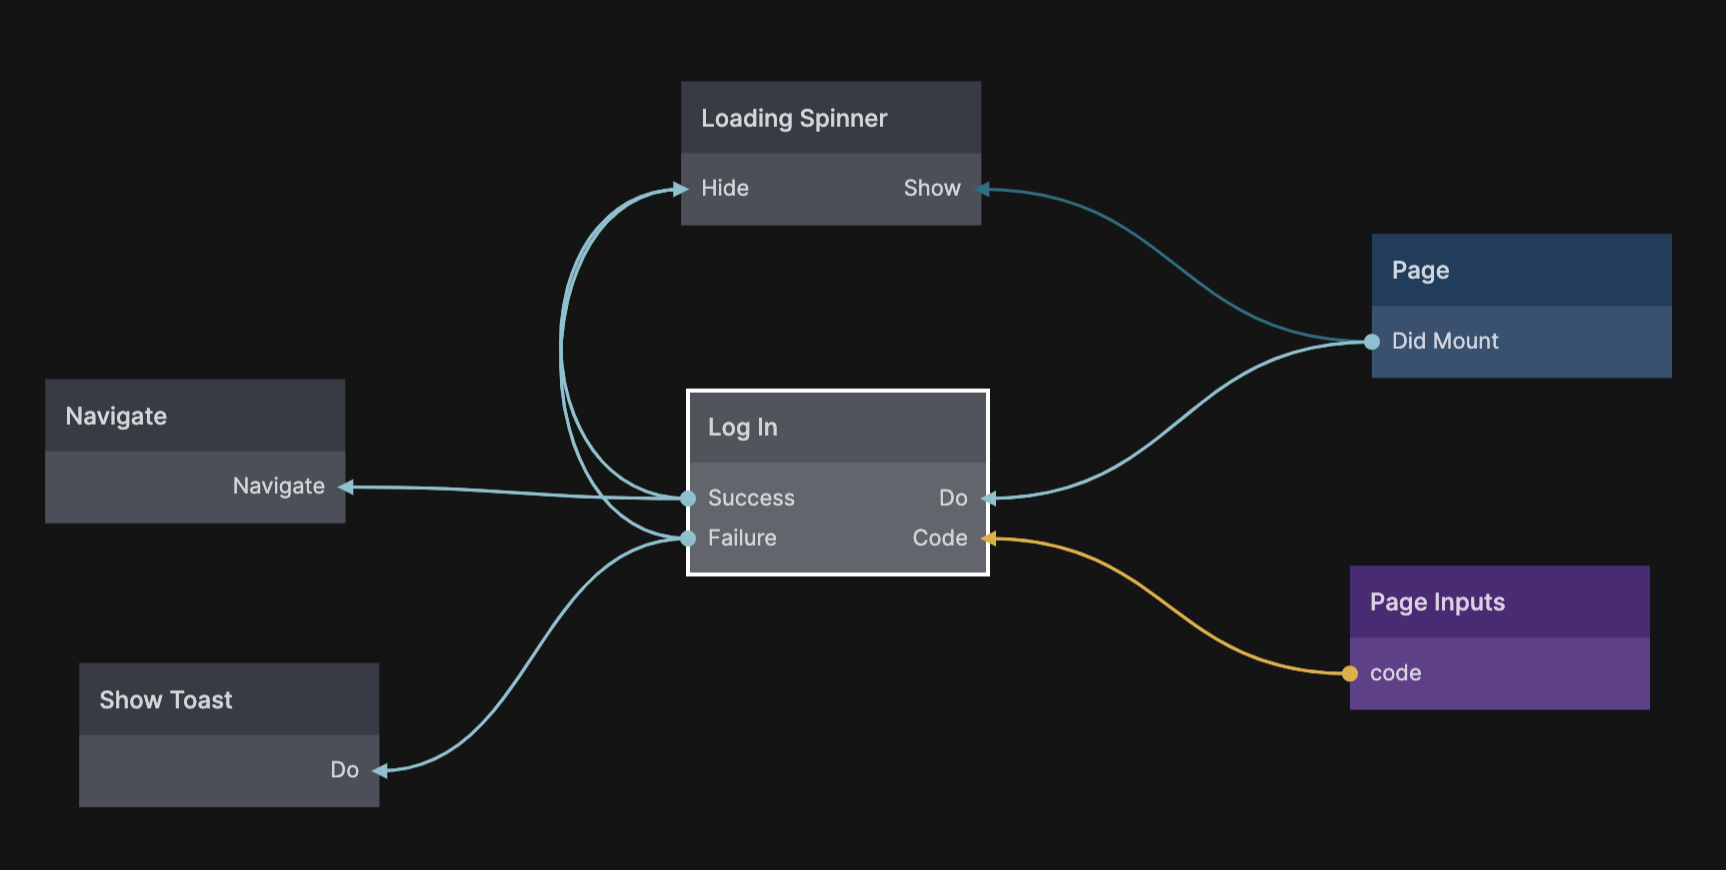
So if you put e.g. http://localhost:8574/oauth for testing, then you need to create a new page with the url slug oauth to receive the result. This page will get one very important Page Input and that is a query parameter called Code, this is an authorazation code we get with a successful sign in that we can use to log the user in to your app. When you install the prefab you will also get a logic component on the frontend called Log In.

Here is an example of a oauth page that uses the Log In component to complete the log in flow using the Code from the Page Inputs. If it's successful you can navigate to some page in your app and the user will be logged in. If unsuccessful you should show some sort of message.
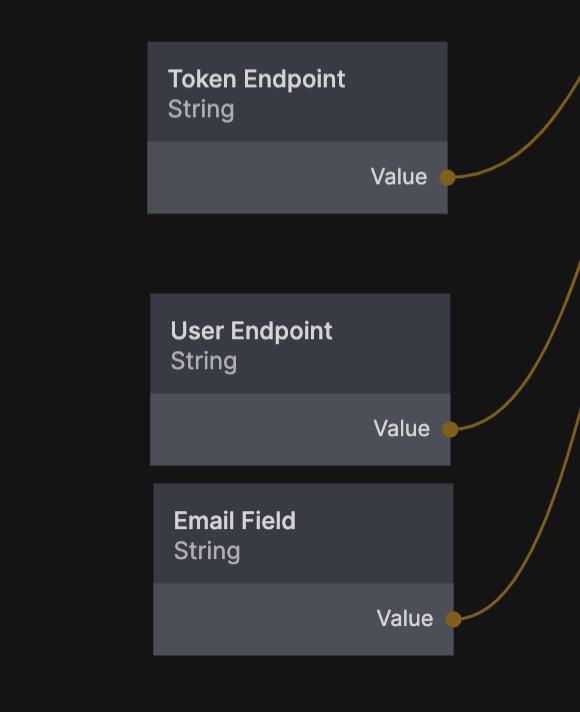
To complete this step we need another three settings in the Settings component for the cloud functions. The first one is the token endpoint.
- Token Endpoint Once the user successfully signs in, the auth provider will send them back to your application to the Redirect Uri that you provided above with a secret authorization code, the cloud functions will then use that to sign in the user via this endpoint.
Again you need to refer to the documentation of your auth provide to find the token, for spotify we can again find it at the bottom of this page.
https://accounts.spotify.com/api/token
The next thing needed is to get some data on the user, namely the email of the user, so we can match it with a Noodl user in your database (or create a new one if needed). For that you first need the user endpoint.
- User Endpoint Once signed in, this endpoint is used to get information on the user such as the email of the user which is needed to complete the sign in with Noodl.
For spotify we can find it here.
https://api.spotify.com/v1/me
Calling this endpoint with the correct credentials will return an object describing the user, we are looking for the field containg the email of the user and looking at the documentation above we can see the it is simply named email. The Token Endpoing, User Endpoint and the name of the Email Field need to be added to the Settings component before the flow can be completed.
That's it. With this flow in place you can sign in users with an external auth provider. A normal user will be created in your database or if a user already exists with the same email that user will be logged into.