Setting up a backend on Google Cloud Platform
This guide will cover how to start up a Noodl backend on GCP using the Noodl backend docker image. You will need a GCP account setup. The service you will be using is called Cloud Run. Start by going to the console for that service.
There you can create a new service. Find the button Create Service at the top.
When setting up the new service you need provide the url to the Noodl backend docker image.

The image URL to use is:
gcr.io/noodlapp/noodl-self-hosted-cloud-services:latest
Another important setting is making sure that unauthenticated requests can be handled by your new service.

For the most part you can keep the standard settings but a few needs to be changed. These can be found by expanding the Container, Connections, Security section.
- Continer port The port of the application needs to be set to 3000
You also need to provide a few environment variables to the instance. You do this using the + Add Variable button.
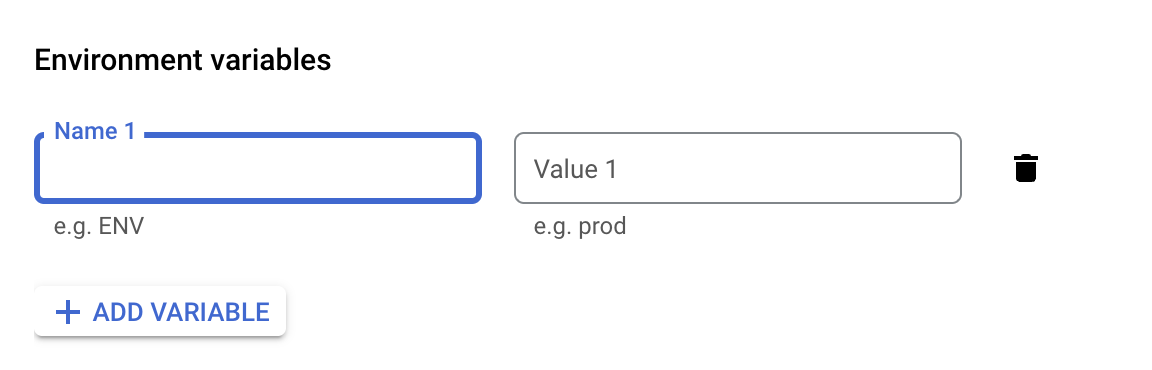
The following variables are needed:
APP_ID You can choose this yourself, you need to provide it in the Noodl editor when connecting to your backend.
MASTER_KEY This you be a password that you need to keep safe. With this password you get full access to your backend, this is also needed to connect to your backend from Noodl.
DATABASE_URI This is the database uri that you got when setting up the MongoDB database in the previous step. This can also be a Postgres uri.
PUBLIC_SERVER_URL (Optional) This is needed if you want to support file uploads and downloads, in that case you might need to go back here and update this environment variable after you have received the URL in the next step. This variable should be the public url where your clour services can be reached, starting with
https://.
With that in place you can create your new service, hit the Create button.
Once the service is up and running the last step is to find the URL of the service. You can find it by navigating to the service details page.

With that URL, master key and app id in hand, go back to the self hosting guide.
File storage
If you want to support file upload and download, you need to specify the PUBLIC_SERVER_URL environment variable as noted above. By default the files will be stored in the database of your application, but if you instead want to use a GCS bucket for storage you can provide the following environment variables.
- GCP_PROJECT_ID The project ID from the Google Developer’s Console. Required.
- GCS_BUCKET The name of your GCS bucket. Required.
- GCP_CLIENT_EMAIL The client email of the service account with permissions to the bucket.
- GCP_PRIVATE_KEY The private key associated with the client email for the servive account with permissions to the bucket.
- GCS_BUCKET_PREFIX (Optional) Create all the files with the specified prefix added to the filename. Can be used to put all the files for an app in a folder with ‘folder/’.
- GCS_DIRECT_ACCESS (Optional) Whether reads are going directly to GCS or proxied through your Parse Server. Default: false