Using Weavy with Noodl
Weavy is a service that lets you add collaboration features to your app. Chat, feeds and file sharing/editing can be integrated in a fraction of the time it would take to build it from scratch. This template sets up all the user management, authentication and Weavy app registration you need to get started quickly.
Prerequisites
In order to connect to Weavy, you need a Weavy account with an API key and an Environment URL. If you don't have that already here's a handy guide.
Setting up the backend
When you have the API key and Environment URL you need to add them to the Config paramters in the Noodl Cloud Service. If you haven't already imported the project template in the thumbnail above, now is the perfect time to do it.
With your newly created project open, click the Cloud Services tab in the sidebar, and find the Weavy related cloud service that has been created.

Make sure to click the Use in editor button if it isn't already in use. Then click Open dashboard.
Navigate to the Config tab in the dashboard. Click the Create a parameter button to create two parameters named WeavyAPIKey and WeavyEnvUrl.
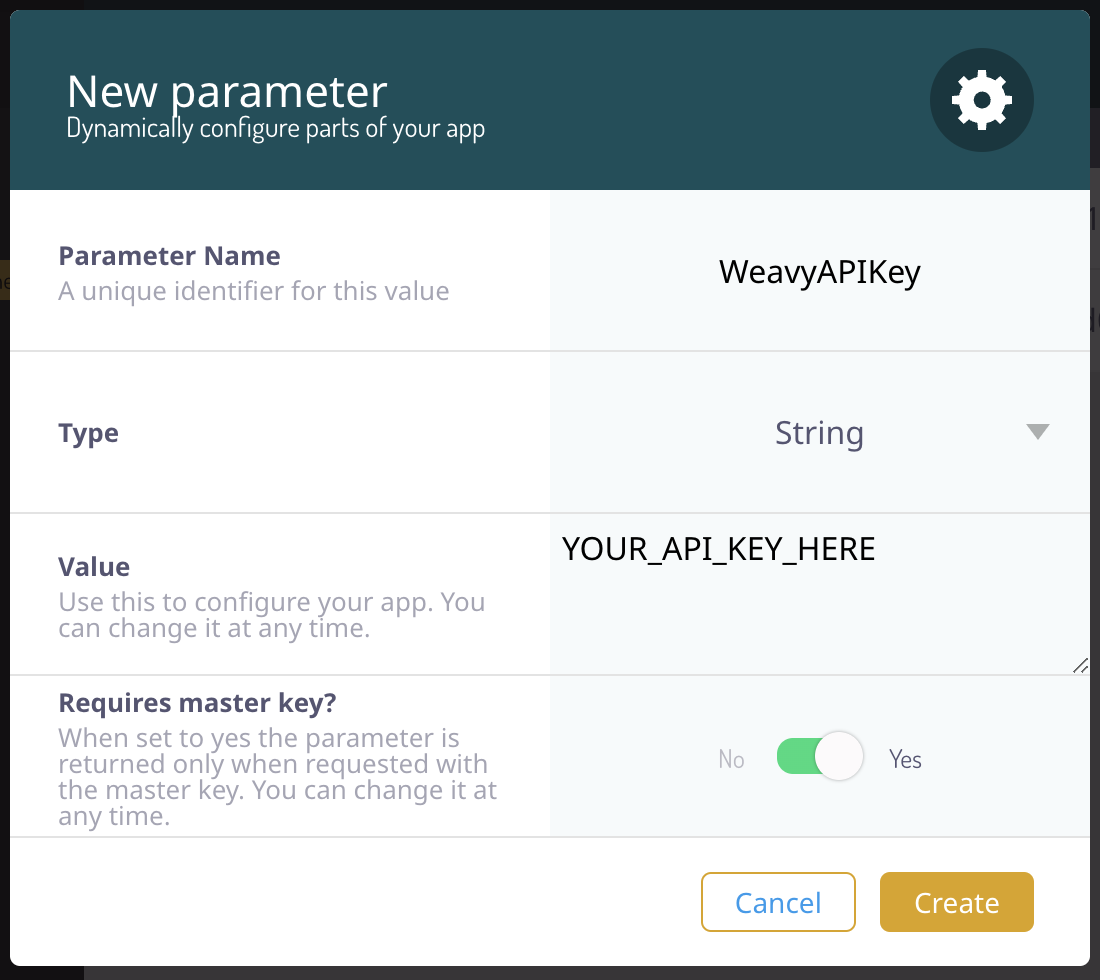

These are case sensitive, so make sure to double check that. Also take an extra look at the Type and Requires master key.
When this is done, you should have everything you need to get going.
The template structure
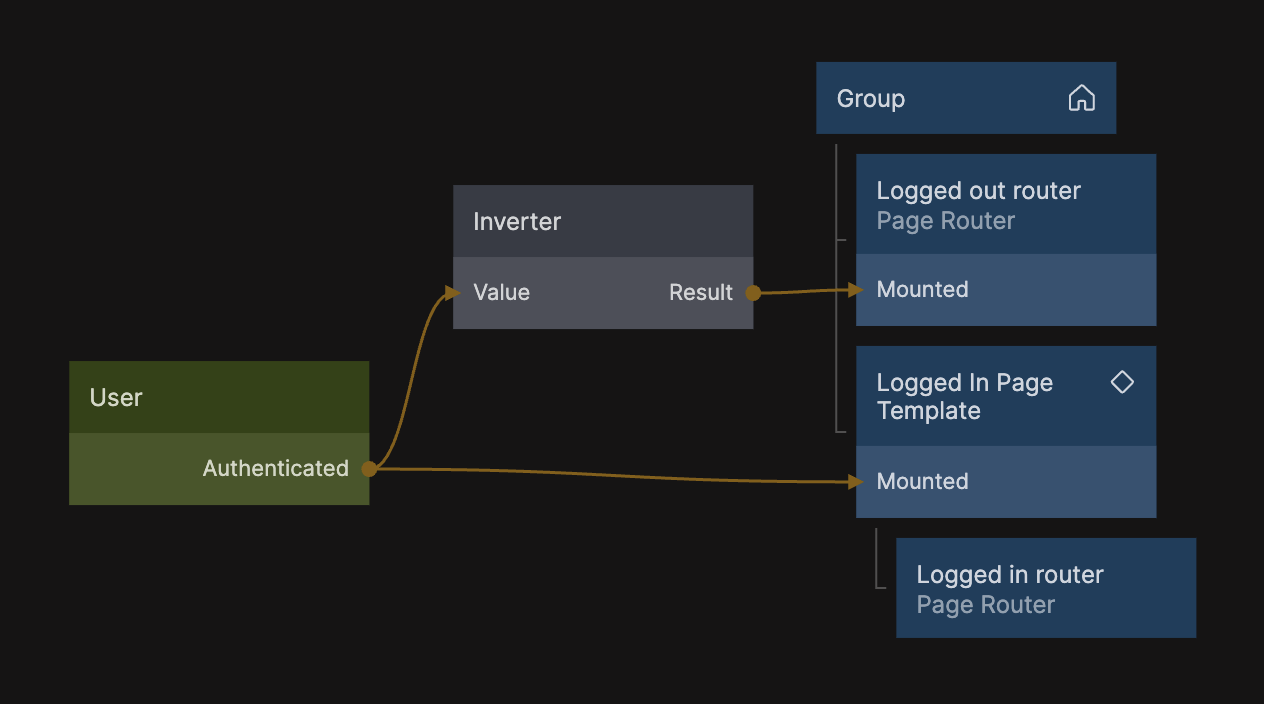
The template has two routers, one for the pages that can be accessed by logged out users, and one for the pages that can be accessed when a user has logged in.
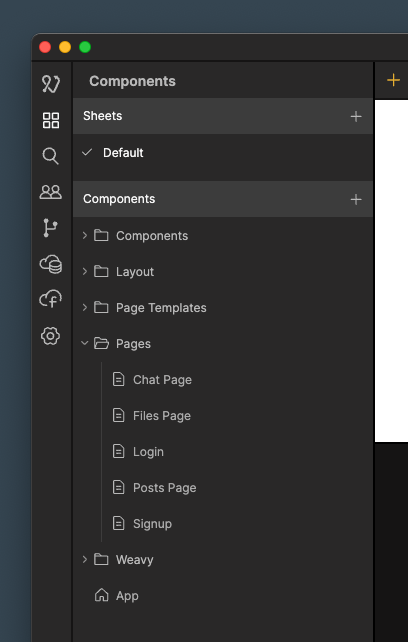
To be able to use the Weavy apps a user needs to have an account and be logged in. For this there are two pages, called Signup and Login. You can find all the pages in the Components Panel.
Creating a Weavy app
There are three unstyled example pages when logged in. Chat, Files and Posts, that use the respective Weavy apps Chat, Files and Posts. They all contain a basic page layout, but most importantly they feature the Weavy App component.
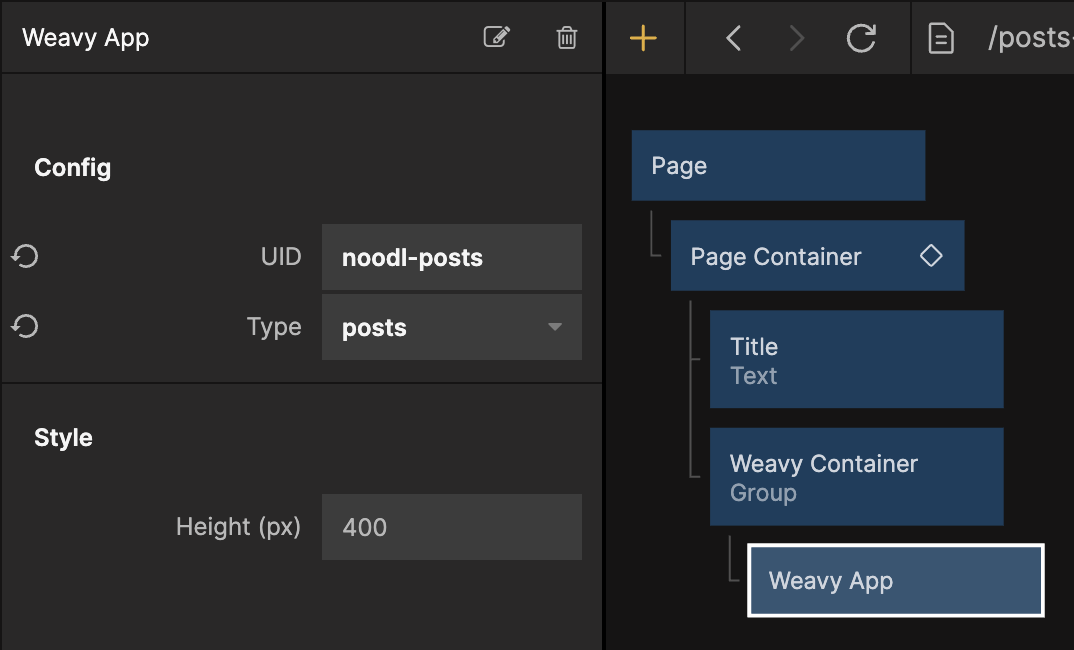
The Weavy App component has two purposes - registering a Weavy app in the Weavy environment (if it hasn't already been registered), and rendering it. It has 3 settings out of the box:
- UID: This is the unique ID of the app you want to register.
- Type: The type of Weavy app you want to use.
- Height: The height you want the Weavy app to render in.
You can pick any string for the UID, but it cannot have any spaces and must contain at least one non-digit character.
info
If you created a Weavy App with a new UID and it doesn't show up on the page, it might be because the Weavy app has not been regisetered yet. This will be the case the first time you run the template app as well.
To solve this, try reloading the page that the Weavy App component resides in. This will send a request to the Weavy server to register a new app with your new UID.
The app registration only has to be done once, so this issue will only show up during development.
If you change the Type of your Weavy App you will also have to give it a new UID for the registration to work properly.
Modifying the Weavy App component
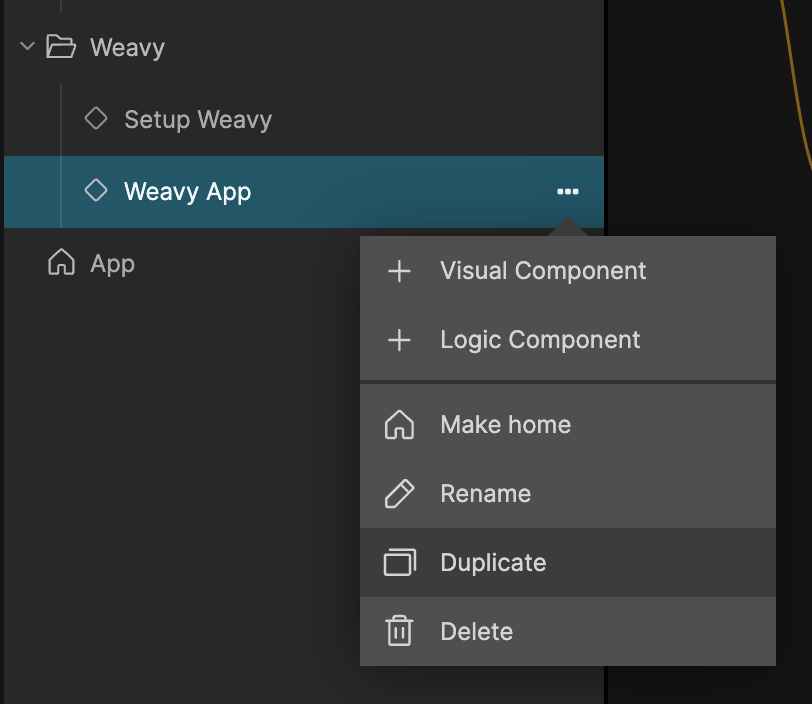
While you can use the Weavy App component as is, you will probably want to modify it and make it your own. The best way to do this is to duplicate the component and edit the Script node inside of it.
This way you can have multiple Weavy apps working differently, and always have a clean backup of the integration.
You can read more about customizing Weavy here.